

Automatic Sample Collection
Automatic Sample Collection works with the Document Sample Collector application, which is installed with AssureID Sentinel. Automatic Sample Collection runs periodically to send the sample files gathered in the specified folder to GBG. If there are no samples in the folder, then no sample files are sent.
Note: Before you can enable Automatic Sample Collection, you must first configure the folder location and the frequency of sample collection in the Document Sample Collector application. Both must be configured and enabled.
Installing Automatic Sample Collection
Section titled “Installing Automatic Sample Collection”The Downloads page contains a folder called Automatic Sample Collection for AssureID Sentinel. This folder contains the installation (.exe) file for the 64-bit version (6.x.x). It also contains a subfolder called 32-bit Archive, which contains the installation (.exe) file for use with the 32-bit AssureID Sentinel versions 5.2.x and earlier.
Note: If you don’t see the Automatic Sample Collection folder, contact Technical Support by submitting a ticket at https://gbgamericas.my.site.com/support.
Use the following procedure to install Automatic Sample Collection.
Install Automatic Sample Collection
-
Go to https://gbgamericas.my.site.com/support and log in.
-
Select and download the AssureID_AutomaticSampleCollection_vx.x.xxxx.zip file.
-
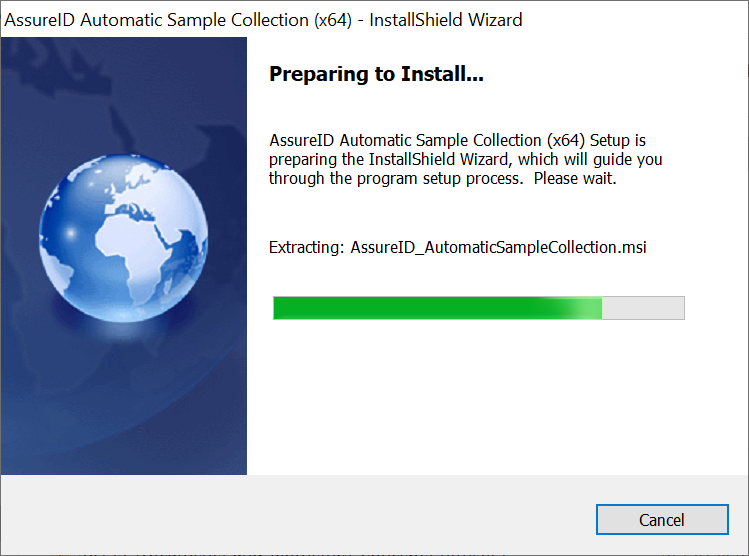
Extract the zip file and run the install.exe file. The Preparing to Install window opens.
-
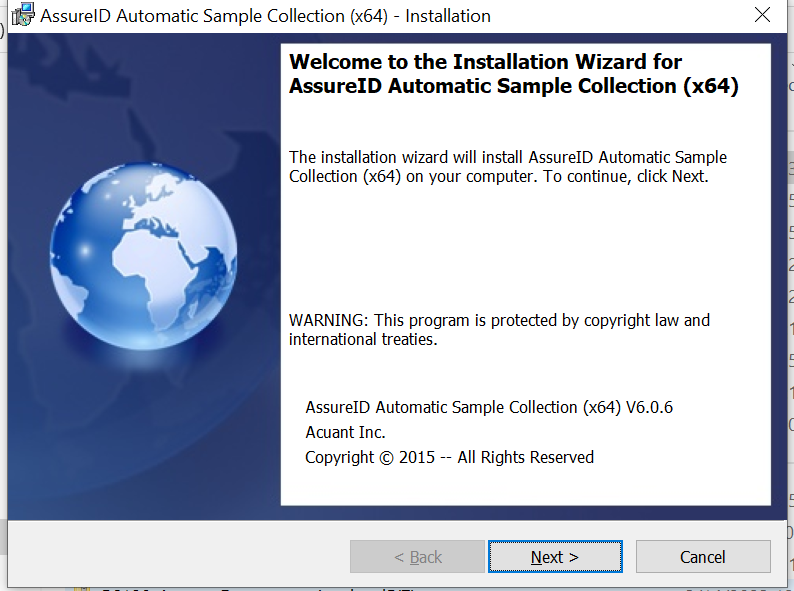
The Welcome to the Installation Wizard window opens:
-
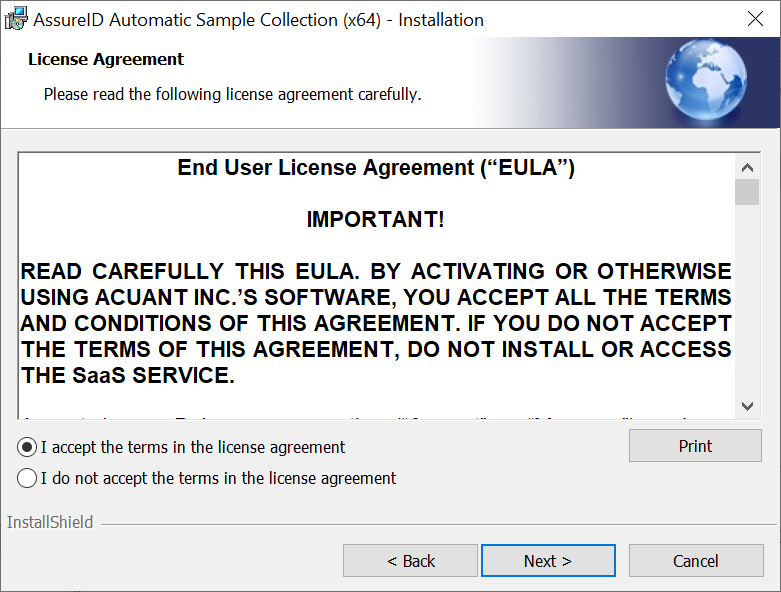
Click Next. Read and accept the terms of the license agreement:
-
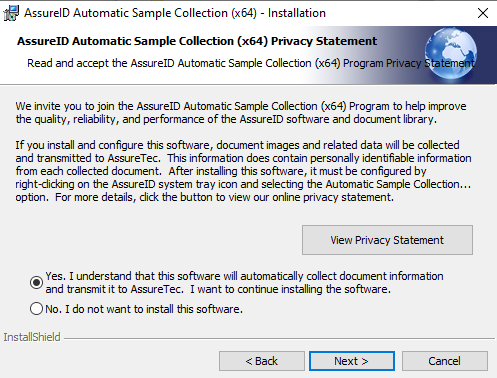
Click Next. The Privacy Statement window opens. Select the Yes option and click Next to proceed:
-
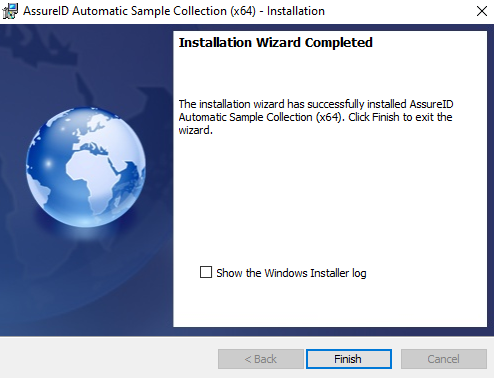
The Installation Wizard Completed window opens. Click Finish:
Enable Automatic Sample Collection
-
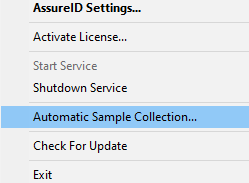
Right click the AssureID icon in the System Tray and select Automatic Sample Collection from the menu.
-
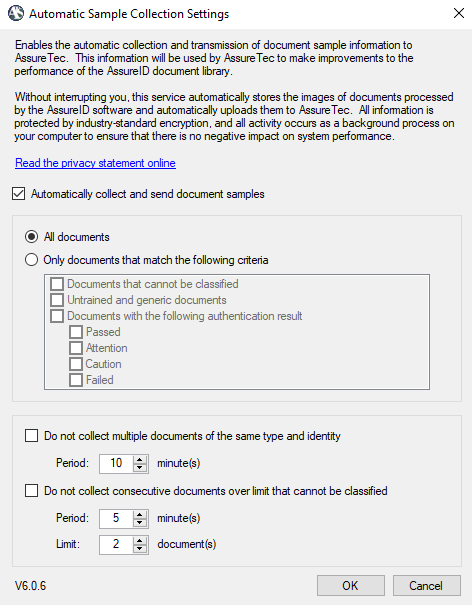
Check the Automatically collect and send document samples checkbox and select the All documents option, and then click OK.
-
Verify that the location of the AutomaticSampleCollection.Settings.config file is C:\ProgramData\AssureTec\Settings.
-
Ensure that the
<Enabled>node in the AutomaticSampleCollection.Settings.config file is set to True.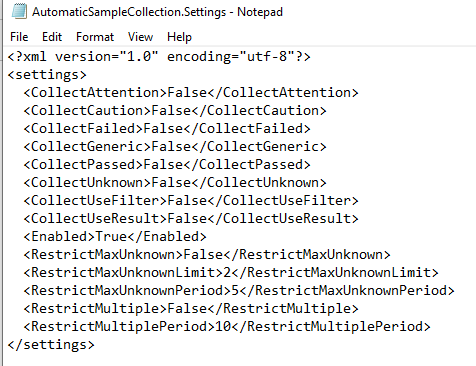
Configure the Customer Experience service
- Right click the AssureID System Tray icon and select AssureID Settings*.*
- Select the Customer Experience tab.
- Select the YES option and then click OK.
Note The AssureID Service will need to restart.
Ensure that the Windows Service AssureTec Customer Experience Service is running and its startup type is set to Automatic.
Check the Customer Experience log files, located in C:\ProgramData\AssureTec\Enterprise Services\Logs, for errors or warnings that may indicate sample file upload failures.
Manually test sample file upload processing
-
Copy a sample file to the C:\ProgramData\AssureTec\Enterprise Services\Customer Experience location.
Note: If the folder doesn’t exist, create the folder under: C:\ProgramData\AssureTec\Enterprise Services.
-
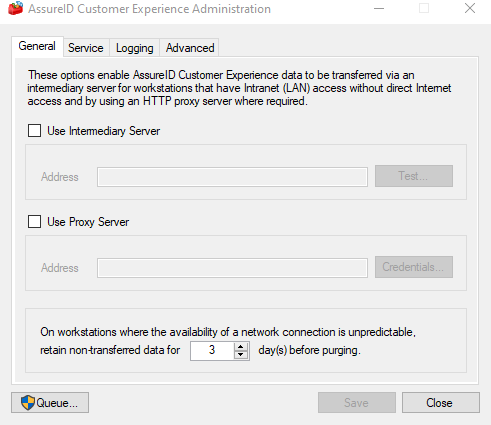
Click Start > AssureID > Customer Experience Administration to open the Customer Experience Administration application.
-
Click Queue. An upload entry for the file should appear in the list. You may need to close and reopen the window to refresh it.
-
If an upload error occurs, double-click the item to display the error condition.