

License tab
The License tab displays information about the activated AssureID license. The tab also enables you to configure AssureID to use a locally installed AssureID License Server if a direct Internet connection is not available.
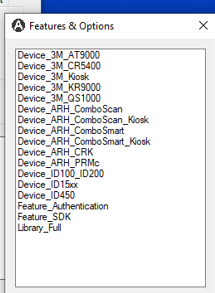
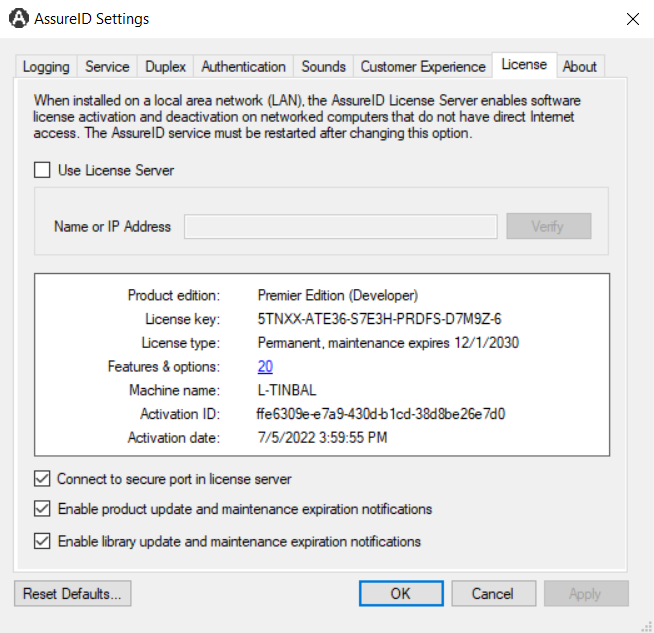
To view the enabled license features and options, click the underlined number next to Features & options in the License tab window. The Features & Options dialog box displays the selected features and options.
Specify a locally installed AssureID license server
-
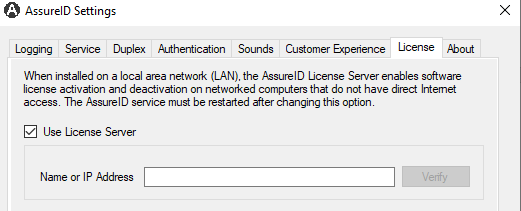
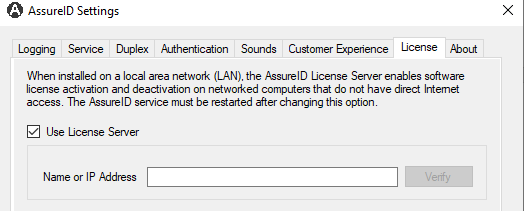
To specify a locally installed AssureID license server, check Use License Server.
-
In the License Server field, enter the hostname or IP address with an optional port number of the workstation configured to be the local License Server in the following format:
<hostname-or-ipaddress>[:optionalport]
Example:
myserver.mydomain.commserver.mydomain.com:2744192.168.1.1192.168.1.1:2744 -
Click Verify to confirm that the server is accessible.
-
Click OK to save the configuration.
License expiration and software update notifications
Section titled “License expiration and software update notifications”By default, AssureID Sentinel provides a notification when your license is about to expire. It also provides a popup message when the AssureID service is started if there is a product or Library software update available. You can uncheck any of these options to disable them.
Edit the AssureID License settings
Section titled “Edit the AssureID License settings”Right-click the AssureID icon in the System Tray and click AssureID Settings.

Disable update and maintenance expiration notifications
-
In the AssureID Settings window, click the License tab:
-
Optionally, uncheck the Enable product update and maintenance expiration or Enable library update and maintenance notifications checkbox.
-
Click OK.
-
At the prompt to restart the AssureID service, click Yes:
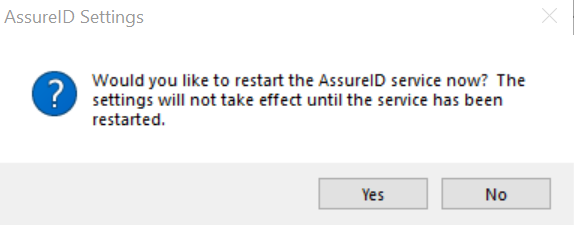
The AssureID service restarts with the new settings.
Note: Any changes made within the AssureID Settings configuration persist when the AssureID Sentinel software is updated to a new release.
-
Verify the changes in the configuration file:
C:\ProgramData\AssureTec\Settings\AssureTec.AssureID.Platform.SystemSettings.config
Specify a locally installed AssureID license server
-
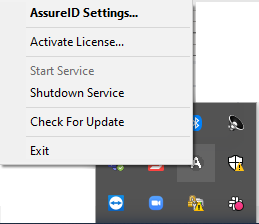
Right-click the AssureID icon in the System Tray to open the AssureID Settings window.
-
Click the License tab.
-
Check Use License Server check box.
-
Enter the hostname or IP address (and optional port number) of the workstation that has been configured as the AssureID local license server. For more information about installing and configuring a local license server, see Installing the AssureID License Server.
-
Click OK.
You can specify a secure port in the license server before you activate the AssureID Sentinel license.
Connect to a secure port in the licence server
-
In the AssureID Settings window, click the License tab:
-
Check Connect to secure port in license server.
-
Click OK.
Deploying the changes
Section titled “Deploying the changes”The following procedure describes how to copy the configuration file and “push” the changes to all computers that have AssureID Sentinel installed.
Push configuration changes to all AssureID Sentinel installations
- Disable maintenance notifications as described in the previous procedure.
- Copy the AssureTec.AssureID.Platform.SystemSettings.config file to each computer that has AssureID Sentinel installed. This file is located in C:\ProgramData\AssureTec\Settings.
- Restart the AssureID service on each computer to ensure that the changes have taken effect.