

Document Library Customization tool
Document Library Customization
Section titled “Document Library Customization”The Document Library Customization tool lets system administrators easily customize and streamline the Document Library to their organization’s specific needs and replicate the changes across multiple systems.
| Category | Description |
|---|---|
| Authentications | Individual and/or all authentications (for example UV overlay pattern) can be enabled or disabled. Importance of individual authentications can be raised or lowered. |
| Documents | Specific documents can be enabled or disabled. Document classes (for example Driver’s License) can be enabled or disabled. |
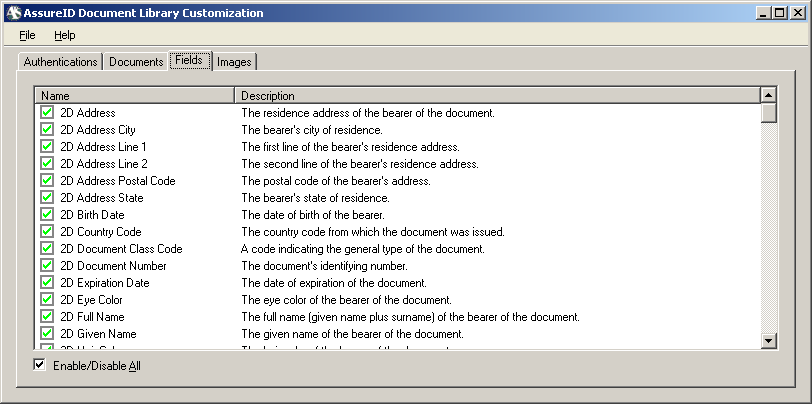
| Fields | Specific and/or all document fields (for example 2D Birth Date) can be enabled or disabled. |
| Images | Specific and/or all light source captures (for example Coaxial NearInfrared) can be enabled or disabled (White Front or NearInfrared Front enabled for classification and authentication to work). |
This tool allows the customization of the following features within the Library:
Important: This tool is for use only by advanced users or under the guidance of GBG. GBG recommends that the default settings (especially the weight of various tests and authentications) be kept as is. Changing the values of the tests and authentications can result in skewed results, for which GBG claims no responsibility.
Launching the Library Customization Tool
Section titled “Launching the Library Customization Tool”To launch the Library Customization Tool, click Start > Programs > AssureID > AssureID Tools > Library Customization.
Customizing Authentications
Section titled “Customizing Authentications”The tool opens to the Authentications tab by default:
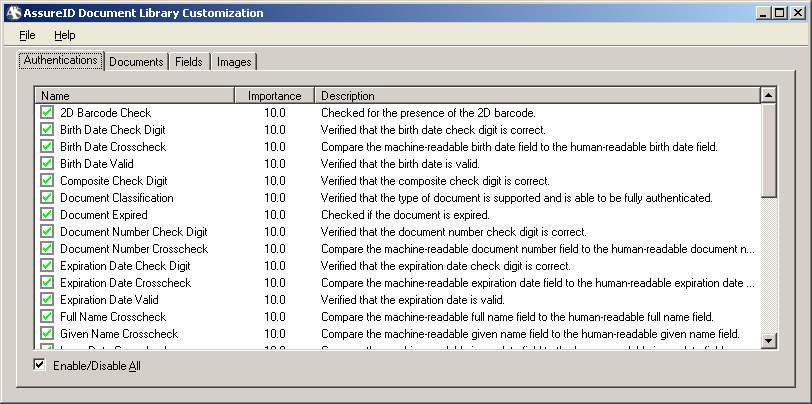
Individual authentications can be enabled or disabled, depending on necessity of a customer’s business environment and/or practices, or if necessary, all Authentications can be enabled or disabled by clicking the Enable/Disable All checkbox:
When a specific item is unchecked, the green checkmark will turn into a red X to indicate that the item is disabled:
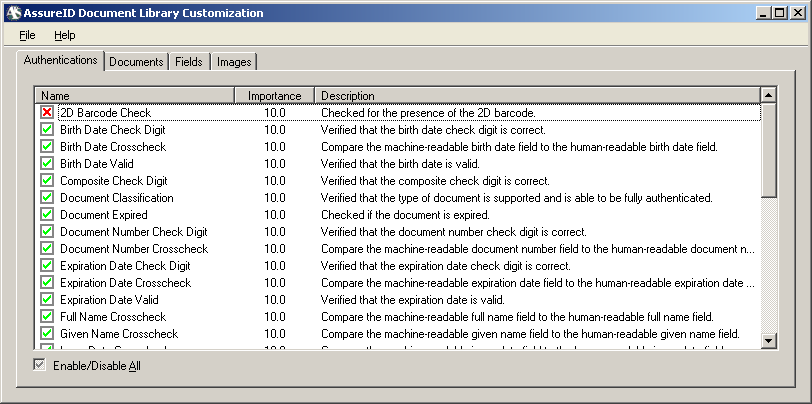
The importance of an individual test can also be changed on a scale of 0-10, 0 effectively meaning that the authentication has no importance and is virtually disabled, with 10 being the default meaning that the test is significant and has the utmost importance. Individual tests may be lowered depending on individual needs.
To change the importance of a test, double-click the importance score of a test to open the Change Importance dialog box:
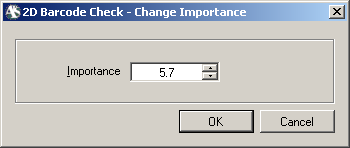
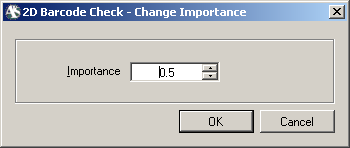
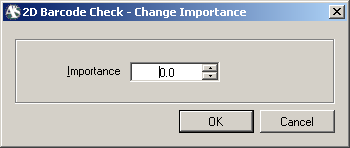
You can change the importance by either using the arrow controls to increment or decrement the value 0.5 per click, or by typing the value directly in the field:
After the value is changed, click OK to return to the main customization application.
Customizing Documents
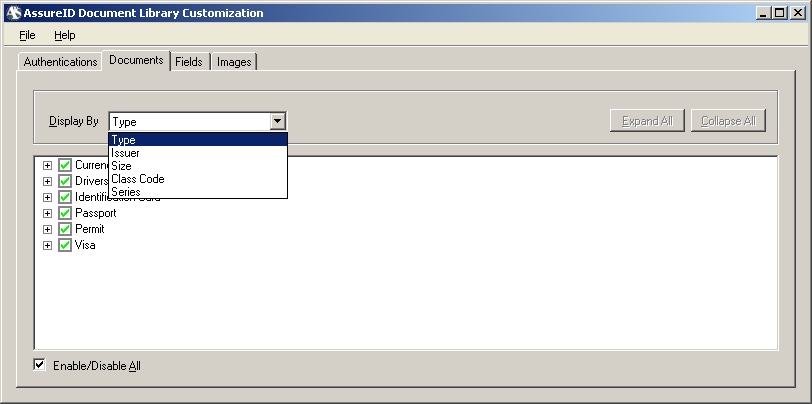
Section titled “Customizing Documents”You can customize documents loaded by the Library to include or exclude specific documents through the Documents tab. There are five methods for finding specific documents or excluding a range of documents based on the following:
- Type (for example Identification Card, Driver’s License)
- Issuer (for example Massachusetts, Canada)
- Size (for example ID1, Letter size)
- Class Code (for example DL, ID)
- Series (for example 1985, 2009)
To display each of the above possible listings, click the drop-down list box to the right of the Display By label:
To display the entries beneath a Type, Issuer, Size, Class Code, or Series, click plus (+) to expand the list, and minus (–) to collapse the list:
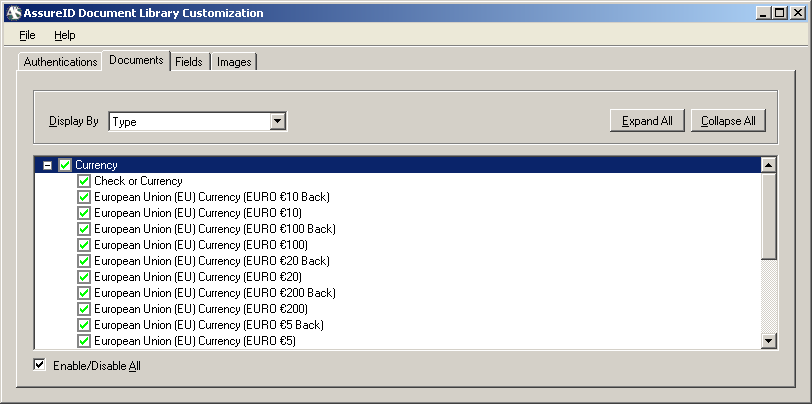
You also can enable or disable all selecting the Enable/Disable All checkbox.
Fields
Section titled “Fields”You can enable and disable specific (or all) fields from the Fields tab. To enable and disable all fields, select the Enable/Disable All checkbox.
Images
Section titled “Images”You can enable or disable specific lighting capture profiles at a global level from the Images tab. This can be helpful to customers in situations where UltravioletA lighting, for example, is not needed in the authentication process. The user can disable this or any of the other available lighting profiles by selecting the checkbox under the Document Side column for the respective light spectrum:
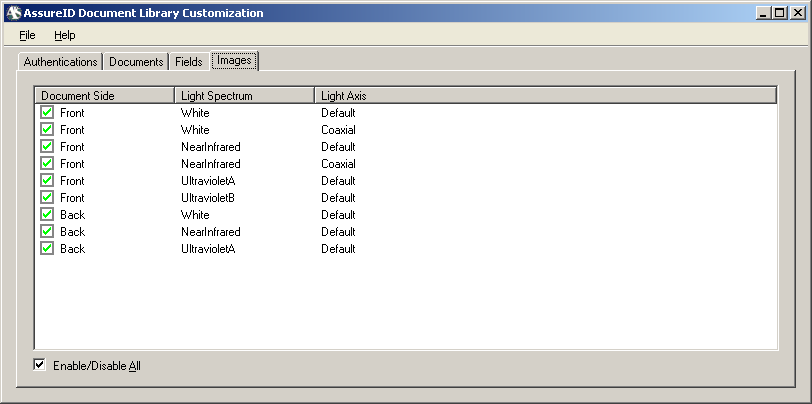
You also can enable or disable all images by selecting the Enable/Disable All checkbox.
Note that while it is possible to disable all the given light spectrums, you must have at least either White Front or NearInfrared Front enabled for classification and authentication to work.
Note: Use caution when modifying these settings.
Saving and importing or exporting changes
Section titled “Saving and importing or exporting changes”If a user accidentally or purposefully exits the application after making changes with the customization tool, the user receives the following message:
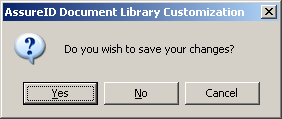
Changes may either be saved, ignored (where upon the application exits) or cancelled to remain in the application to make additional tuning changes. The DocumentLibrary.sdf.tuning file generated is by default, in the folder: C:\ProgramData\AssureTec\AssureID.
- Click File > Save or use the Ctrl+S keyboard shortcut to save changes at any time.
- Distribute the tuning changes by copying the tuning file to the same location on the target PC, and then restart the AssureID service for the changes to take effect.
- Optionally, after the current changes have been saved, you can export the tuning file to a specific location by clicking File > Export and browsing to the location.
- You can click File > Import and browse to the location of files created on the same machine or on other machines to import the files and make changes to them.
- For remote deployments, the tuning file can be copied from the source workstation to the target workstation post-installation.