

Using Swagger
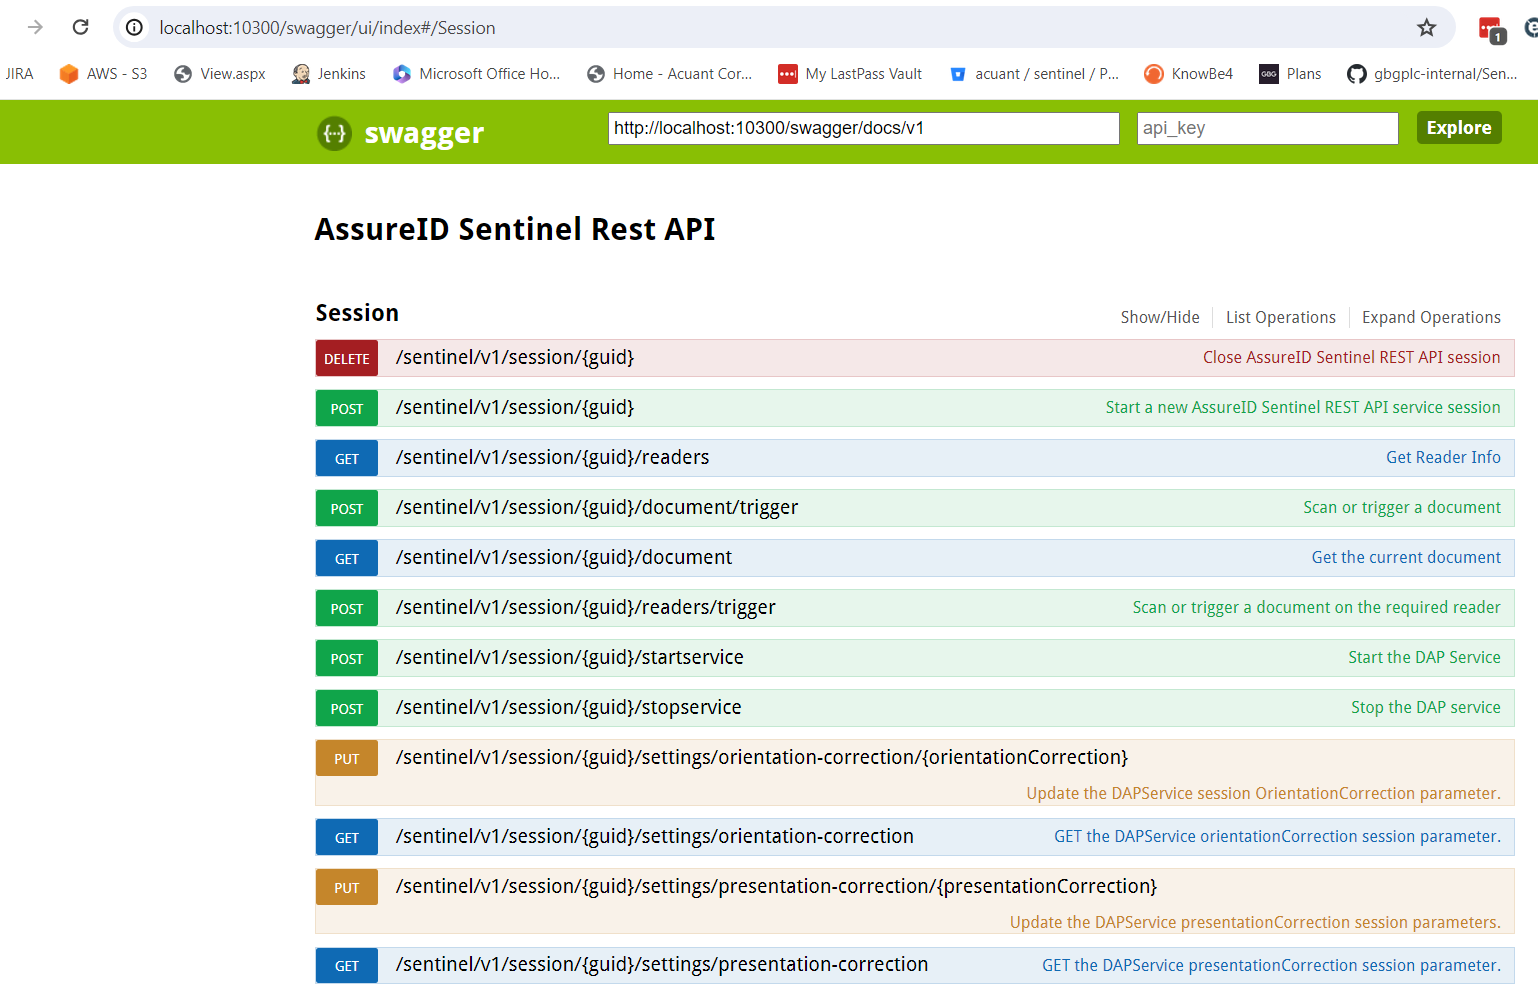
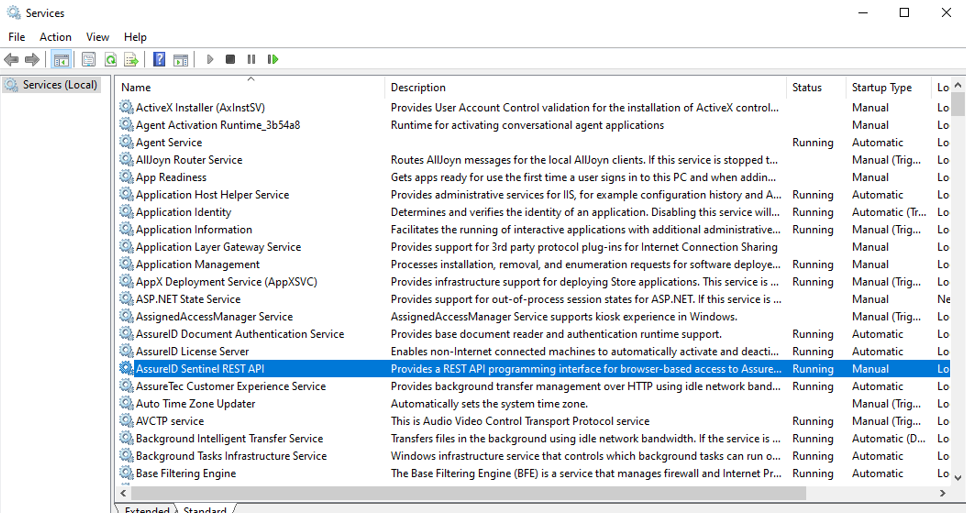
Before you start, open the Services window to ensure that the AssureID Web Service and the AssureID DAP Service (DAP service) are running.
-
Click Show. .
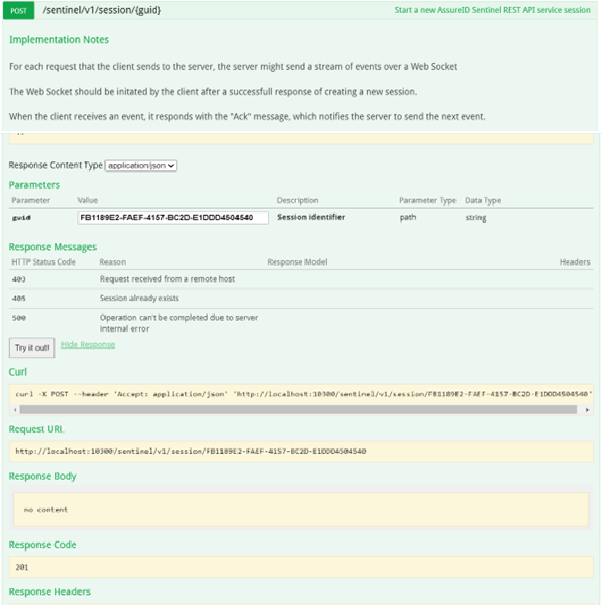
A 201 response code indicates a successful session was opened.
-
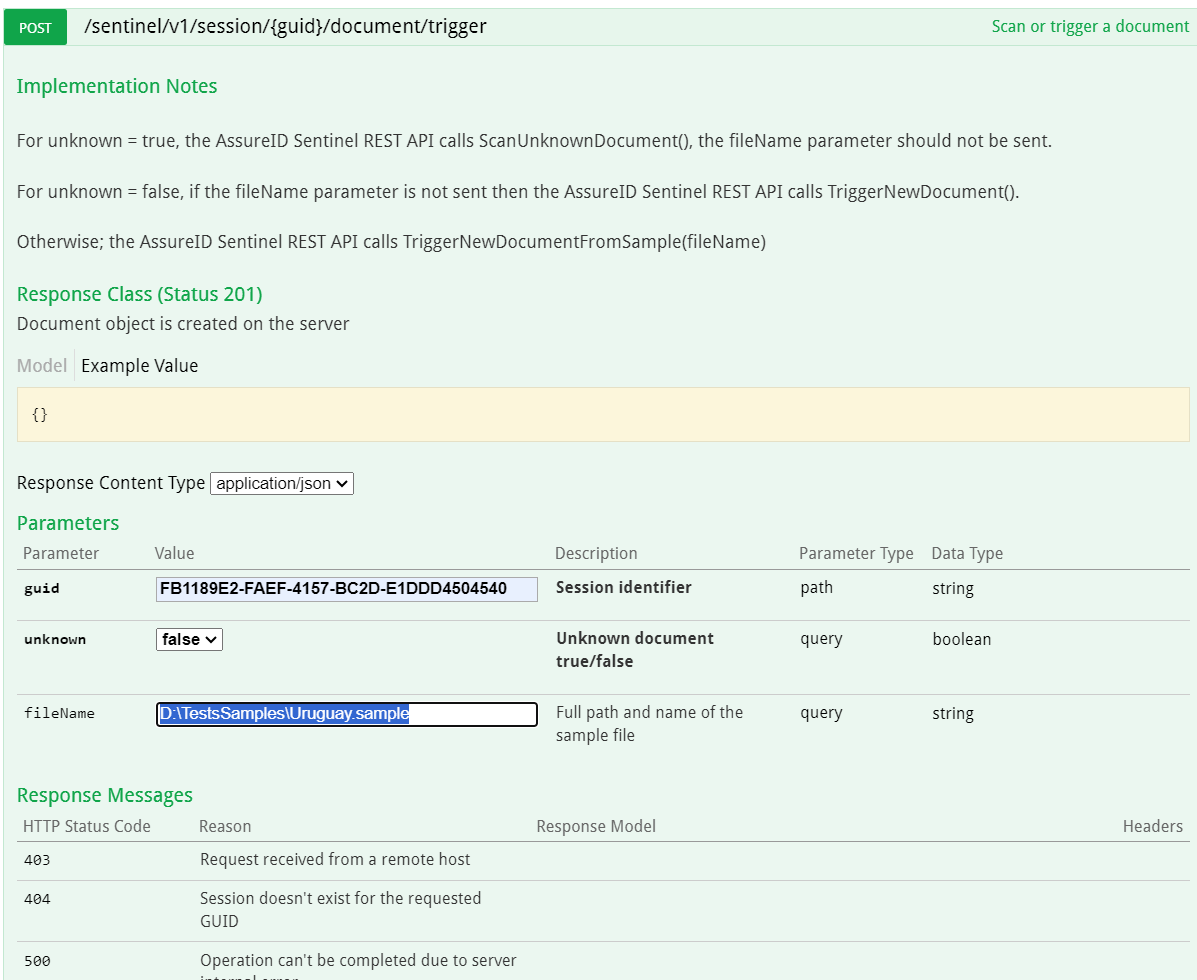
To trigger or scan a document, type the GUID:
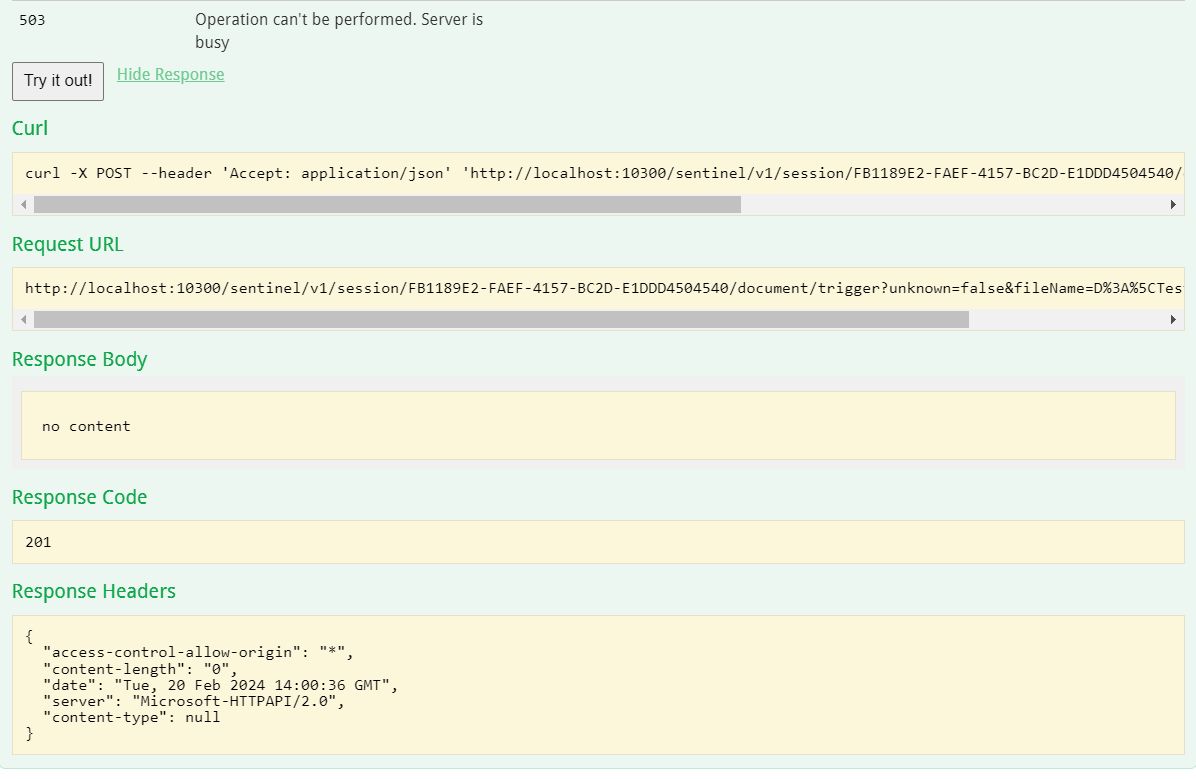
FB1189E2-FAEF-4157-BC2D-E1DDD4504540in the GUID field and then click Try it out!A 201 response code indicates a successful scan. You can view the results in the AssureID Tutorial application.
-
Set unknown to false and then enter the sample file name in the fileName field to scan as a parameter:

-
Trigger the document using the REST API:
Using PUT/GET AutoTrigger with Swagger and AssureID Tutorial
Section titled “Using PUT/GET AutoTrigger with Swagger and AssureID Tutorial”Before you start, open the Services window to ensure that the AssureID Web Service and the AssureID DAP Service (DAP service) are running.
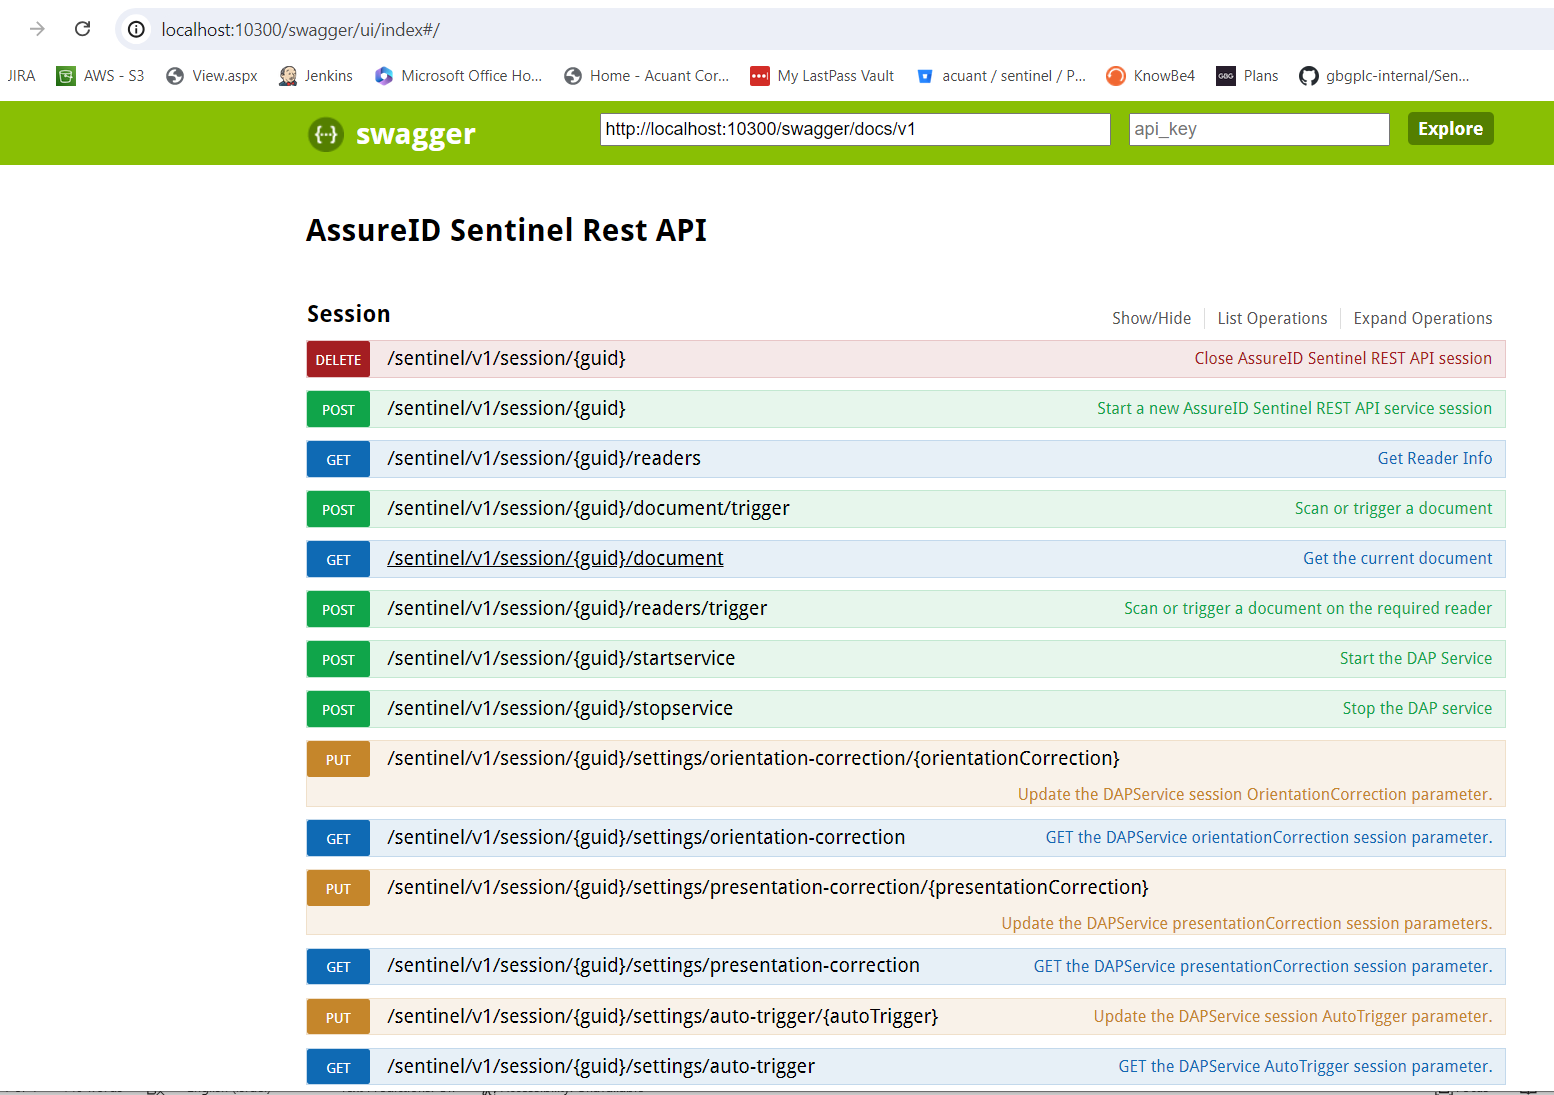
- Go to http://localhost:10300/swagger.
- Click Show.
-
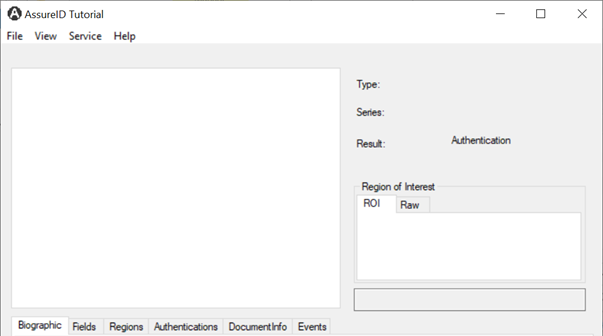
Open the AssureID Tutorial application located in C:\ProgramFiles\Acuant\AssureID\bin:
-
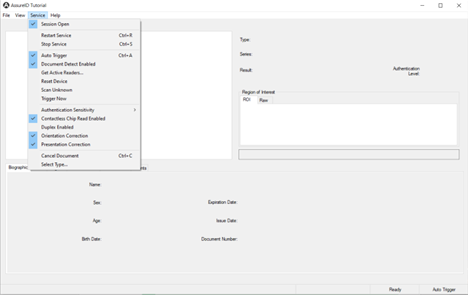
From the Services menu in AssureID Tutorial, check to see whether AutoTrigger is enabled (checkmark).
-
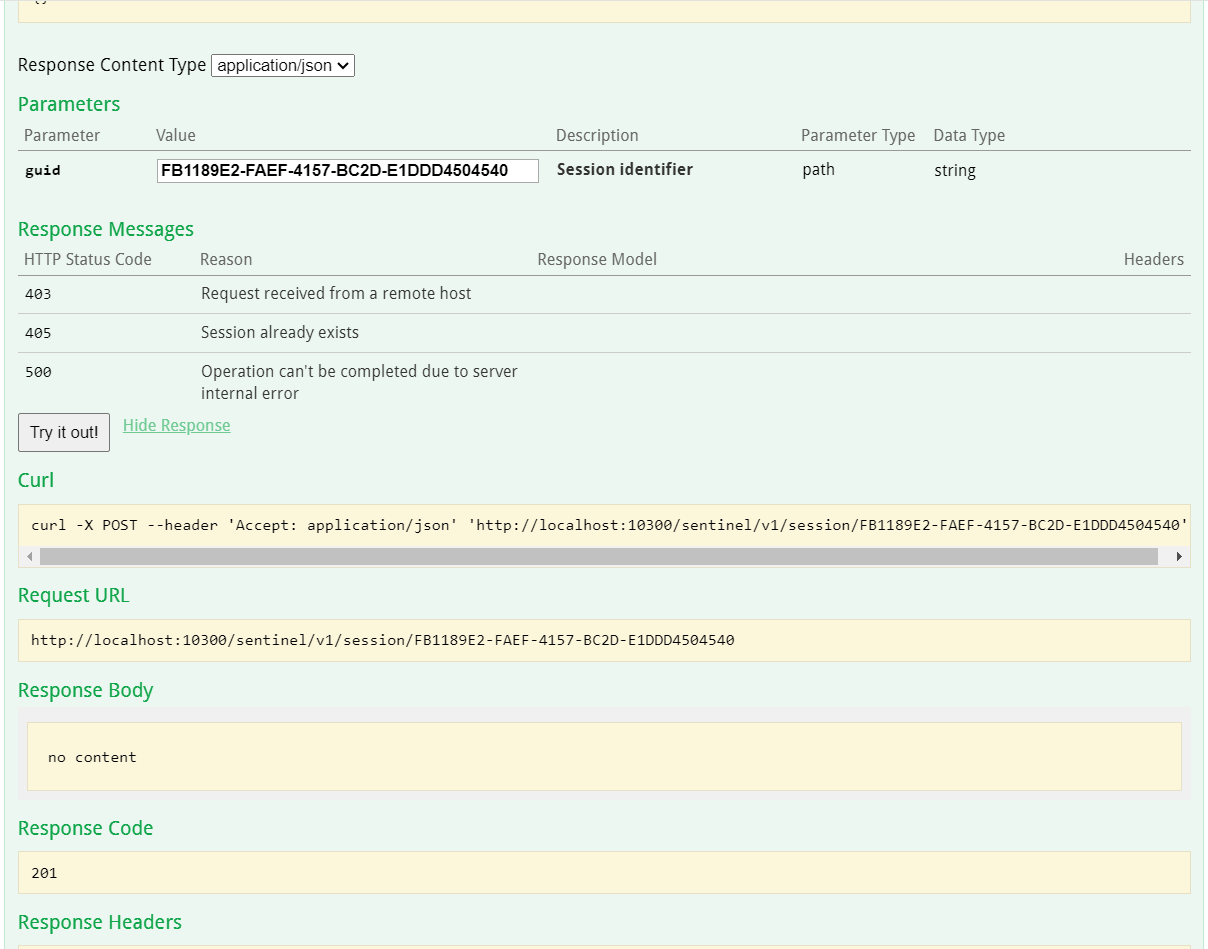
Start a new AssureID Sentinel REST API service session in Swagger. Enter the GUID:
FB1189E2-FAEF-4157-BC2D-E1DDD4504540and click Try it out! A 201 response code means that a session was opened successfully.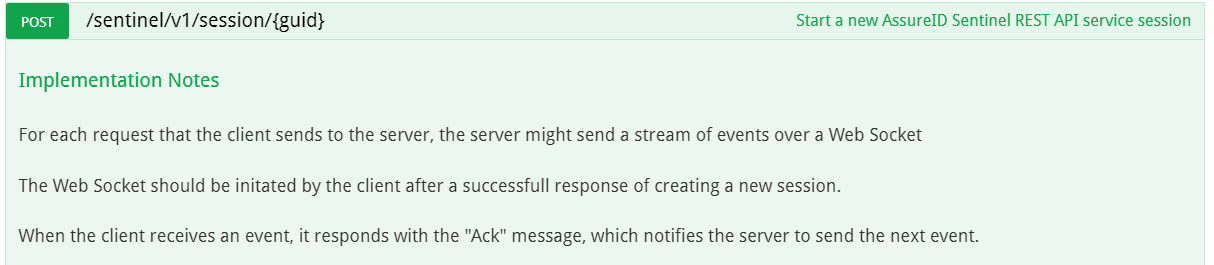
Put AutoTrigger
-
In Swagger, enter the following GUID:
FB1189E2-FAEF-4157-BC2D-E1DDD4504540and then click Try it out! A 201 response code means that a session was opened successfully. -
Set PUT AutoTrigger parameter to false.
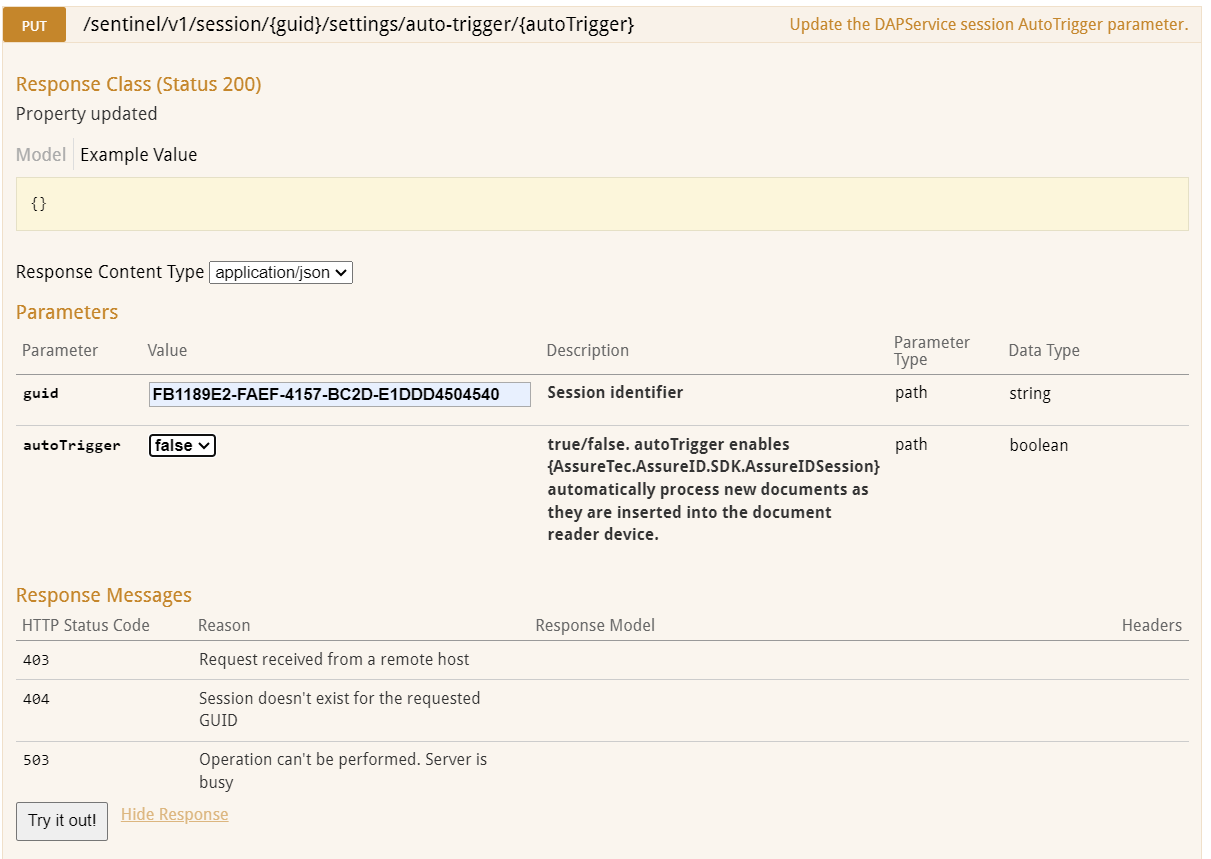
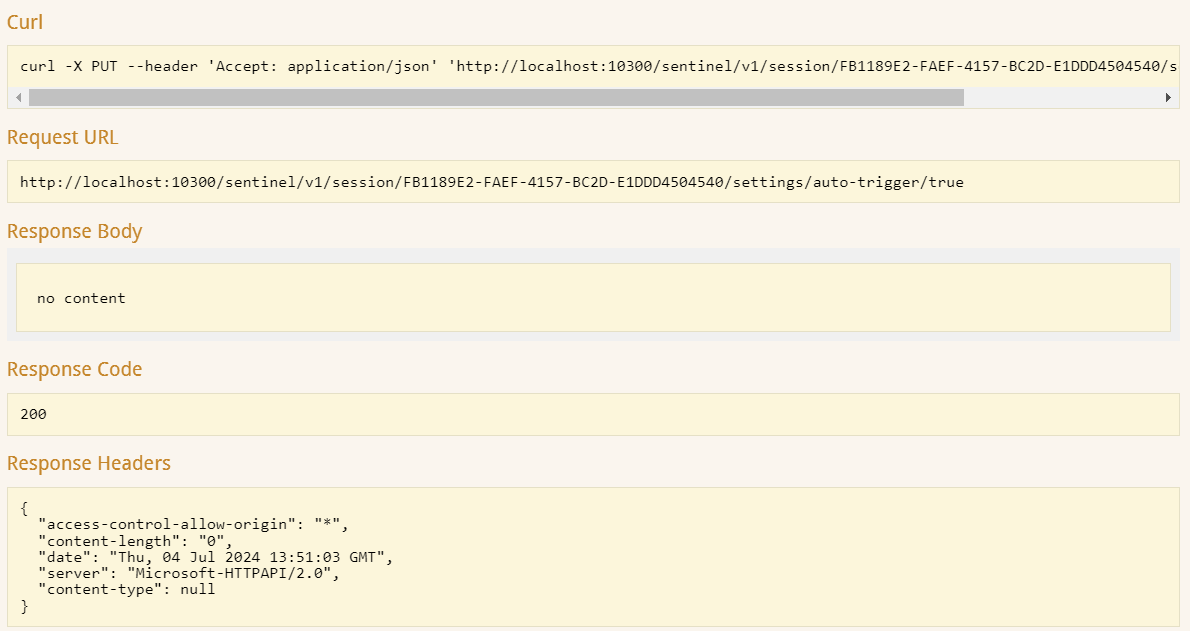
-
Go to AssureID Tutorial and verify the change you made to the AutoTrigger parameter.
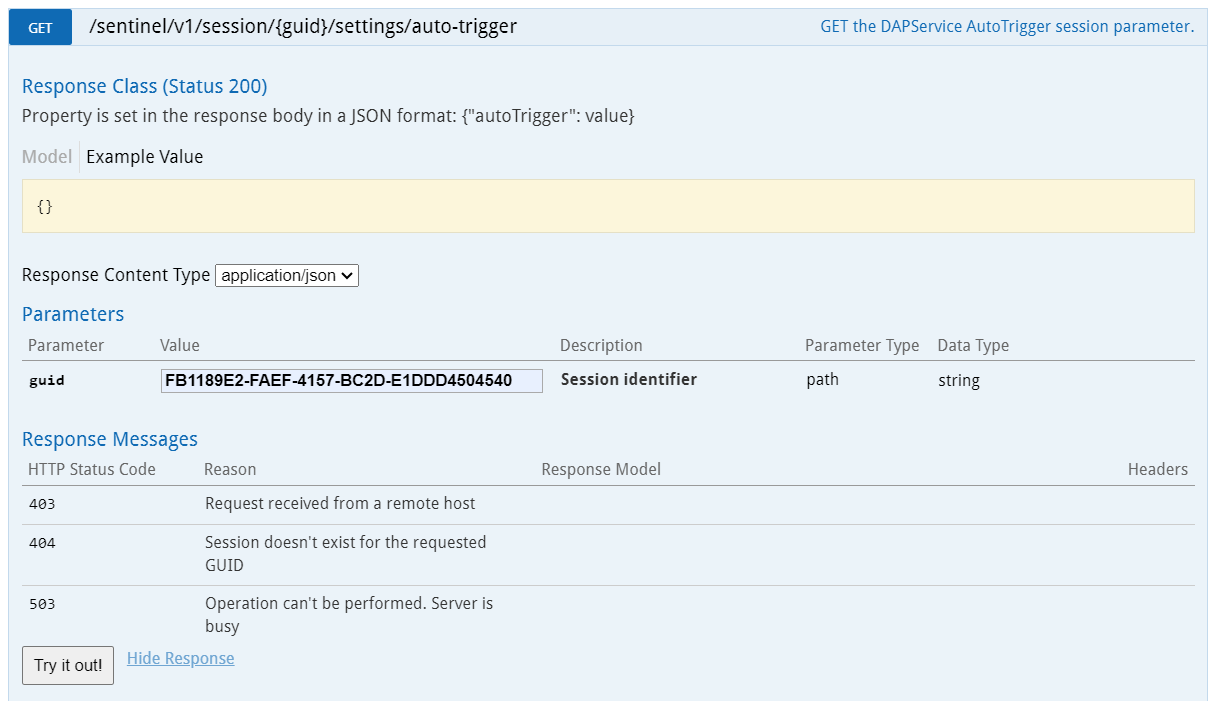
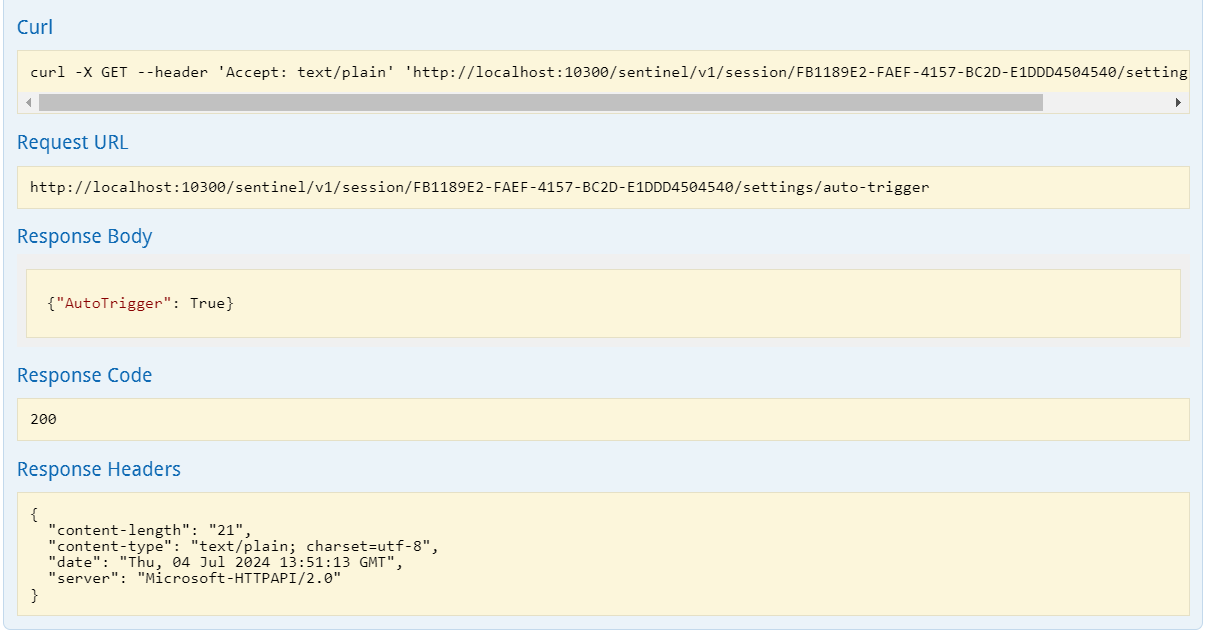
Get AutoTrigger
-
In Swagger, enter the following GUID:
FB1189E2-FAEF-4157-BC2D-E1DDD4504540and then click Try it out! A 201 response code means that a session was opened successfully. -
Set Get AutoTrigger parameter to false.
Note: You can also use this method to test Put/Get for OrientationCorrection and PresentationCorrection.