

Creating a document transaction
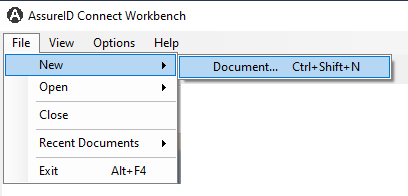
Click File > New > Document to create a new document transaction:
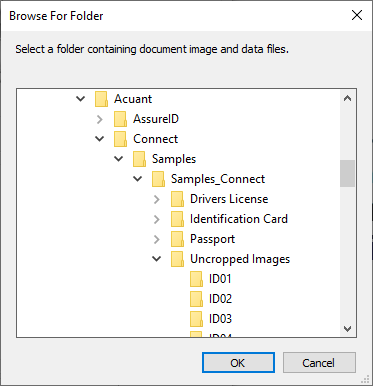
The Browse For Folder window opens to select the location of document image and data files:
After you select a folder, the contents of the selected folder will appear in the Image Files section.
Note: AssureID Connect supports HEIC images.
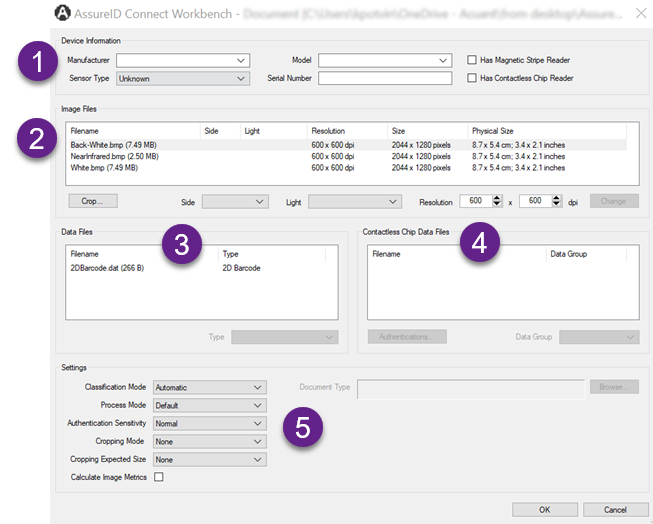
If there are data files or contactless chip data files in the folder, they are displayed in their own sections.
Before you can process a document transaction, you must fill out the Device Information section. You can use the defaults in the Settings section or modify them.
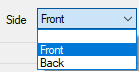
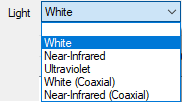
In some cases, the Side and Light columns of the image files table may not be populated and therefore the secondary settings are dimmed until you select one of the files.
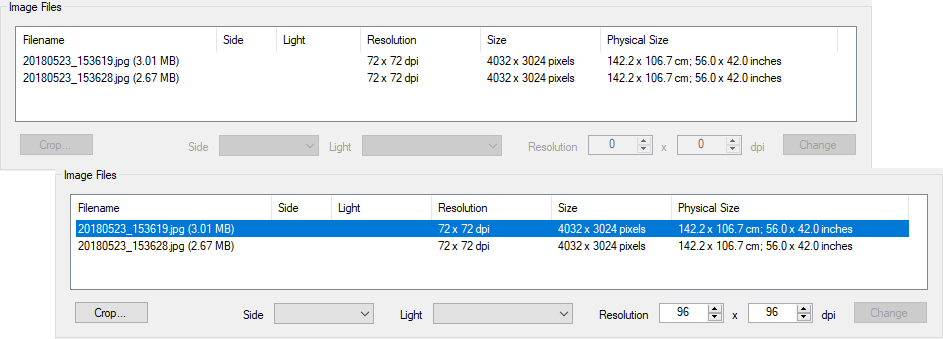
If you choose to change the Resolution, the Change button will not become enabled until you select a different value. Click Change to set the new values.
In the following example, White.bmp is the Front White image:

When you select this file, the Side and Light pull-down menus become enabled:
Process a new document transaction
-
Select the manufacturer, model, and sensor type from the drop-down menu in the Device Information section. (REQUIRED) You can also optionally add the serial number of the device. If applicable, check either the Has Magnetic Stripe Reader or Has Contactless Chip Reader checkbox.
-
Select at least one Front White image and make sure that the Side and Light columns are filled. If not, enter the details in the Side and Light pull-down menu.
-
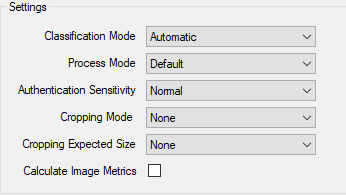
Use the default Settings or change them using the pull-down menu for each setting. See the table below for more information.
-
When you finish configuring the Settings, click OK.
| Setting | Description | |
|---|---|---|
| Classification Mode | 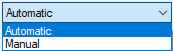 |
Specifies the mode of classification. Note: GBG IDology recommends using the Automatic setting. |
| Process Mode | 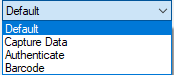 |
Indicates the type of processing to perform. Note: These settings are dependent on your subscription type. |
| Authentication Sensitivity | 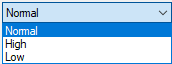 |
Specifies the level of sensitivity. A Low sensitivity may result in a lower false reject rate, but it can also increase the false acceptance rate. The High sensitivity level will result in a higher false reject rate but will have a lower false acceptance rate.* Note: GBG IDology recommends using the Normal setting. |
| Cropping Mode | 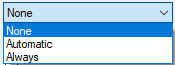 |
Specifies the cropping mode. Use None if the images are already tightly cropped and use Always if the images are uncropped. Note: Avoid using Automatic except in very rare cases.* |
| Cropping Expected Size | 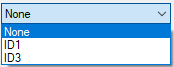 |
Indicates the expected size of the document, if known. Note Use None if you don’t know the size. |
| Calculate Image Metrics |  |
Calculates the sharpness and glare metrics for a given image* |
*See the Concepts Guide for more information about authentication sensitivity, cropping, and image metrics.