Login to your Windows Server 2012 as an administrator, the Server Manager should open automatically.
If the Server Manager window does not appear, then it can be manually launched by clicking on the ‘Server Manager’ button in the task bar as shown below. Alternatively, it can be accessed by clicking on the Windows Start button and choosing the ‘Server Manager’ as shown below:

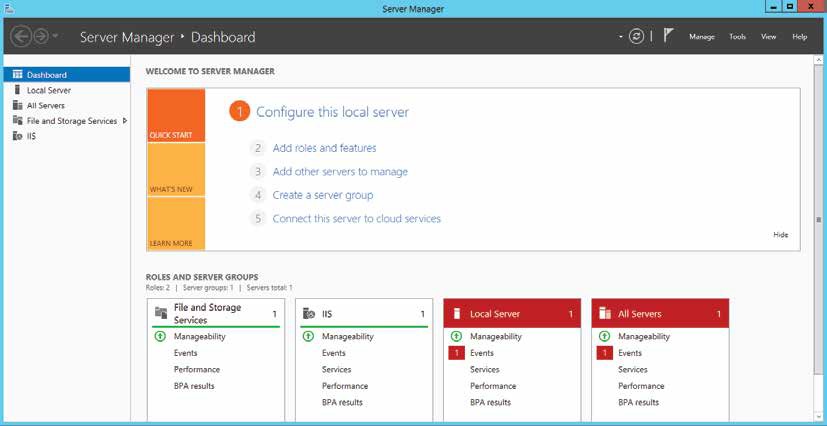
Once the Server Manager is launched the below page is shown:
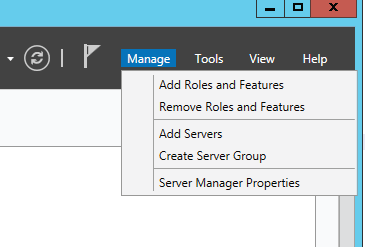
Please click on the “Manage” button on the upper right and then select “Add roles and Features” as shown:
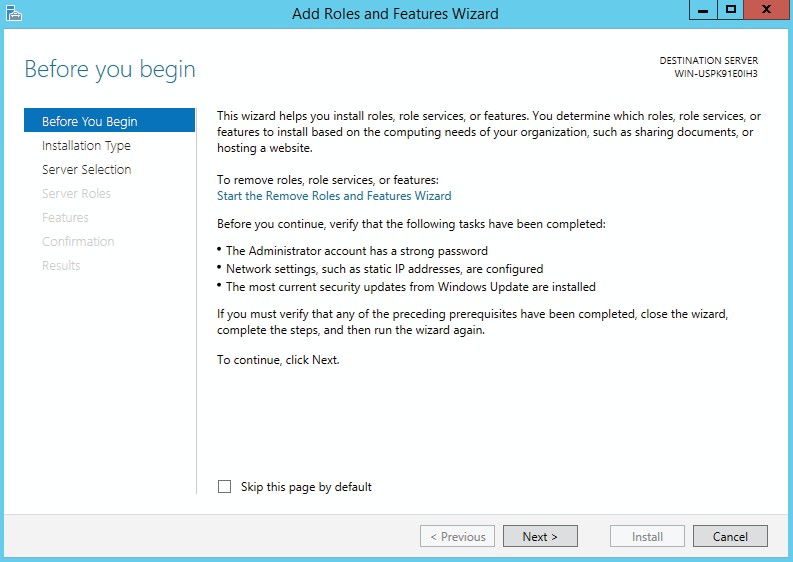
The below page in Figure 5 is shown, which gives the options such as: Before you Begin, Installation Type, and Server Roles.
It also contains a checklist of the required pre-requisites. Once the checklist has been completed, click on the ‘Next’ button.
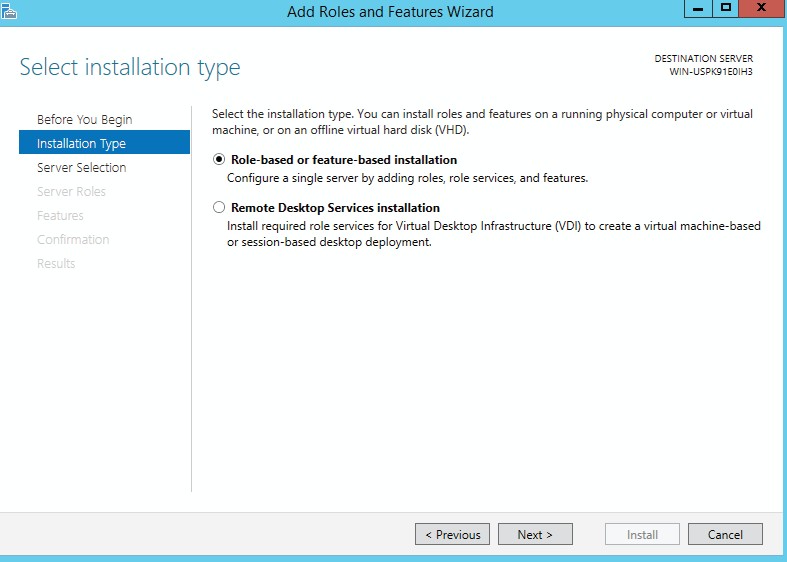
On the installation page keep the default installation, type “Role-based or feature-based Installation’ selected as shown and click “Next”
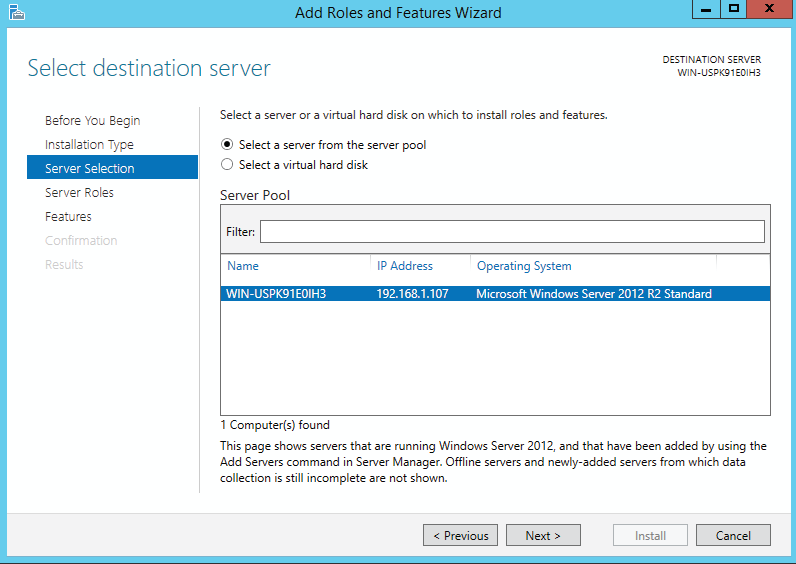
On the next page select the ‘Server from the Server Pool’, and click on ‘Next’ as shown:
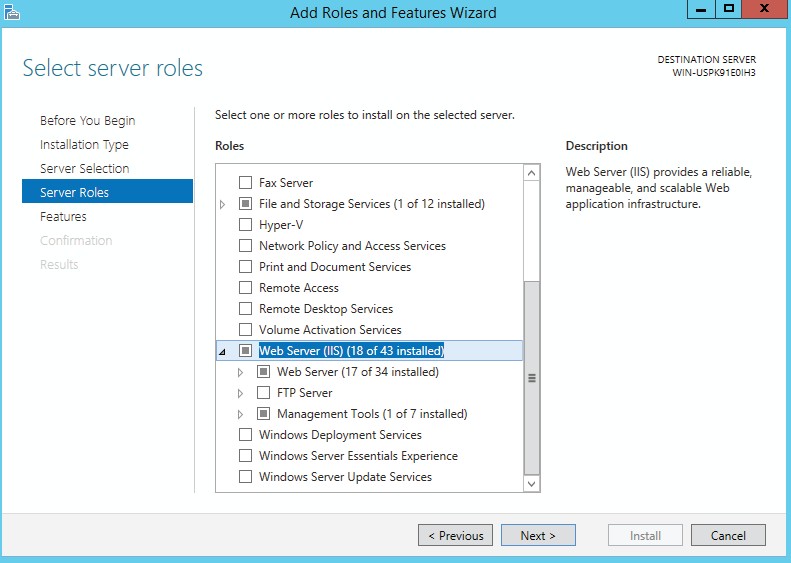
Select the Web Server (IIS) from the list of windows features displayed as shown below. a list of tools that need to be installed to manage the IIS Web Server.
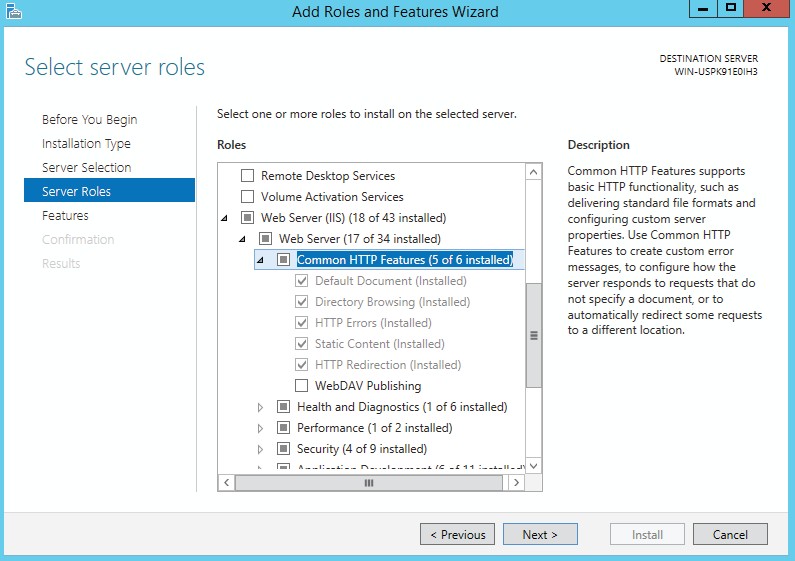
Please expand the ‘Common HTTP Features’ tab and ensure that the ‘HTTP Redirection’ option is checked as shown below:
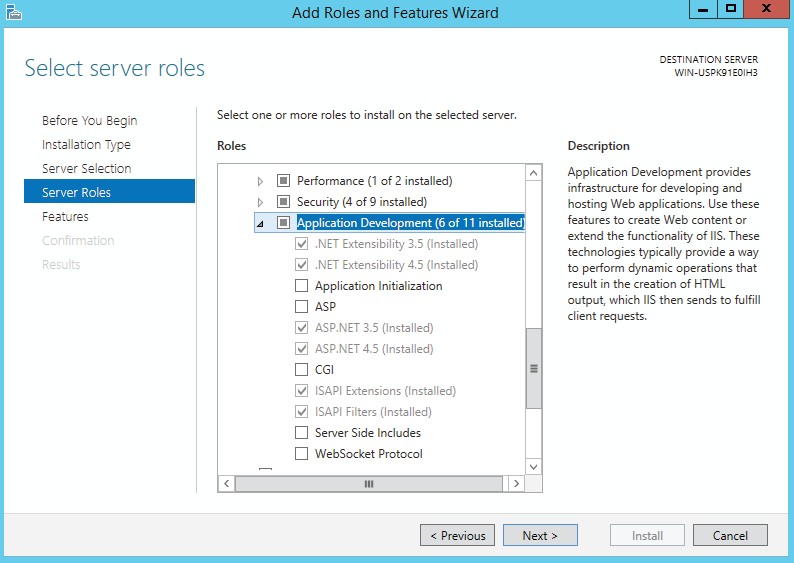
By scrolling down the list, please also make sure that the ‘ASP.NET’ option and its extensions are checked under the ‘Application Development’ tab as shown and click ‘Next’:
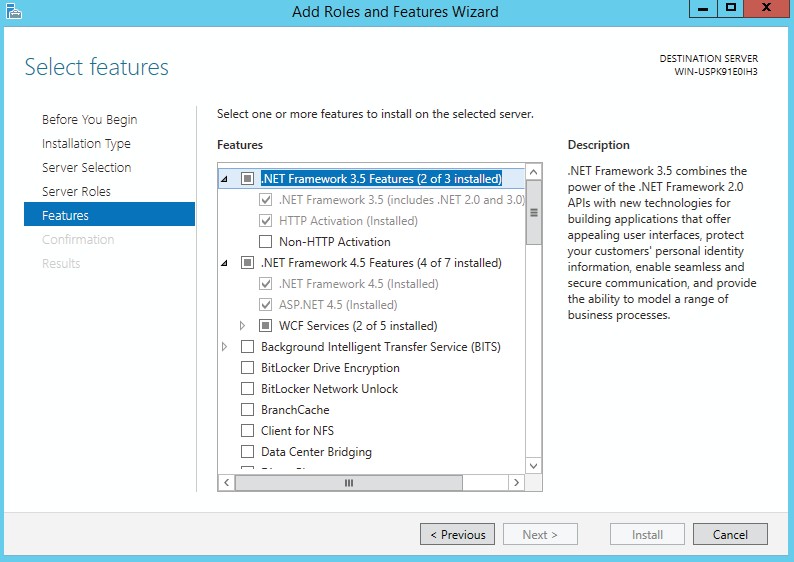
Please check the features that you want to install on the selected server e.g. .NET Framework 4.5 as shown below and click “Next”:
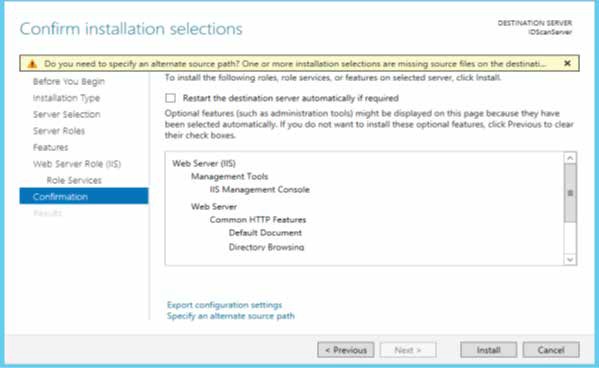
The ‘Confirmation’ page will then be presented as shown below. Automatically ‘Install’ the features if all are correct or click ‘Previous’ to change or alter any roles/features:
Restart the server if prompted to complete the installation of Windows components before proceeding with IDscan installation.