A certificate purchased from a Certificate Authority (CA) or a Self-Signed Certificate can be used. It is not recommended however to use a self-signed certificates since they are not as secure as certificates from a CA. Any server could claim to be your server with a self-signed certificate as they do not use a third-party verification system in order to actually confirm whether it is someone from your side accessing the system or a threat.
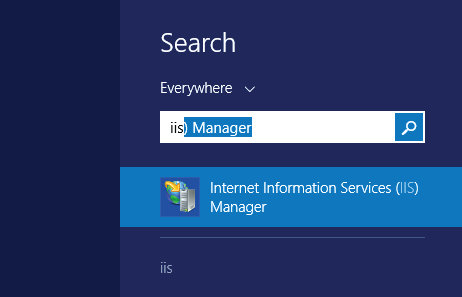
To install a new certification on the server please perform the following steps by first of all launching up the Internet Information Services (IIS) Manager by clicking the Home Start button and typing ‘IIS’ as shown below:
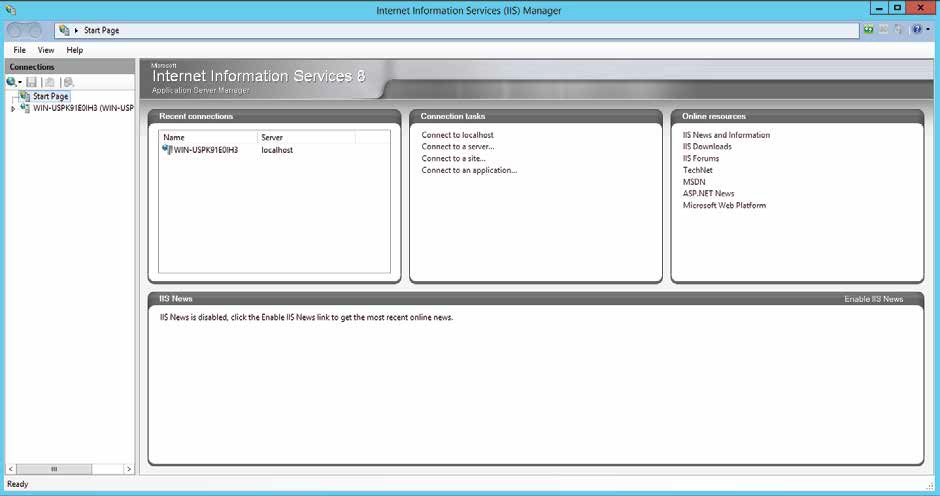
The IIS homepage will look like the page shown below:
Once the IIS is launched up click on the WIN.x.x.x tab on the left hand side drop down menu as shown:
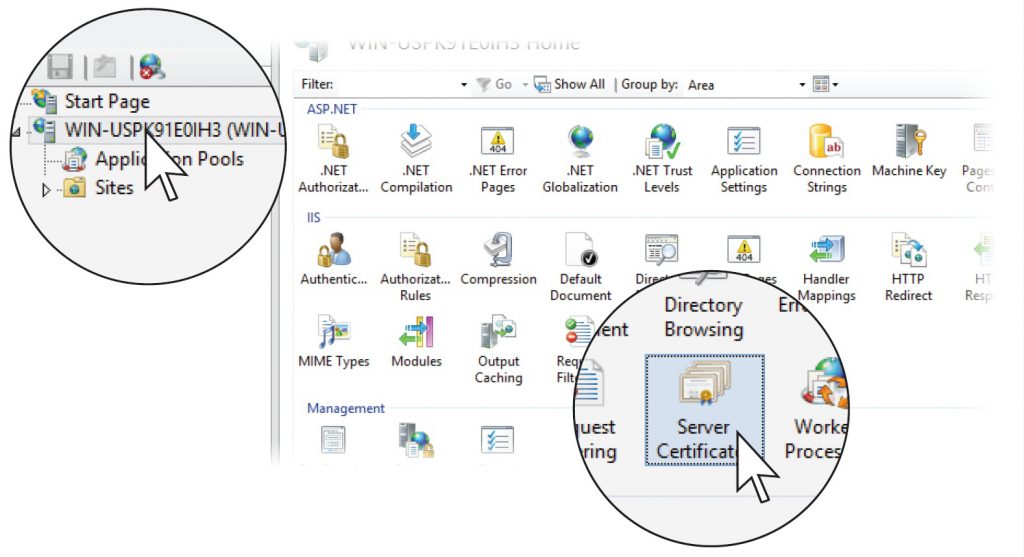
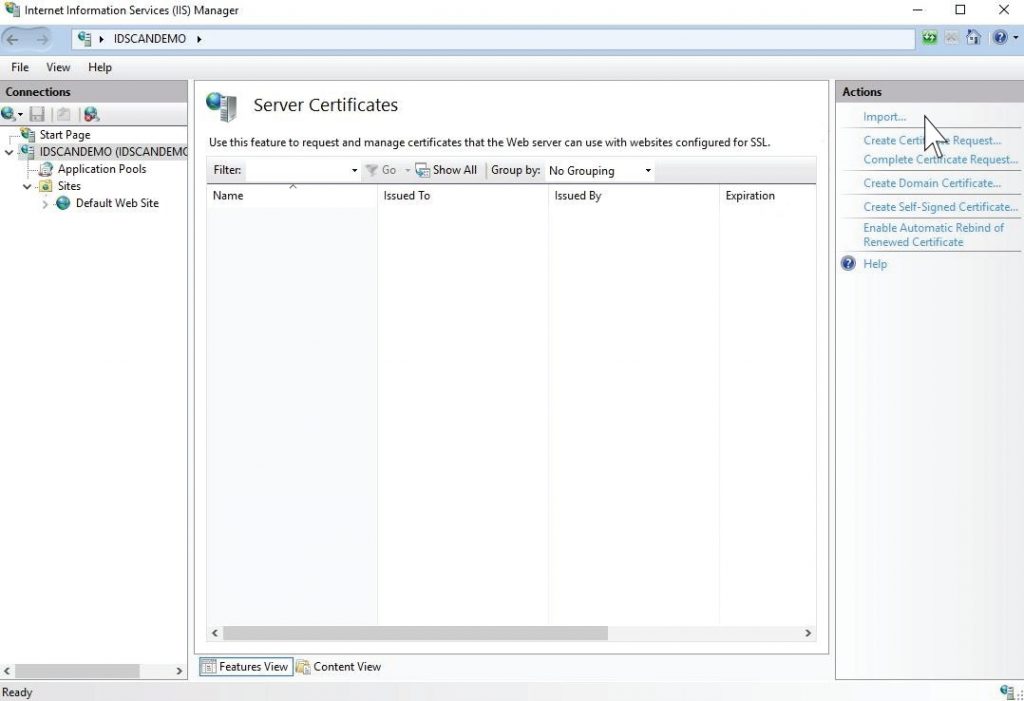
The page below will be shown, click ‘Import’ on the right hand side tab under ‘Actions’ and add in the certificate.
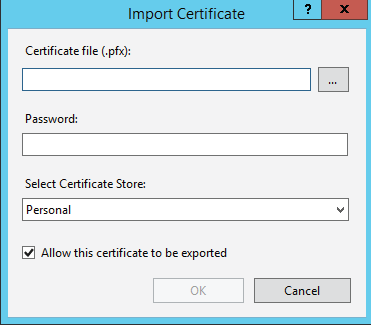
The following window appears as shown:
There is an option here to add the Certificate File, Password as well the Certificate Store Type (e.g. Personal/Web Hosting).
Once the above details are entered, click ‘OK’ and follow the next steps.
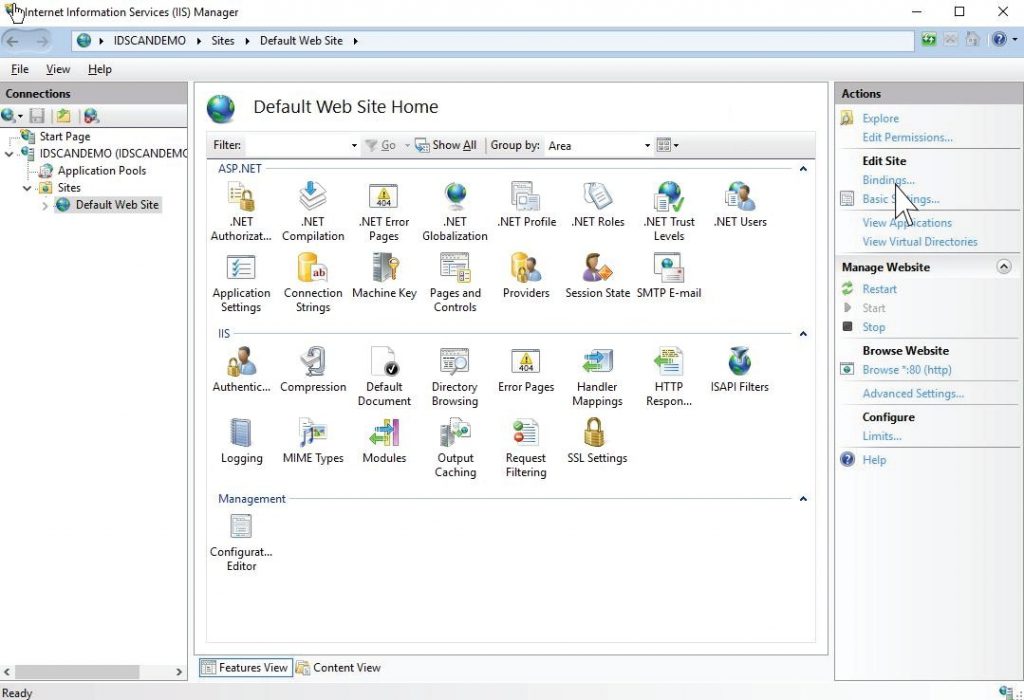
Now click back onto the WIN.x.x.x tab on the left hand side menu -Sites- Default Web Site as shown below and check the ‘Bindings’ from the right hand side menu under Edit Site.
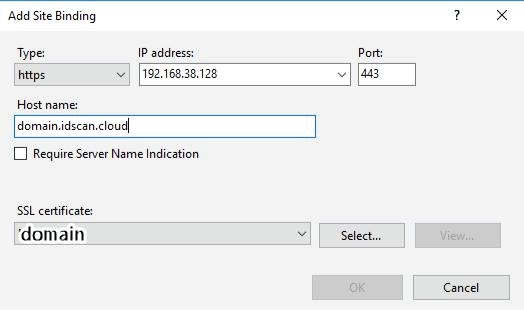
Click on “Add” and select Type as “https”, IP address and ensure that port is 443. Select “SSL Certificate” and click OK.
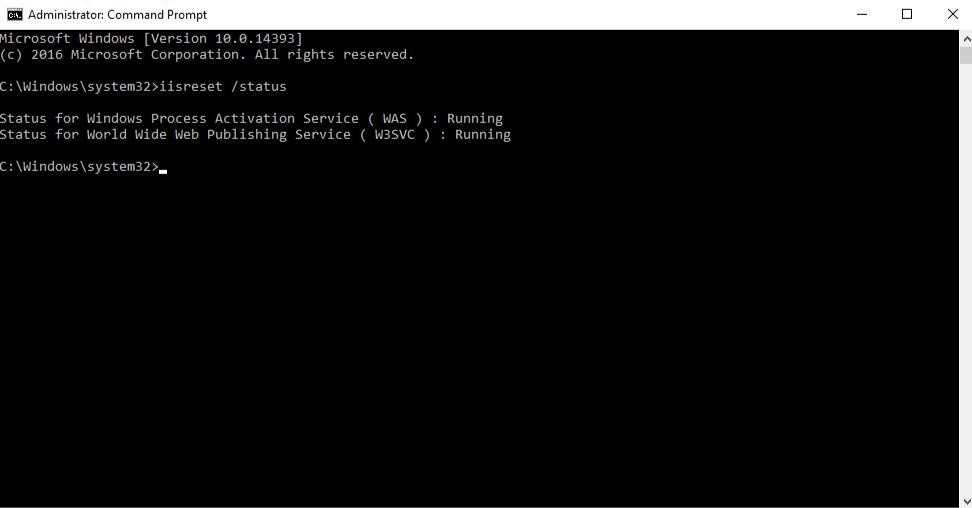
As a final step ensure that IIS is installed and running successfully through the ‘Administrator Command Prompt’ by:
“Windows Start – cmd – Right Click – Run as Administrator” as shown below: