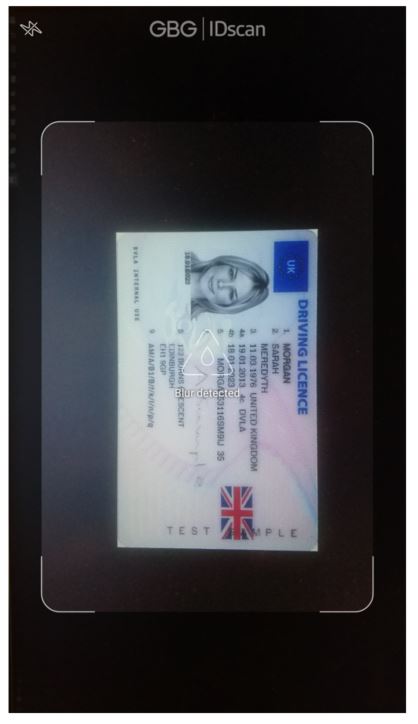
Start by pointing the camera to an ID document.
It is better to use the full screen in portrait, so turn the document on its side.
There are a number of image quality checks when taking a image:
- Image resolution
- Blur
- Glare
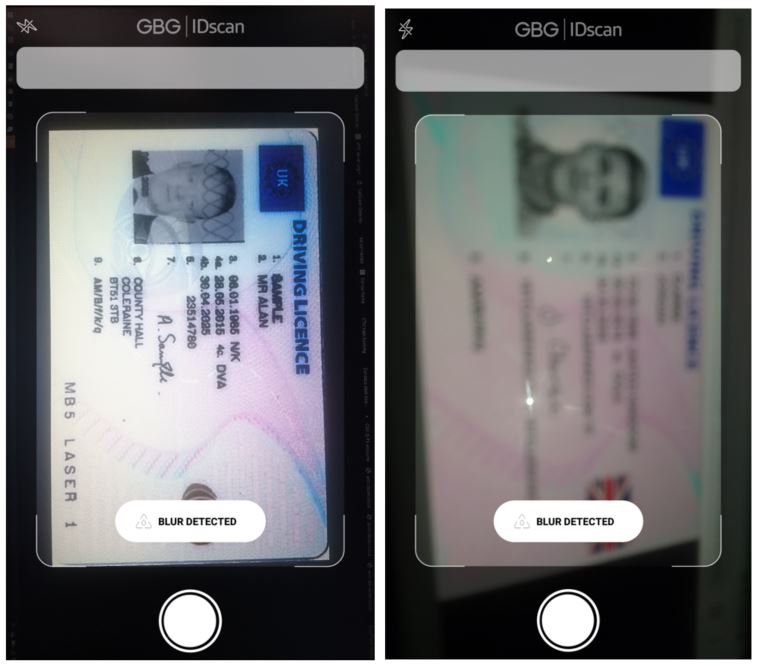
A pop-up button will appear after 5 seconds if the Identity Document was not recognised.
You will see helpful prompts to help you get the best image. Such as:
- Move Document Closer
- Blur Detected
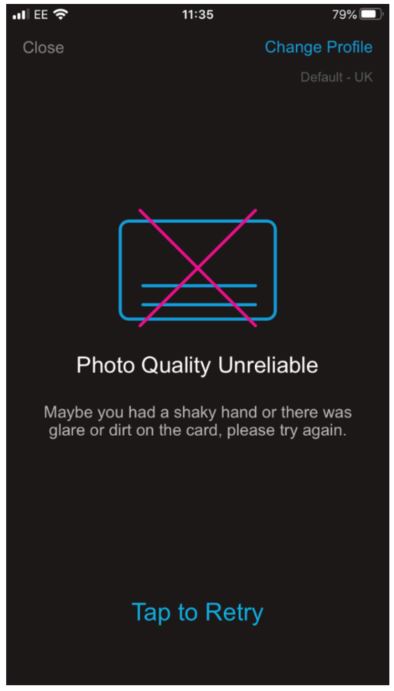
If you encounter issues with capturing the image you will be prompted to re-capture.
If the scanned ID cannot be recognised due to quality issues or your network connection is poor, you will be prompt you to try again.
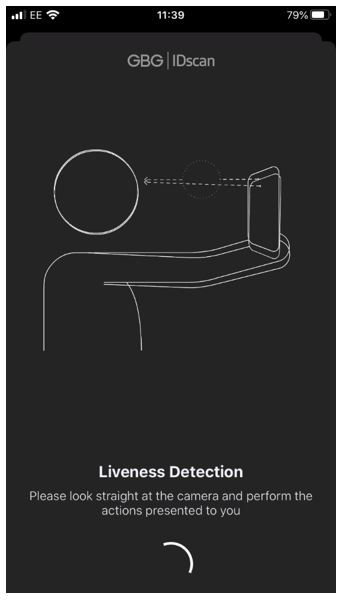
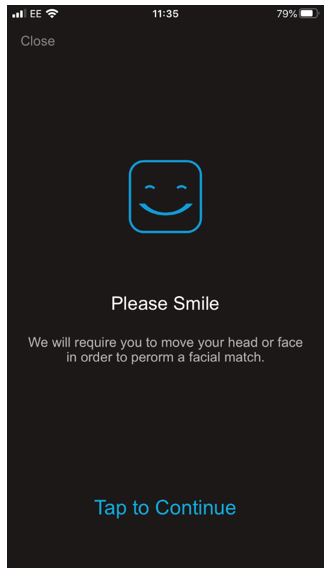
If you have liveness enabled the following screens will also appear.
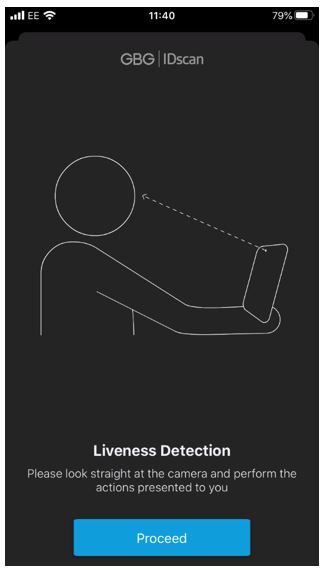
Please ensure that your face is completely visible, remove any coverings.
When liveness has been enabled on your backend, users will be asked to complete easy steps in order for them to pass the liveness stage.

Once you have captured that ID successfully you the information on the presented Identity Document will be processed and sent for extraction.
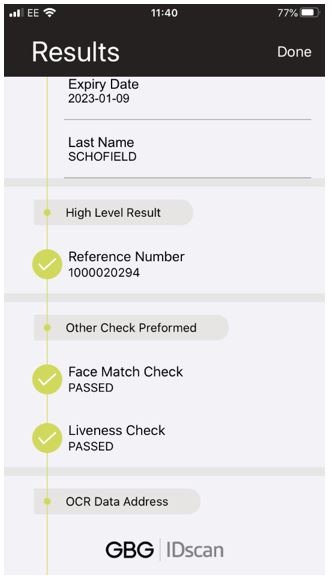
After all the steps are followed, the results screen will show the details of all the checks resulting from the journey.
The high-level result will indicate the outcome of the journey, followed by the Reference number which you can use to audit the scan in the Investigation Studio.