The installation process of the IDFM is a quick and easy method, as shown in the steps below.
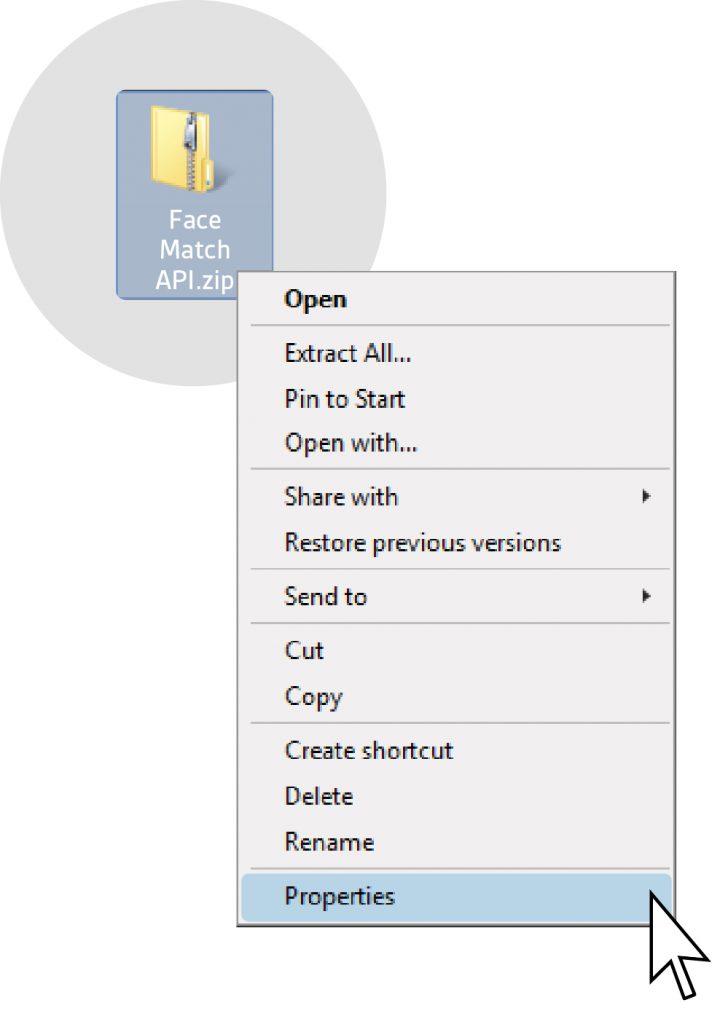
Your first step, like in all our other components, would be to check whether the zipped file is blocked by right clicking onto the file and choosing the ‘Properties’ option from the list:
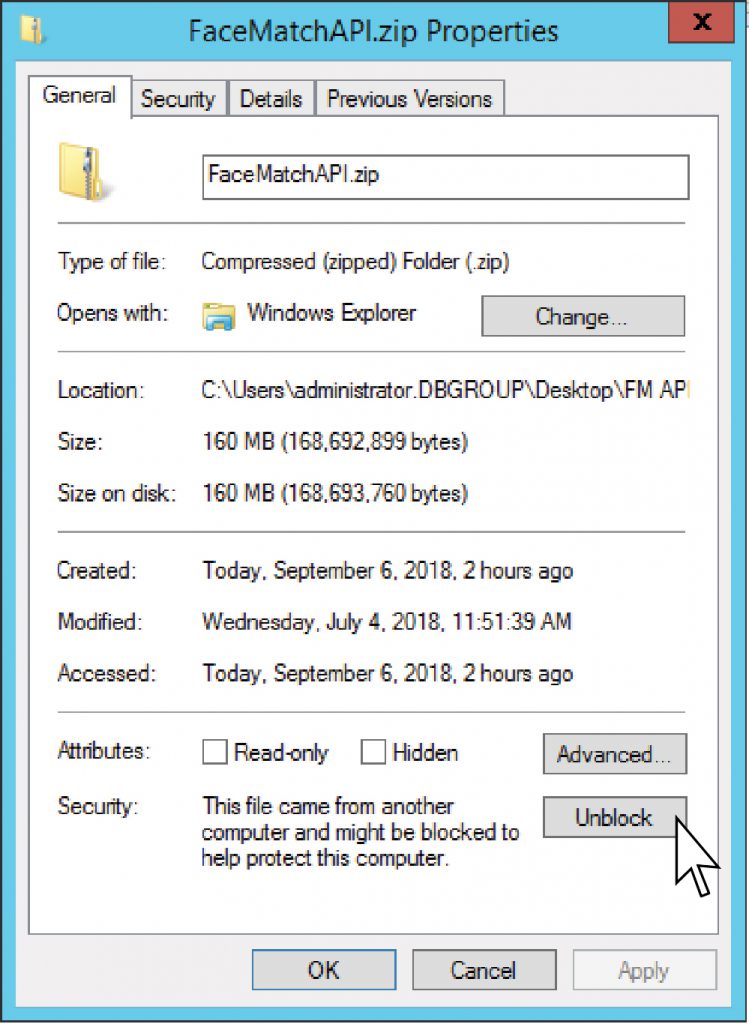
You are then showed the properties of the zipped Face Match API file. If the content is blocked, then make sure to ‘Unblock’ it before doing anything else, as this is an essential part of the installation.
You should click ‘Unblock’, ‘Apply’ then ‘OK’ to unblock and continue with the installation.
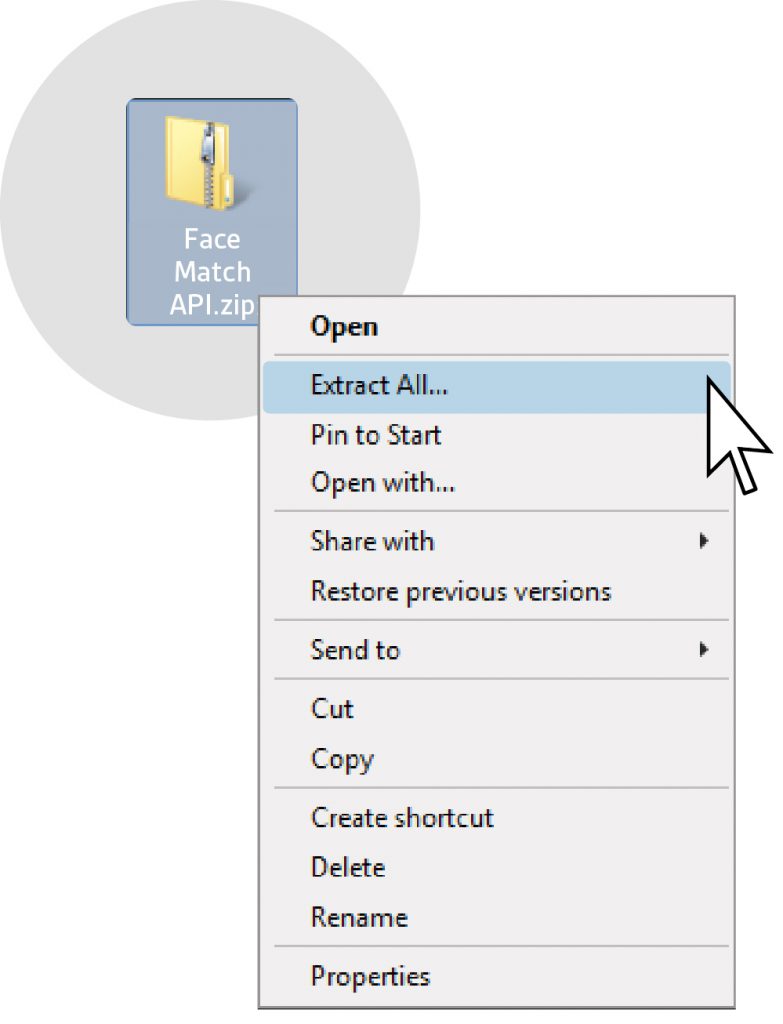
After you have unblocked the component, you can move onto extracting it by right clicking onto the file once again and choosing the ‘Extract All’ option as shown below:
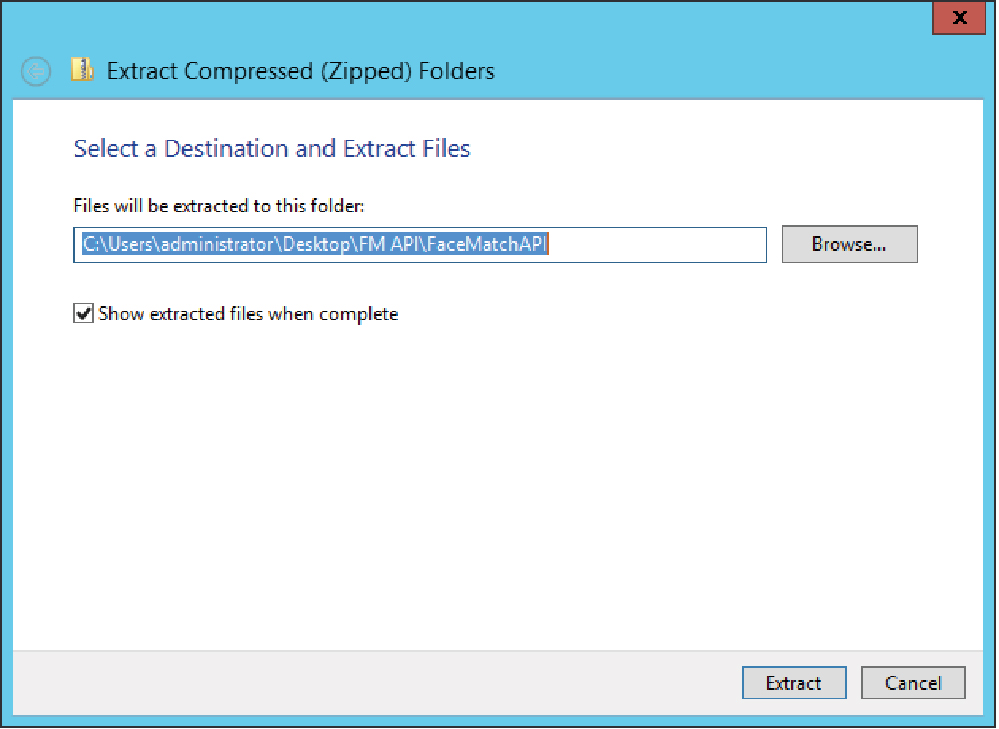
You will be prompted with an automatic window as shown below, displaying the path that the file would be extracted into, which you should then click onto ‘Extract’.
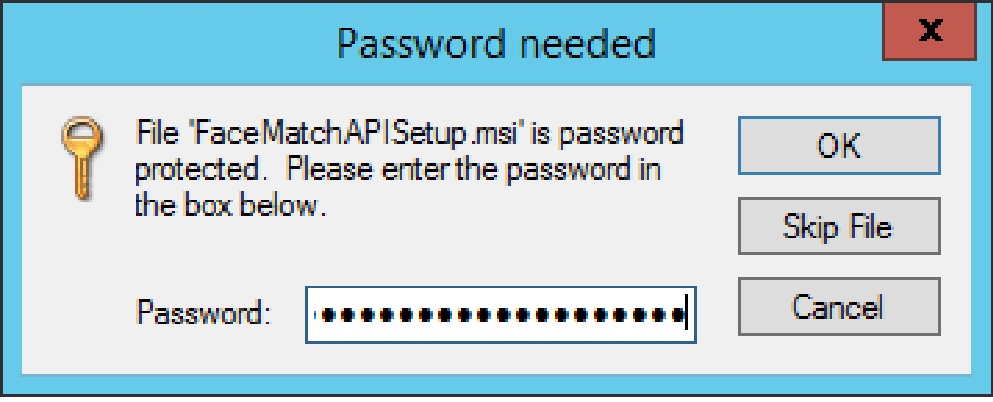
You will be asked to fill in the password for the zipped Face Match API file, which you will be able to find in your release email.
After you added in your password, you will see the extracted files presented in both MSI and EXE format to begin the installation.
It is important that you choose to run the MSI file as an administrator.
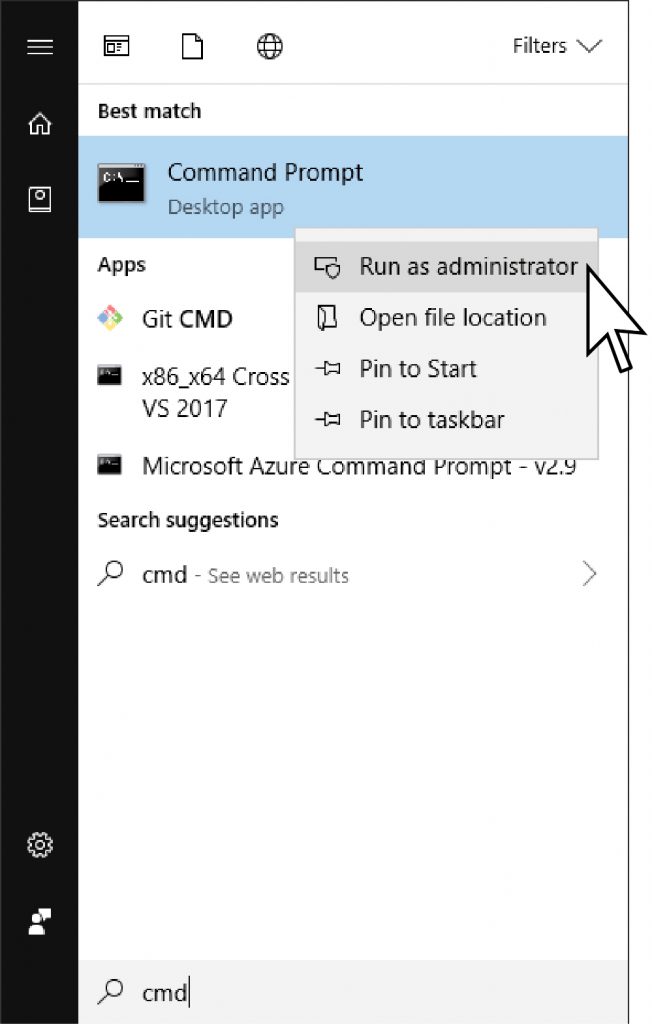
Click the START button and type ‘CMD’, right click onto the Command Promp search result and choose the ‘Run as Administrator’ option as shown below:
After this, change the directory to your user desktop and run the MSI file
CD C:\users\(your username)\Desktop\
C:\users\(your username)\Desktop\IDFM(filename).msi
PROPOSED CHANGE BY TONY:
(This note should not be on the final revised version)
cd %USERPROFILE%\Desktop
IDFM(filename).msi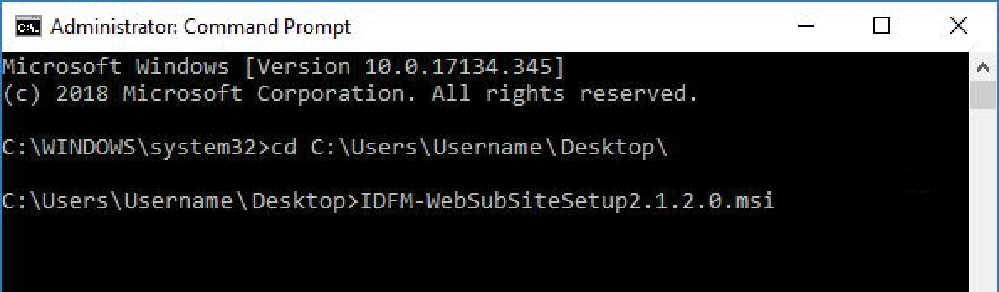
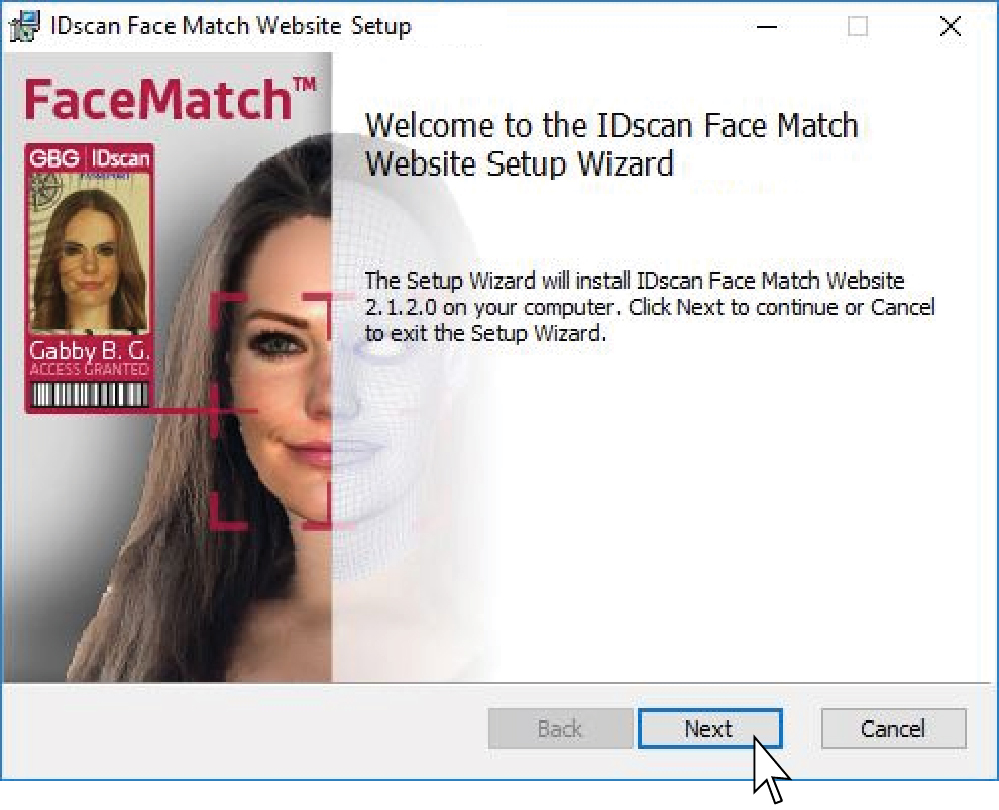
Once the MSI starts to run, you will see the IDscan Face Match Setup Wizard as applicant in our other components.
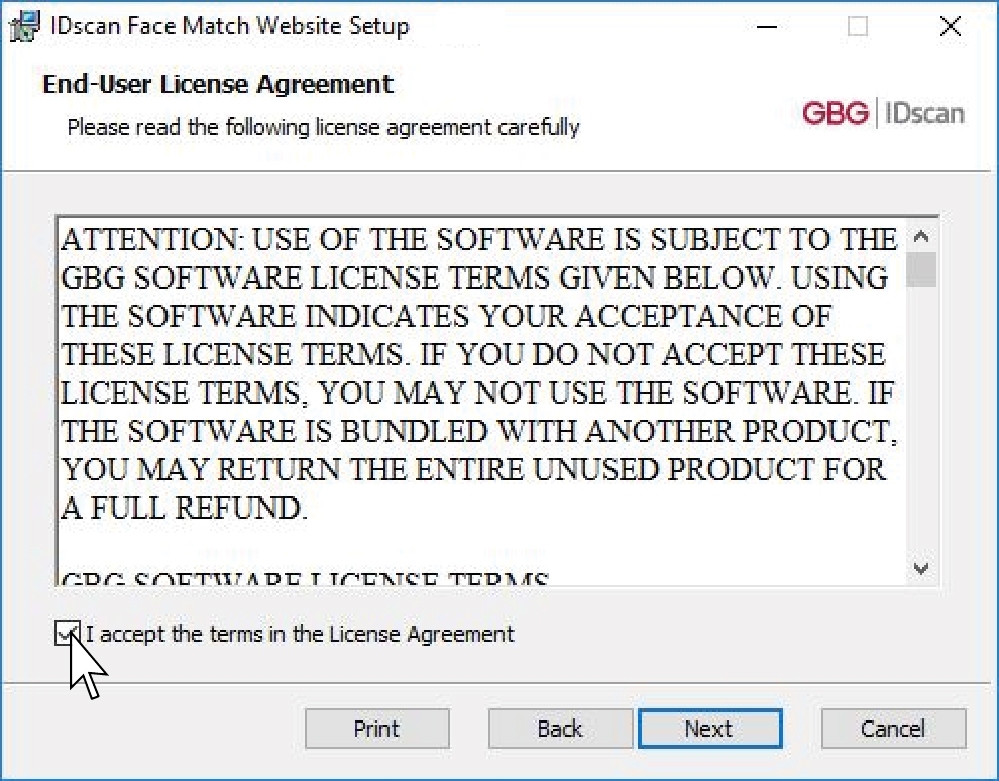
Click onto ‘Next’ to see the License Agreement information, which you should read carefully and accept to continue with your installation as shown below:
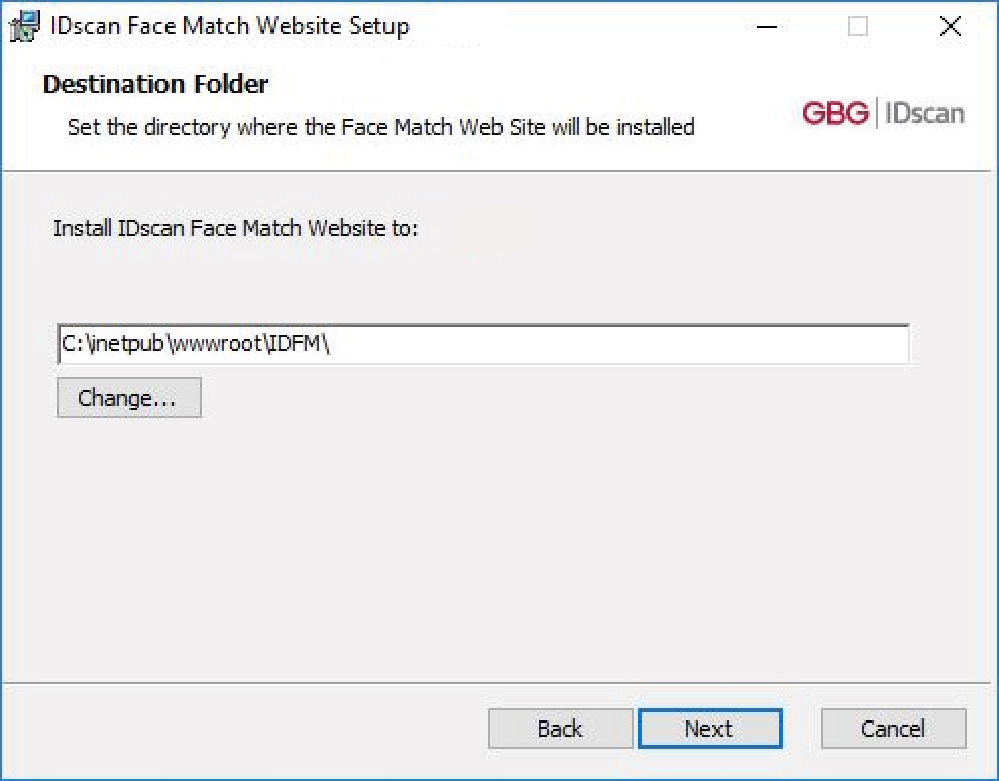
You will then be shown the path where the Face Match API Engine would be installed into:
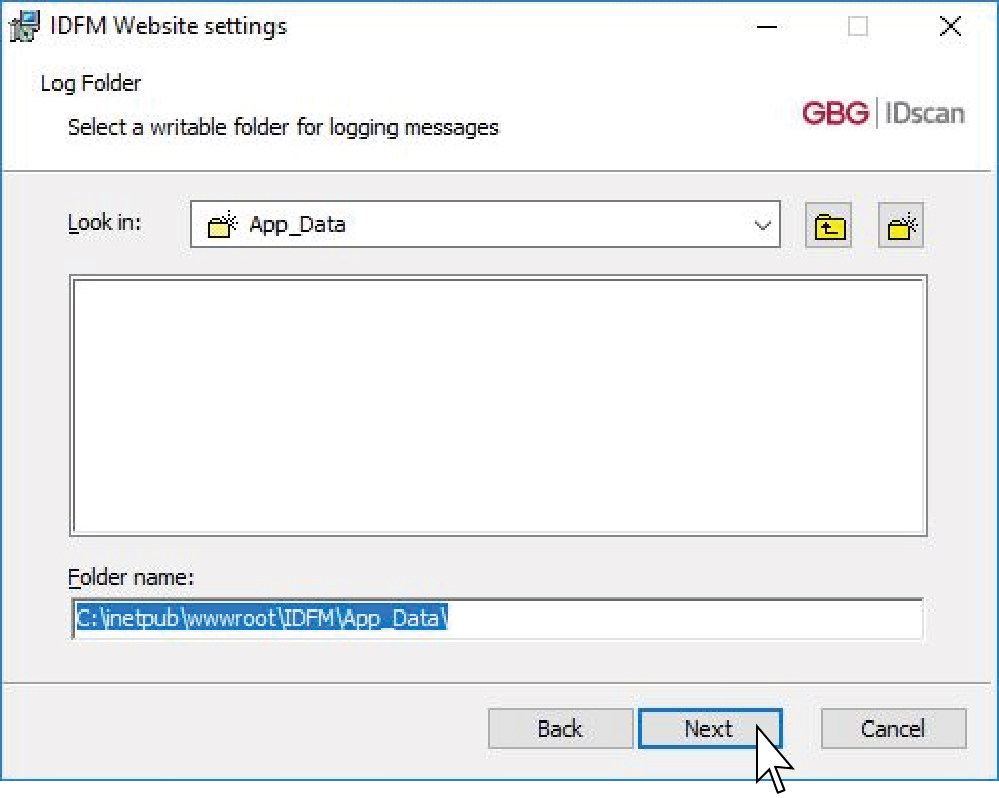
And another folder where the log messages will be stored.
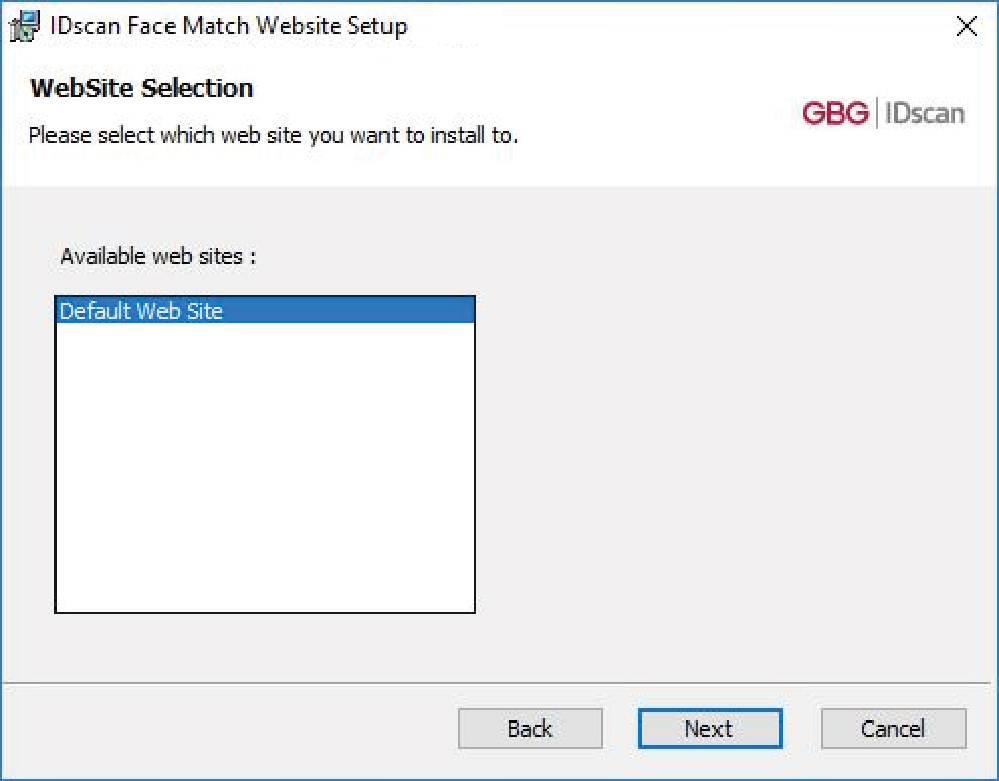
You will select a Web Site to host your installed package. Choose the ‘Default Web Site’ and click onto ‘Next’ as shown below:
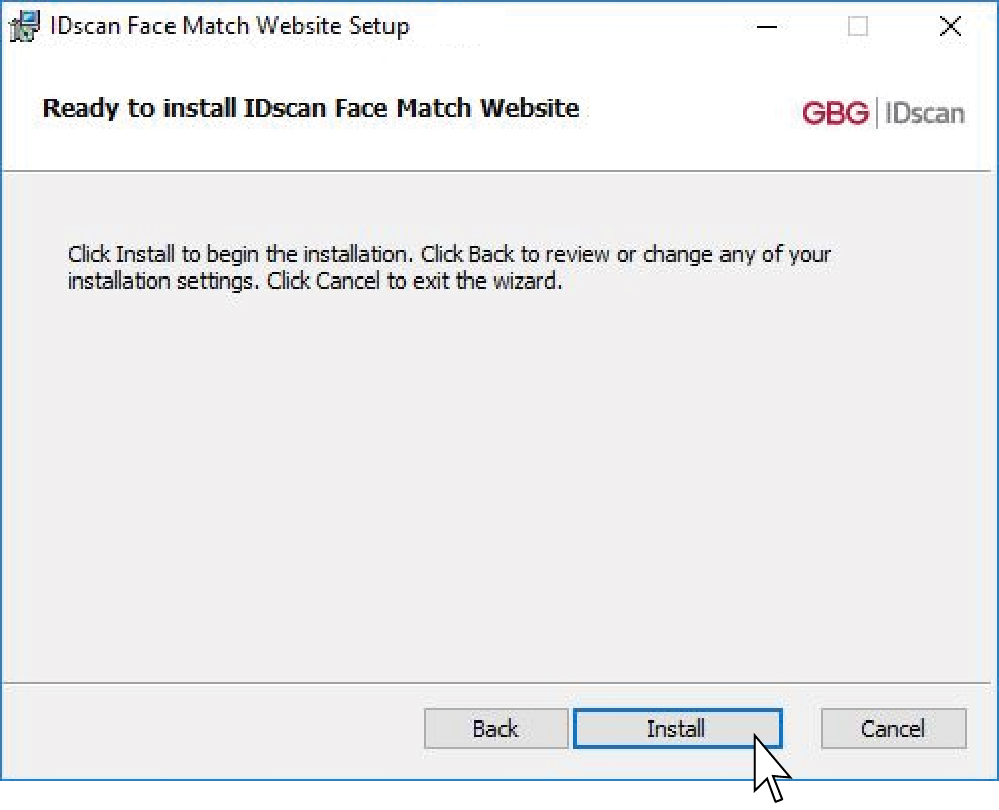
Then click onto the final ‘Install’ option
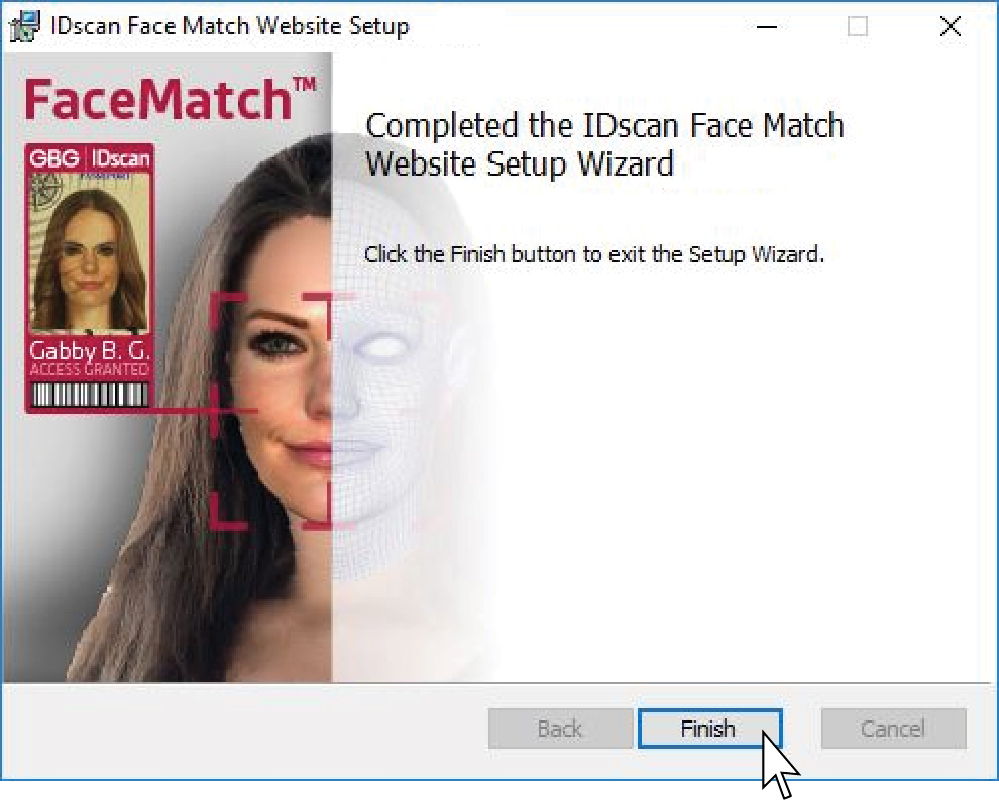
A final window informing you that you have successfully completed your installation shows up and you should click onto ‘Finish’:
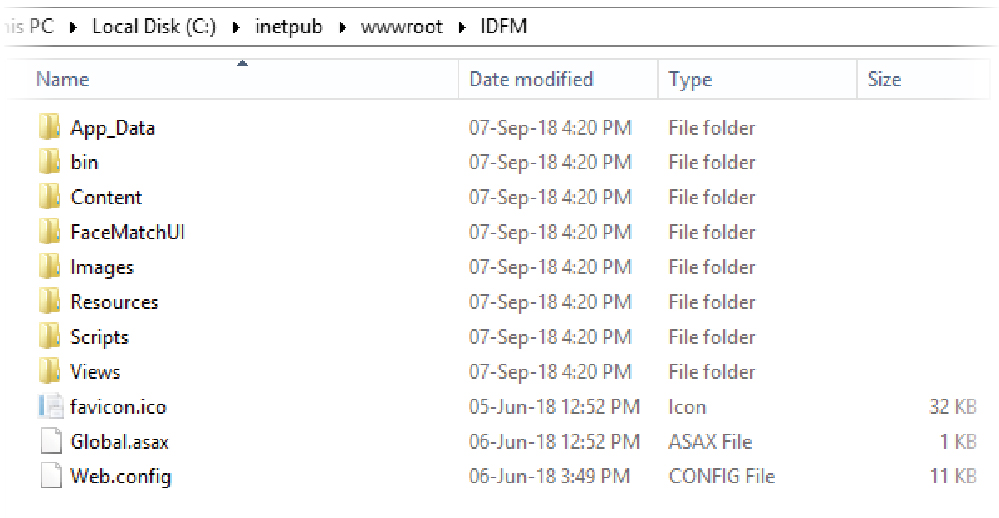
Your installation has been completed. You will be able to access the folder where the Face Match API was installed into in the following path: C:\inetpub\wwwroot\IDFM