Once you have installed your Core Engine you should also do a final configuration change after you have installed the IDscan Enterprise Onboarding Suite (IEOS).
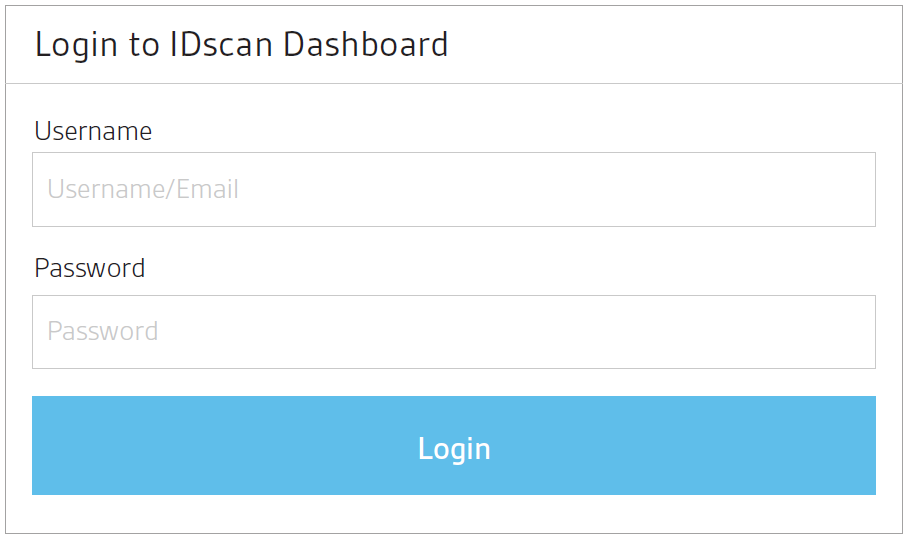
In your browser search for the following URL: https://(SERVER-URL)/IDScanApp
Once you have searched for this page you should be shown the following web page as shown here:
In order to make Address Documents a part of your journey workflow you need to enable this from the Journey Settings on our Administration Portal through our IDScanApp.
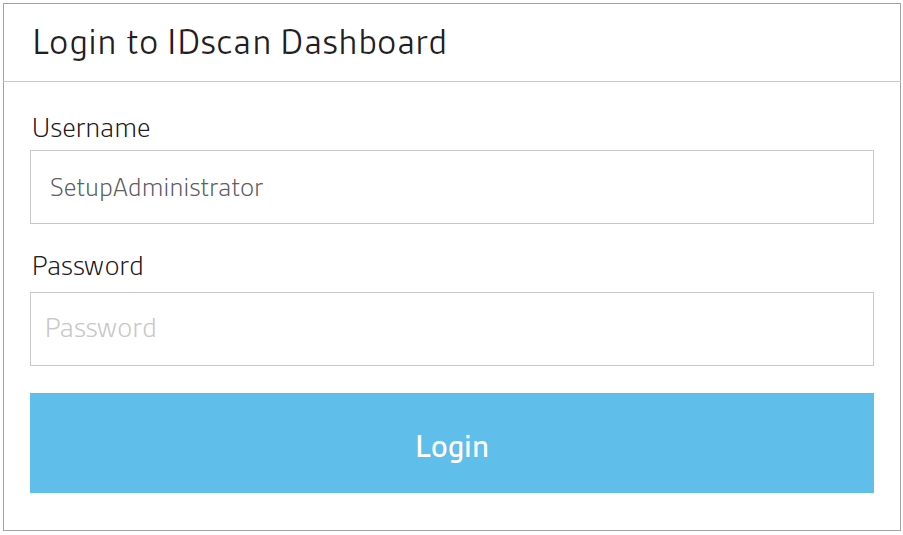
To access the journey settings you need to enter the Setup Administrator which you can find in your Users Management xml file located under the following path: C:\ProgramData\IDScan\IDScanEnterprise\UsersManagement.xml
Once you have accessed this page you will be able to see all the credentials needed for every role. Login with the Setup Administrator credentials as shown below:
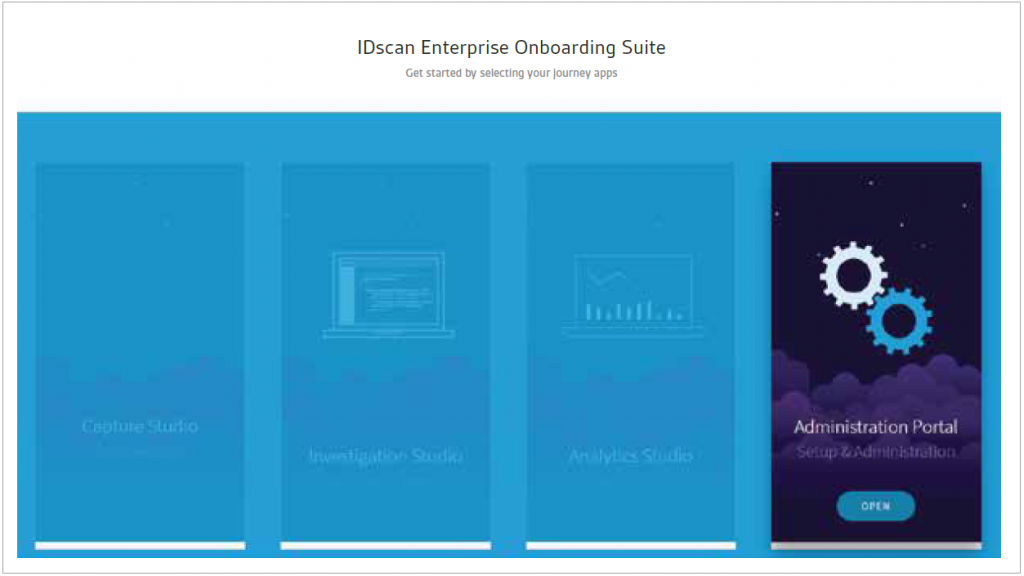
Once you have logged in you will be able to see the following dashboard allowing you to ‘Open’ the Administration Portal.
Once you have chosen to ‘Open’ this tab you will see a general journey settings page as shown below:
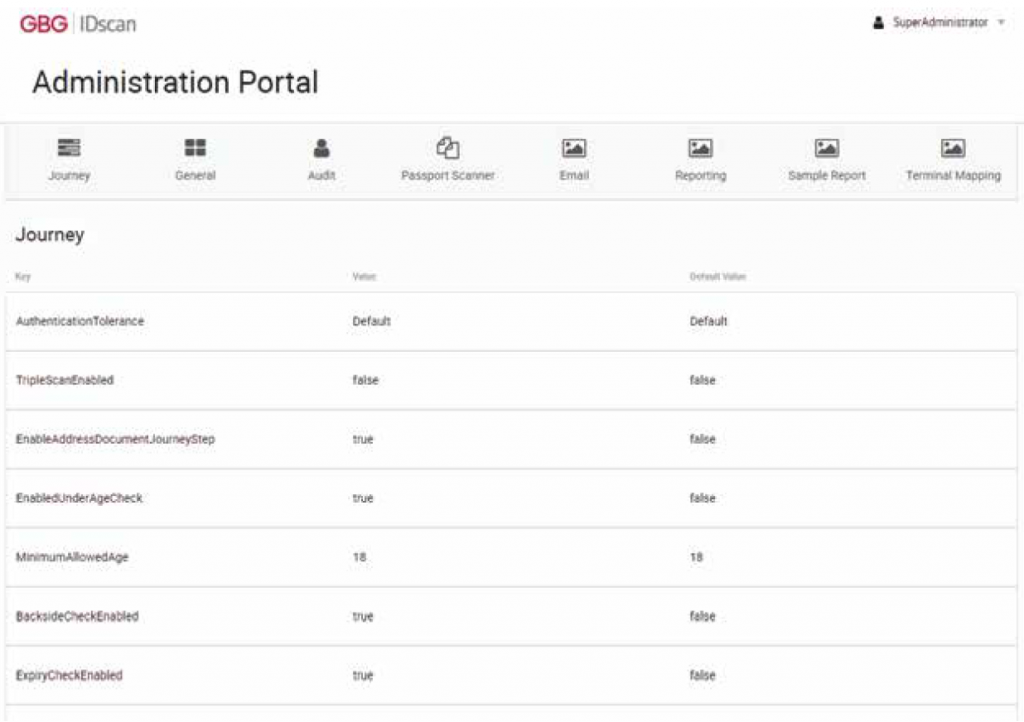
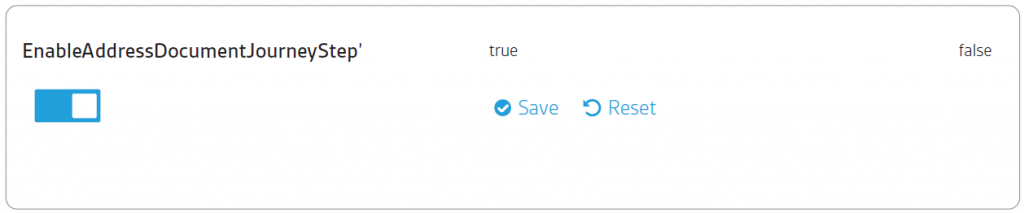
From this settings page find the key which reads ‘EnableAddressDocumentJourneyStep’. If the key does not read ‘true’ then change the default value of ‘false’ to ‘true’ as shown below in Figure 15 by clicking onto where it shows the key and sliding the box and pressing ‘Save’.
You are now ready and setup to use A4 documents in your journey workflow.
If you run into any errors or have any queries in regards to this then please do not hesitate to get in touch with your TAM/SAM.