Further configuration options are available to administrators. These should be configured in conjunction with your Professional Services representative in order to ensure you are maintaining your integration correctly and to ensure your customers expectations are met correctly.
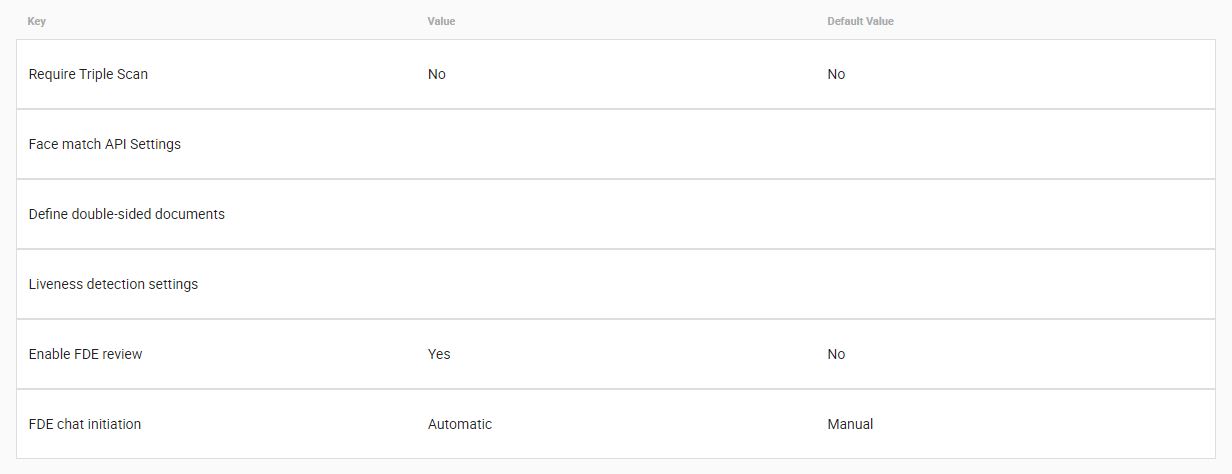
Triple Scan is a feature within the IEOS backend settings which enables the image of an Identification Card or any other document to be scanned three times. This is to ensure the utmost quality and resolution of the document. If Triple Scan feature is enabled, ‘Please Rescan’ message will be shown if the image capture is at low quality/resolution when capturing a document.
However if the image quality is acceptable then the image will be sent for the next step, if it isn’t then the message ‘Please Rescan’ will appear again (up to three times).
This feature ensures the documents are captured in the best quality possible and in turn decreases the number of ‘Not Supported’ or ‘Refer’ results that may occur due to low resolution.
To enable this feature, ensure the ‘Require Triple Scan’ switch is set to the ON position and select “Save”.

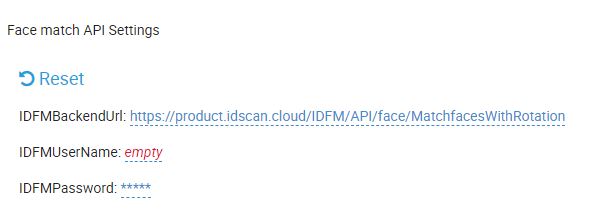
Face Match API settings can be configured to use specific URLs to link to the IDscan Face Match Service. It is highly unlikely that this would need to be configured by Administrators as the default setting would suffice in most cases. In order to have this feature enabled, please install the IDFM component. Face Match will only be available if you have requested this feature during your contract negotiation and are given an IEOS Product Key with the Face Match feature embedded. This key would be provided to you within your package release email sent by your Professional Services Consultant.
Define Double Sided Documents allows Administrators to define specific documents as double sided, and further allows for the results of the back of defined documents to be either ignored or considered. When this option is applied to a specific document, the IDscan library will prompt for the capture of the back of the document, should this be set in the journey definition, and allow for certain checks to be performed.
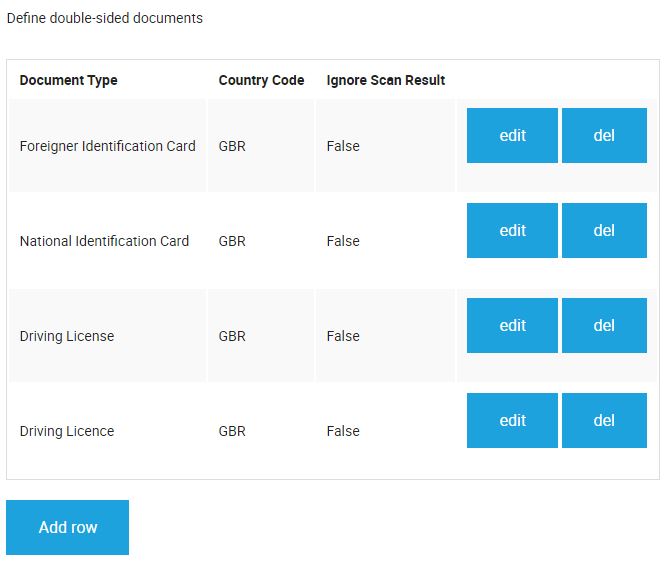
If an Administrator sets the Ignore Scan Result to “True” and the outcome of the back of the document does not pass, it does not impact the journey outcome. Certain documents may well be defined as double sided by default, however Administrators have the ability to define their own documents as double-sided by clicking on ‘Add row’ and Choosing the ‘Document Type’, ‘Country Code’, ‘State’ and their choice of ‘Ignore Scan Result’.
Note: If the underage rule is significantly important for your company, then the IgnoreScanResult should not be set as true. If the ignoreScanResult is true, then HLR might return as a pass even if the person is not matching with underAge rule.
Note: This section is enabled only when the ‘Front-back Cross Check’ option is set to “On” in the Business Rules section below. In addition to this, ‘State’ information will be filled only when the Country Code is set to AUS or USA. This information will not be available for the other Country Codes.
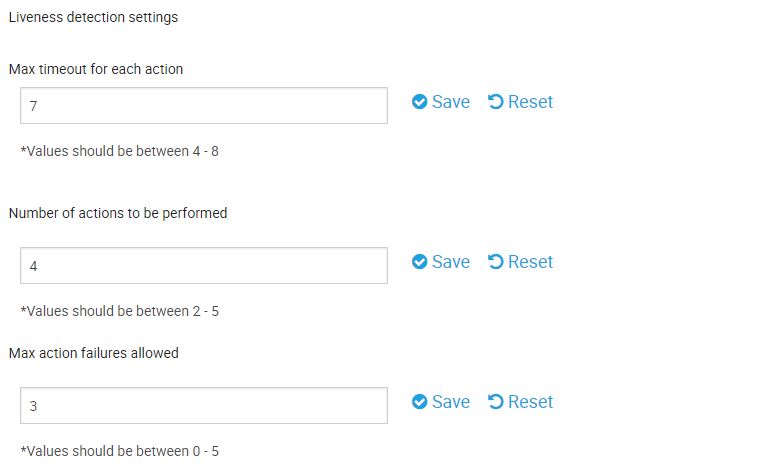
Liveness Settings allows the Administrator to configure the various configuration options applicable to the Liveness detection portion of the onboarding journey. This section is made up of six configurable options.
1. Max timeout for each action: Indicates the time (in seconds) allowable for a user to complete the gesture required
2. Number of actions to be performed: Indicates the total amount of actions/gestures required in the Liveness detection portion of the customer onboarding journey.
3. Max action failures allowed: Indicates the Maximun amount of Liveness gestures that can ‘fail’ or timeout. This option is included to accommodate those people that may struggle with specific expressions.
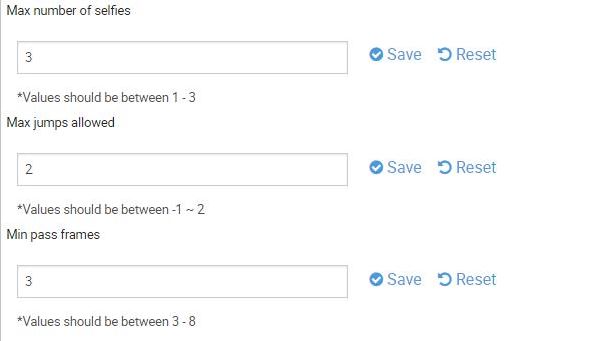
4. Max number of selfies – This specifies the number of images that will be taken of a subject spread out over the Liveness process. These images will be checked against the image on the ID and if they are not of the same person throughout, then the Liveness check will fail. If there are not enough non-blurred and forward facing face images then we might not see all of the requested number of selfies.
5. Max jumps allowed – If a subject goes out of frame or abruptly changes the angle of their head in an unnatural manner, then we will detect a jump. This setting gives the maximum number of times this can happen before we fail the Liveness test. This is to prevent still photographs from being used to spoof the system.
6. Min passed frames – We automatically adjust the time it takes to perform each action to around one second. However on slower devices this can sometimes mean we don’t see the action being performed in enough consecutive video frames. This setting controls the minimum number of frames in which we have to see an action and can result in the time to recognise an action being greater than a second if the users device is slow.
After making any changes you will need to remember to click “Save” to make sure that all changes are saved.
Enable FDE Review allows for the invocation of the Forensic Document Expert service. FDE is an ancillary service offered by IDscan which allows for documents to be reviewed by IDscans team of Forensic Document Examiners, should they be referred or Not supported. Should you be considering the use of this service, please consult your CSM or Professional Services consultant.

FDE chat initiation allows Administrators to configure whether referral of documents to the FDE operators takes place automatically (immediately once a document is referred) or via manual initiation (This process is triggered via the Investigation Studio).
