The address corrector is a component of the backend of the package.
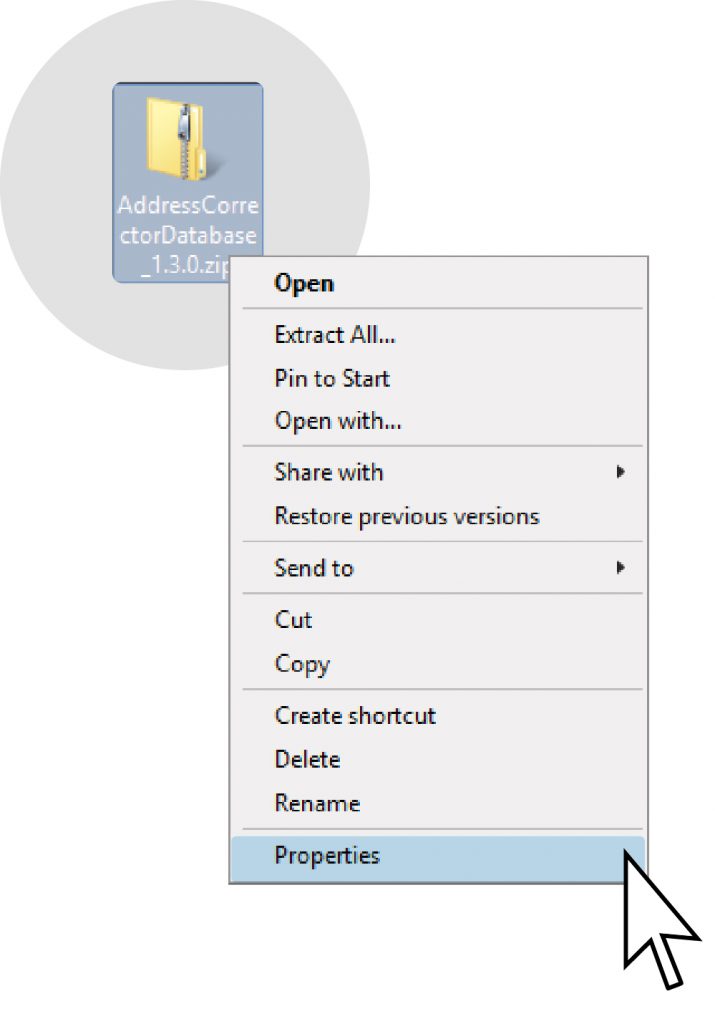
Once your system is ready with your IDES and Document Reference installed, right click the Address Corrector Zip File as seen below:
Your first step should be to check whether there are any blocked components. Blocked components can cause the extraction process to fail or not extract all the necessary information. This check is completed to ensure that the file is unblocked.
In the case that you extracted the file, but forgot to unblock it, then please restart the procedure and follow the instructions below, then the problem would be that not all the components and pre-requisites would be extracted for the file to work successfully.
If your file is seen as blocked then you will have to unblock it before carrying on with anything else as extracting a file without unblocking it may cause issues with the file itself.
The below example shows, what a blocked file looks like:
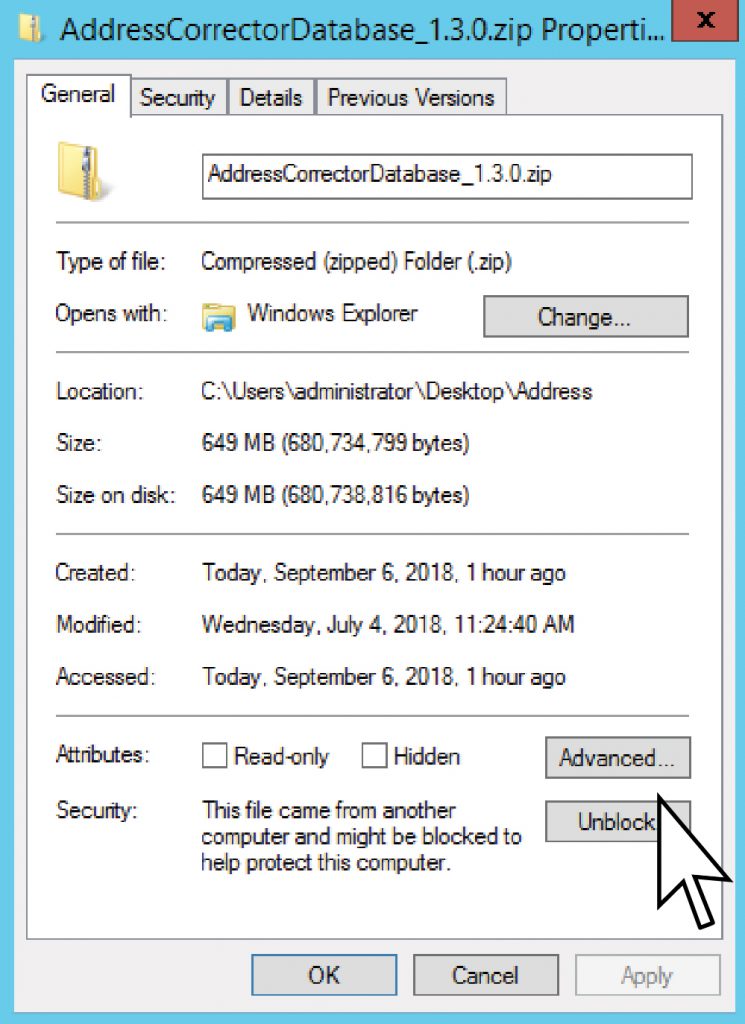
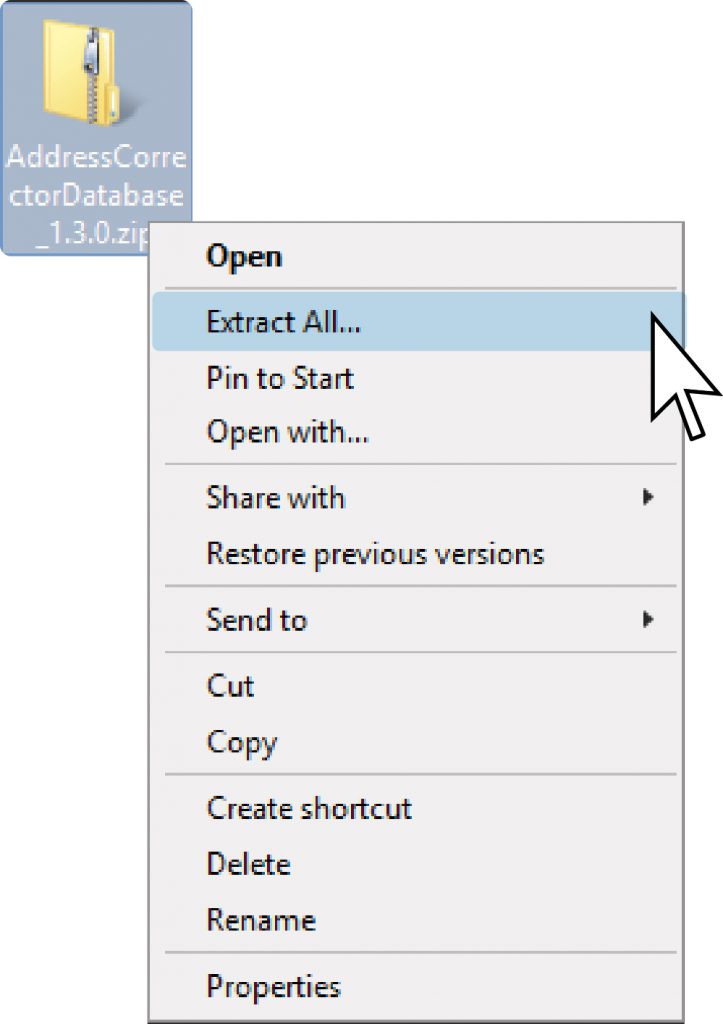
In this case you should click Unblock, Apply then OK to carry on with your next step. You should then move on to extracting your file.
Once you click “Extract All”, you should be given this screen below:
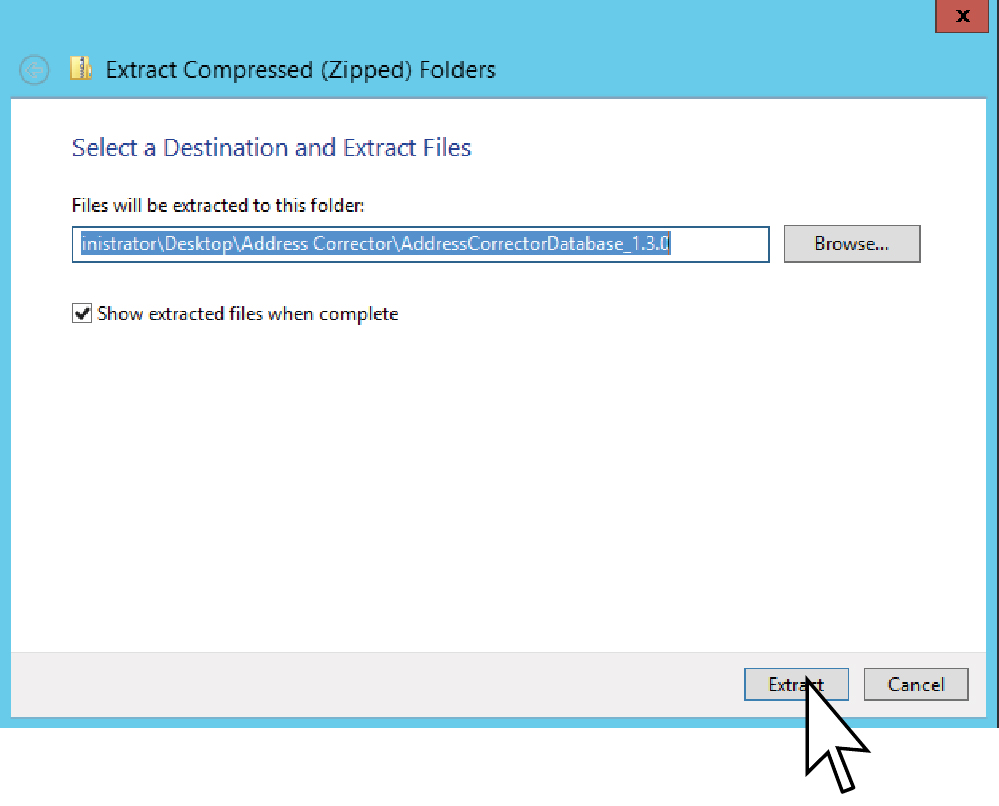
This shows the path that the File will be extracted into. You will then have to type in the Password for the zipped file as shown below:
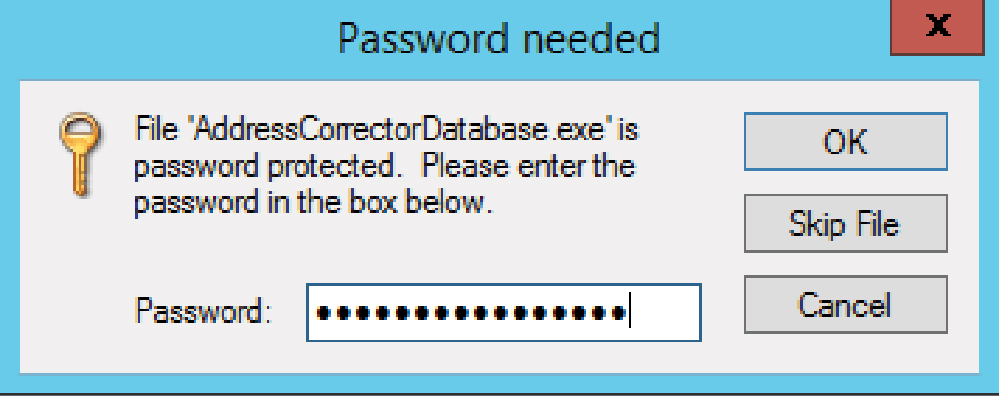
This will then begin downloading all the components and prerequisites necessary automatically for your Address Corrector to work correctly as seen below:
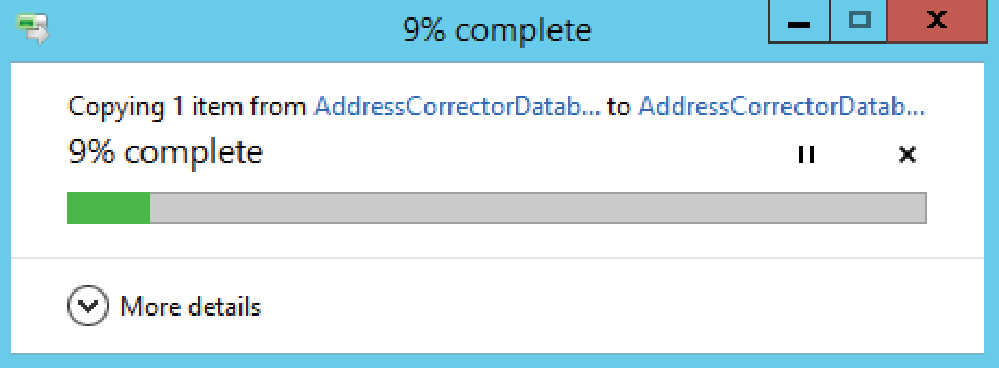
Once the extraction has completed, you will then receive an exe file shown in below which you would have to right click and Run as administrator.
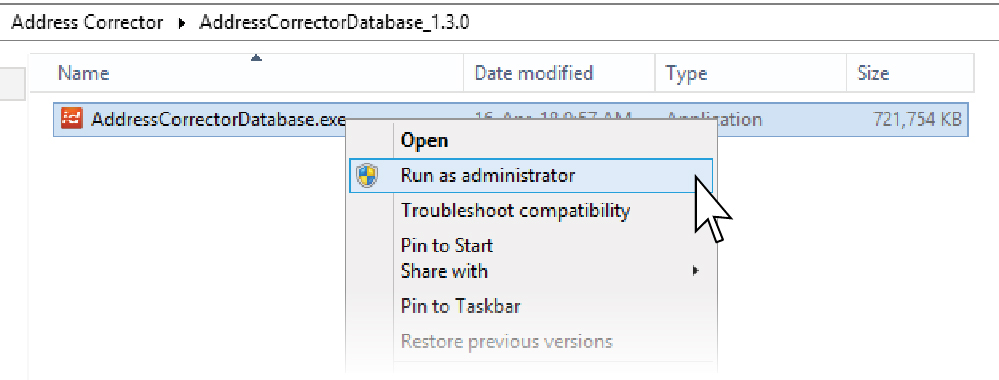
You will be asked to give permission for User Control to make changes to your computer, which you would have to allow in order for your process to be completed successfully. This is shown below:
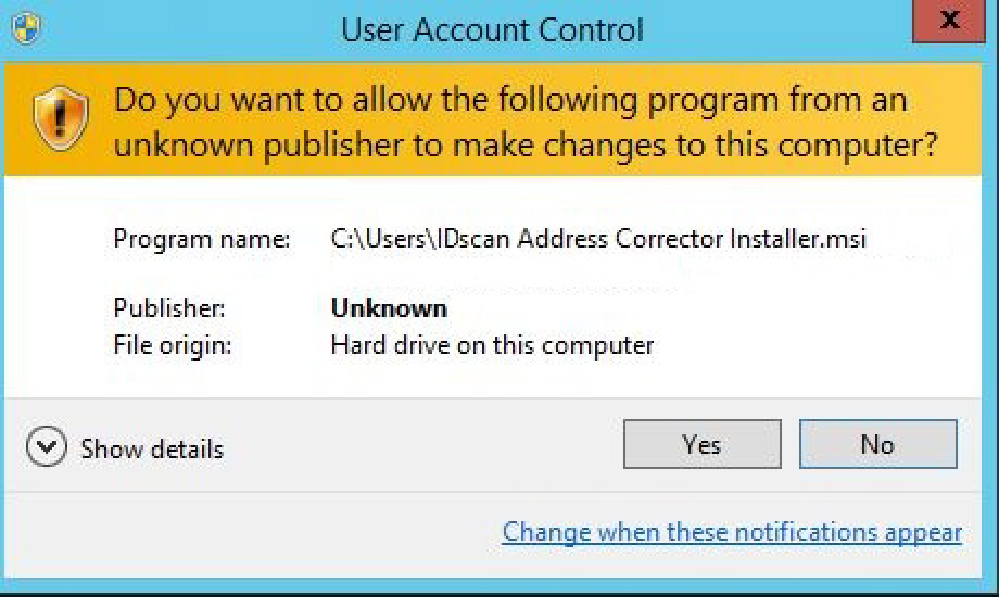
Once you click the “Yes button”, the installation process should begin. When completed the address corrector will then ask for a password to be inputted, as seen below.
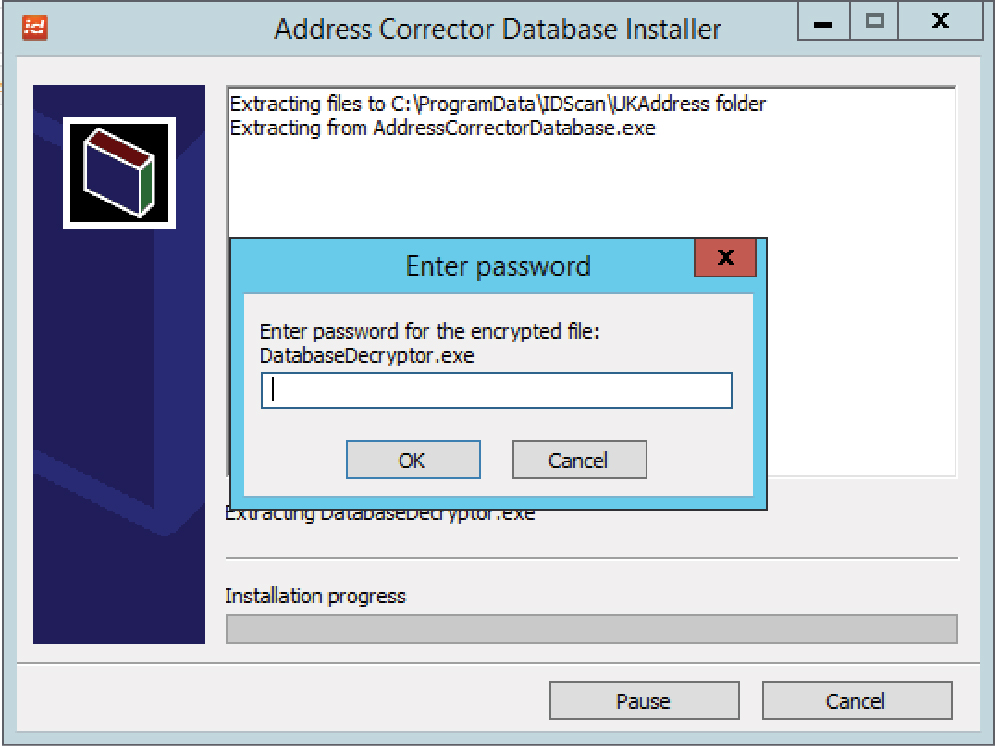
Then your installation will process as shown below:
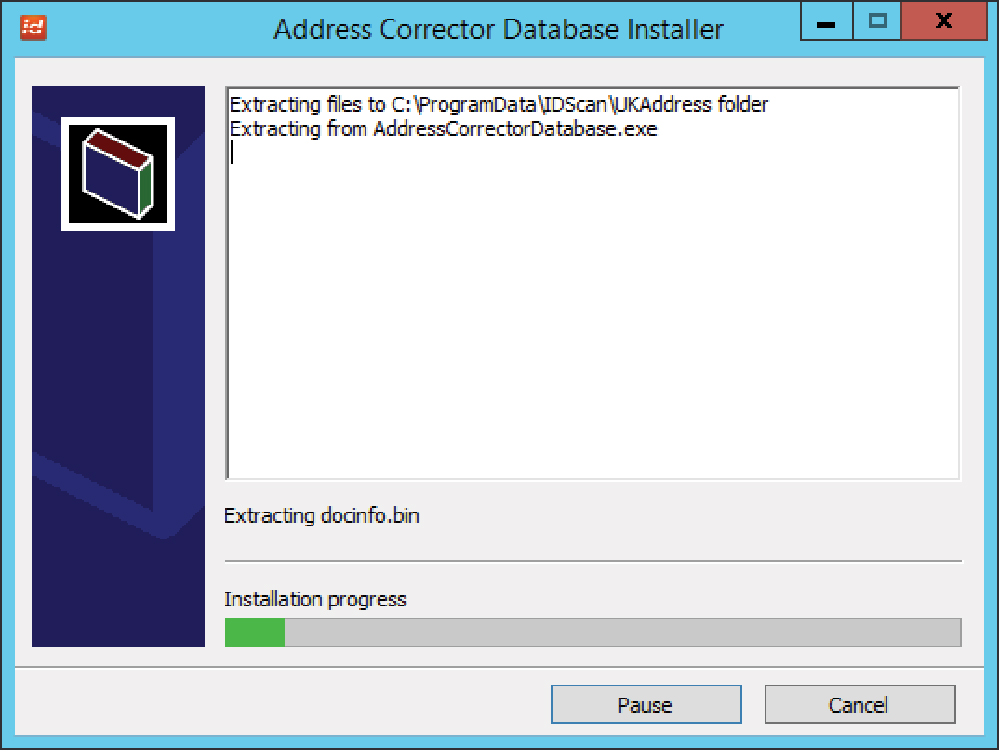
After a little while, you will see the command prompt pop up on your screen. It is important you wait until it has disappeared. Do not try to close or carry on with your tasks, when it disappears, it means that the installation has completed and that you can continue.
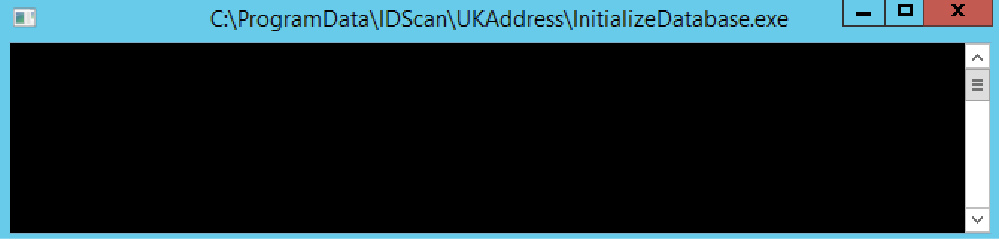
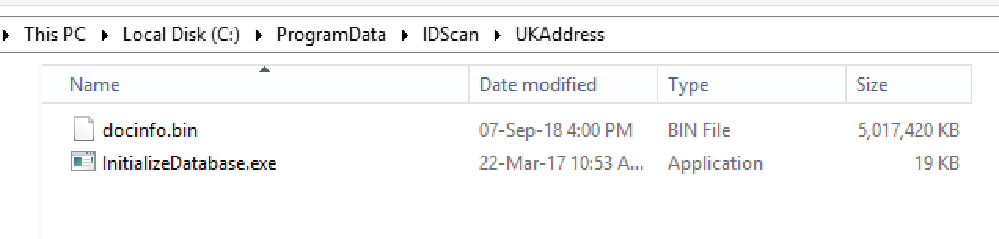
Once the command prompt has disappeared, it means your system is ready. You can always check the path the file has installed into by going into your C Drive at C:\ProgramData\IDScan\UKAddress
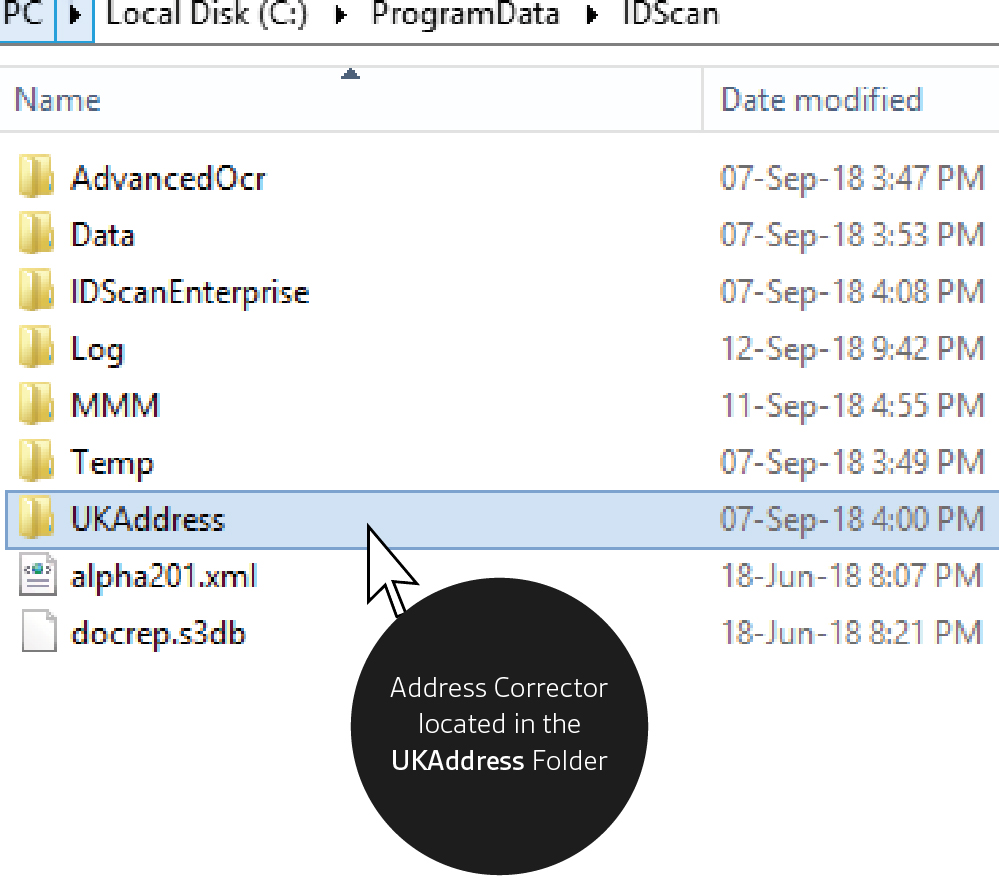
Once we open the UKAddress folder we should be able to see the following files as shown below and you can start using your system automatically: