Please note that this document is outdated. There is a new version available on the portal.
The journey settings such as Triple Scan, Backside Check, Expiry Check, Document Proof Policy, Face Match, A4 Check, Underage Check and the Minimum Allowed Age (depending on the activeness of the Underage Check) can be accessed and configured through the Administration Portal located within the IDscan app.
To access the journey backend settings please browse the following URL: https://(SERVER-URL)/IDScanApp
The following login page is shown:
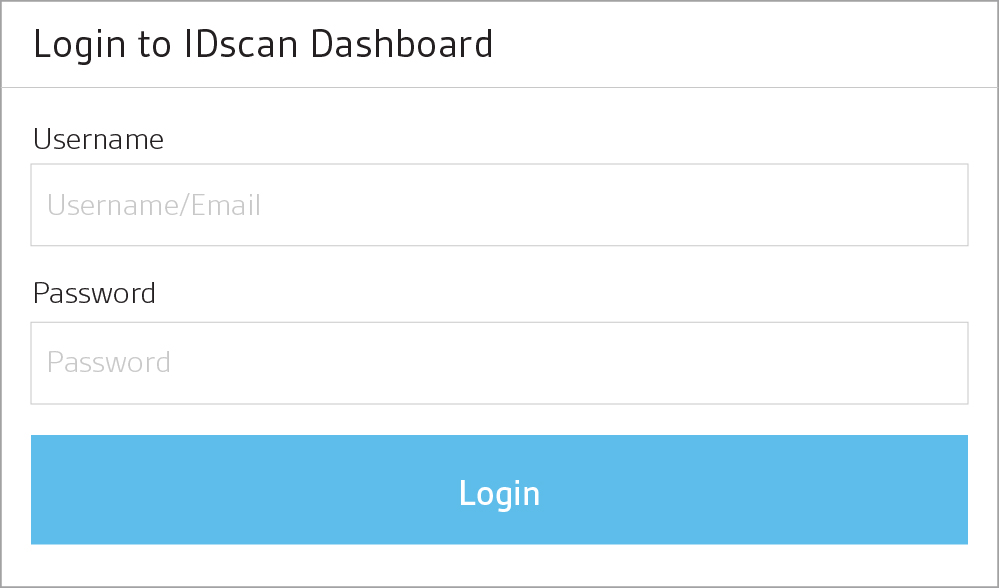
Login with the Super Administrator credentials, which can be viewed/edited in the User Management XML file located in: C:\ProgramData\IDScan\IDScanEnterprise\UsersManagement.xml The Super Administrator credentials allow to access the full IDscan Dashboard as shown below. With these credentials the Capture Studio, Investigation Studio, Analytics Studio and Administration Portal can be accessed.
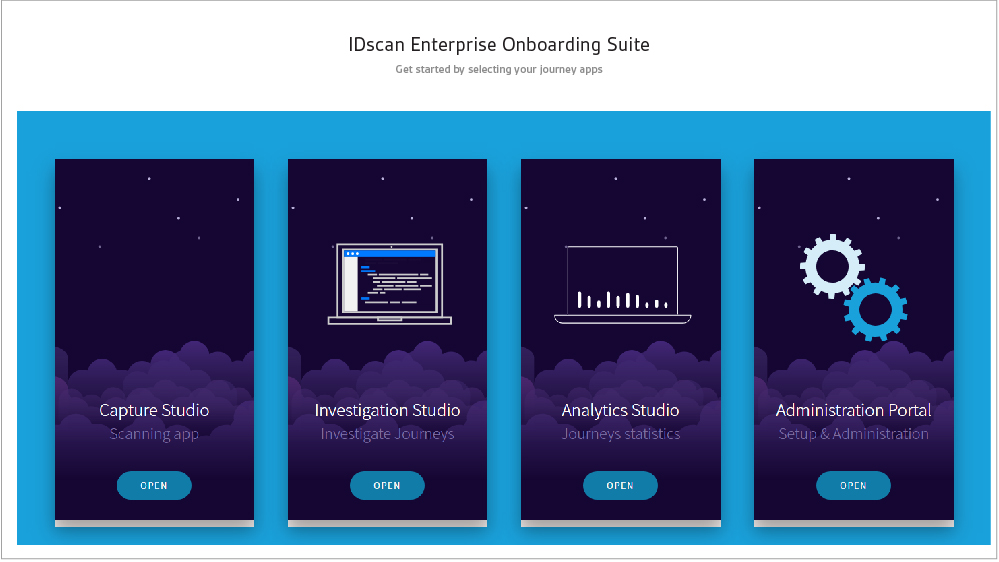
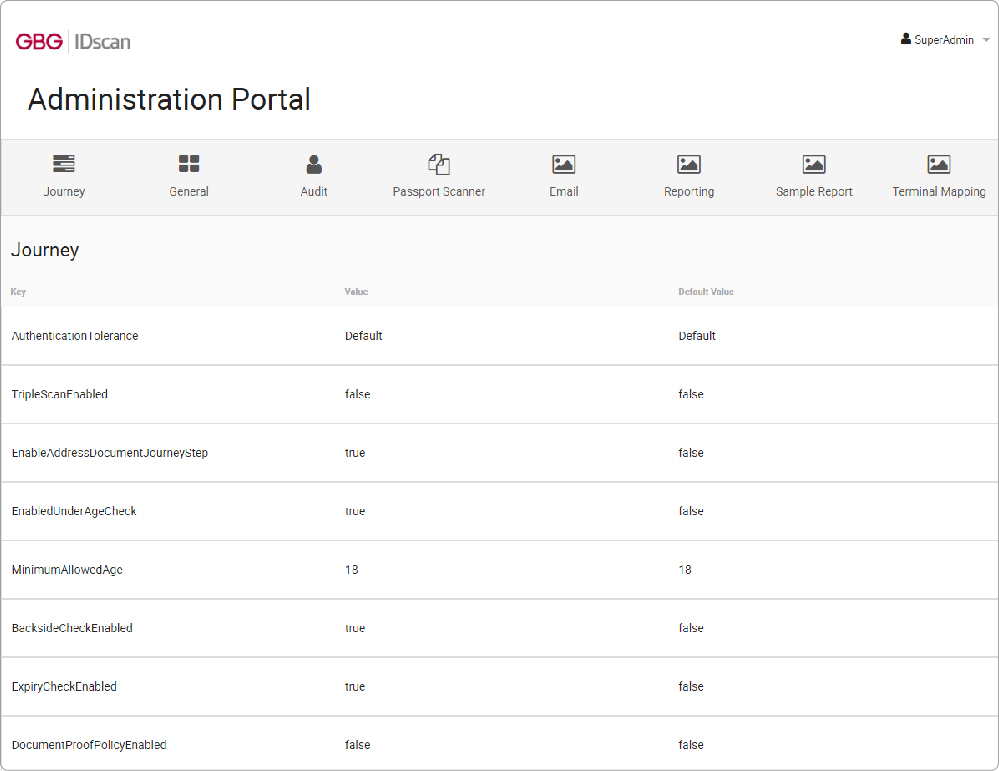
Click “Open” button on the Administration Portal icon. A page appears with different default configuration settings such as DB Provider, Server Options, Authentication Module, Triple Scan, Backside Check, Document Proof Policy, Face Match, A4, Underage Check, Authentication Tolerance, Ldap Server Settings, Auto Report, Audit Trial, and finally Webhook Options. Some of these could be seen below:
Authentication Tolerance Level
Authentication Tolerance Level is a feature which allows to define tolerance of the library to authenticate ID documents. The Default level is enabled automatically, change to Medium or Strict if required.

The “AuthenticationTolerance” Value can be changed from “default” to “medium” or “strict” as shown.
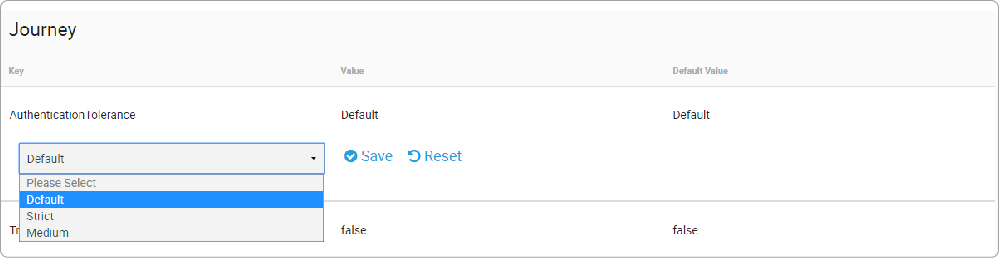
Note: The Strict level enables a very stringent authentication process, making validations checks very strict and potentially increase the number of false positives.
Triple Scan
Triple Scan is a feature within the IEOS backend settings which enables the image of an Identification Card or any other document to be scanned three times. This is to ensure the upmost quality and resolution of the document. If Triple Scan feature is enabled, ‘Please Rescan’ message will be shown if the image capture is at low quality/resolution when capturing a document.
However if the image quality is acceptable then the image will be sent for the next step, if it isn’t then the message ‘Please Rescan’ will appear again (up to three times maximum).
This feature ensures the documents are captured in the best quality possible and in turn decreases the number of ‘Not Supported’ or ‘Refer’ results that may occur due to low resolution.
To enable this feature change the “TripleScanEnabled” Value=”false” to “TripleScanEnabled” Value=“true” as shown below:

To enable it slide the button as shown:

Address Documents (A4)
Address Document or A4 is a feature of the IEOS which allows to process paper documents such as utility bills and bank statements for e.g. proof of address needs.
In order to enable this feature an additional installation process is required. Please contact your technical account manager in advance and see the Semantic Engine Installation Guide.

To enable the Address Document feature slide the button as shown below:

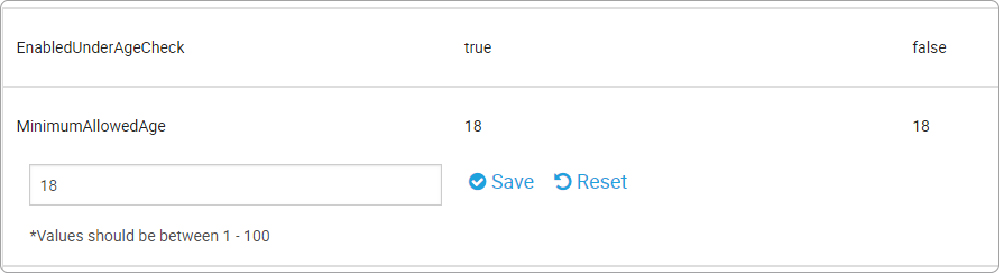
Underage Check
The Underage check feature of IEOS, if enabled, allows to ‘Refer’ any documents below the specified age.This is most useful for customers who are specific with the ages they can allow through.
The Underage Check is Enabled by default as shown below:

To disable this feature simply slide the button from “true” to “false” as shown below. The “MinimumAllowedAge” value is defaulted to “18”, to change type in the required age value e.g. “21” as shown here.

Or to change the default age from 18 to another then see the below screen:
Back of the Document Check
Backside Check is the feature which allows to scan the backside of an identification card. If enabled both the front and the backside of the document will be tested against each other for a final result. This may extend the processing time as comparing to just a front side of a document being tested as it is testing two sides against each other.
This feature is disabled by default as shown below:

To enable this feature change the “BacksideCheckEnabled” Value to “true” as shown below:
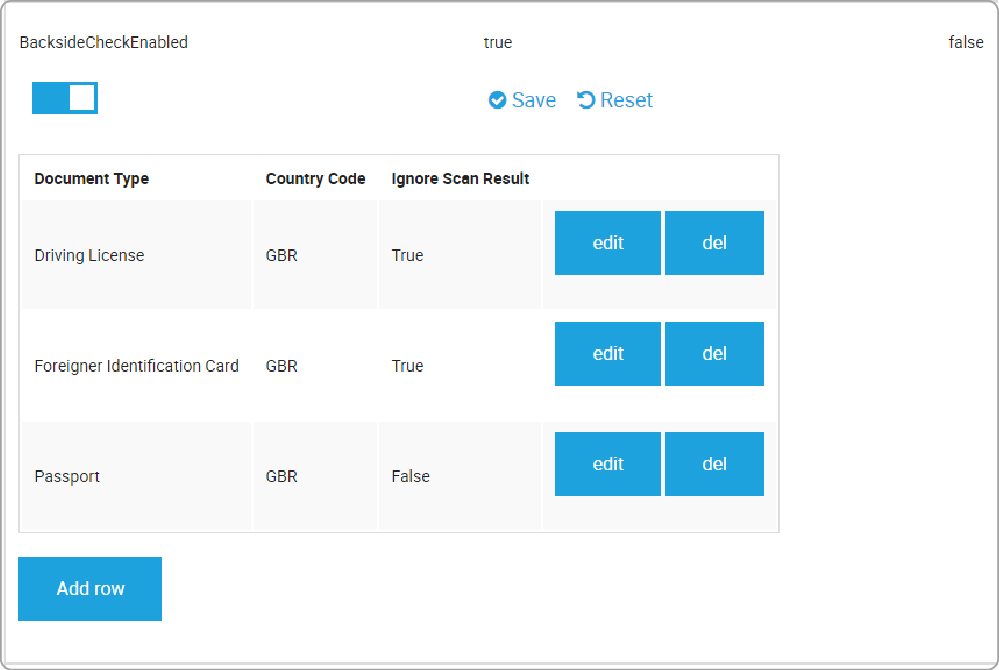
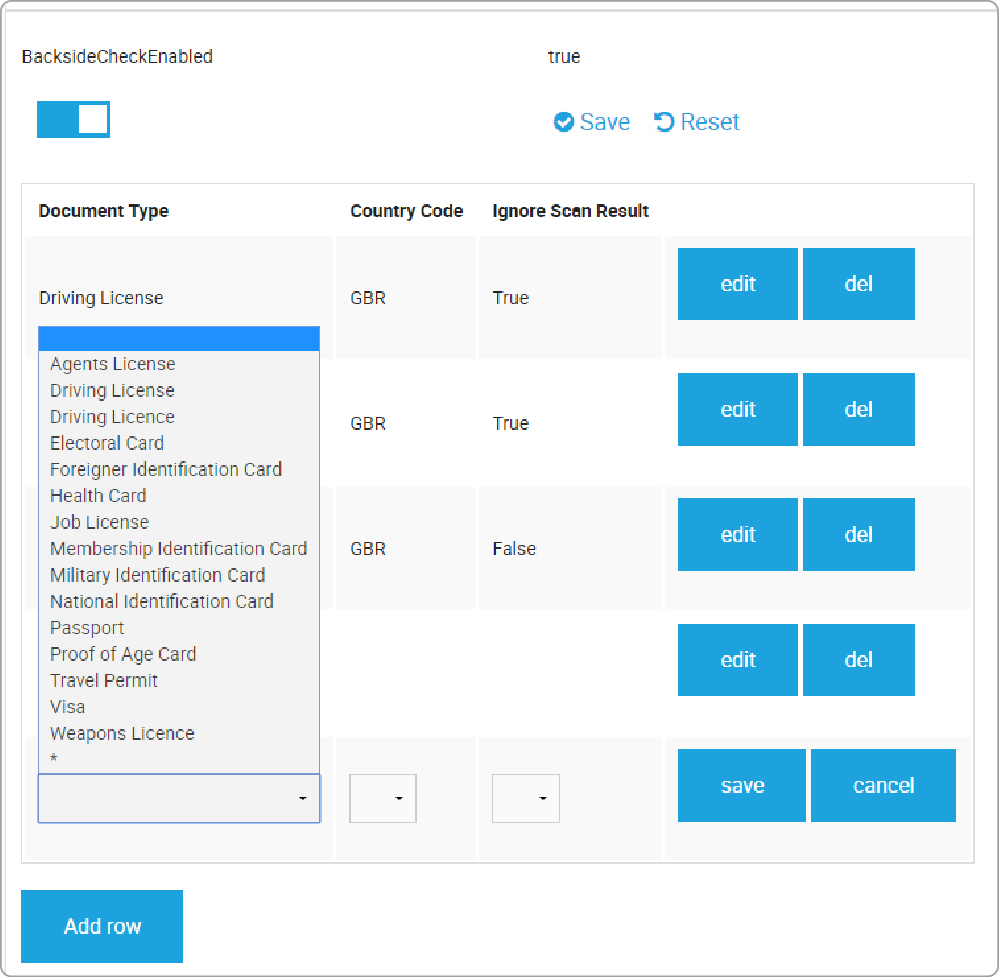
All documents for which the backside check can be enabled are listed in the drop down menu. To add more documents simply click on “Add Row” as shown below which gives a new row in order to add all the relevant details:

Then click on the drop down menu to choose the document type you wish to add in order to have the backside check working for it:
After this, click on the Country Code drop down menu to choose the countries in which you wish to enable this on:

Finally choose a value of true or false in the ignore scan result column. If you set the Ignore Scan Result to “True” and the outcome of the back of the document does not pass, it does not impact the journey outcome.
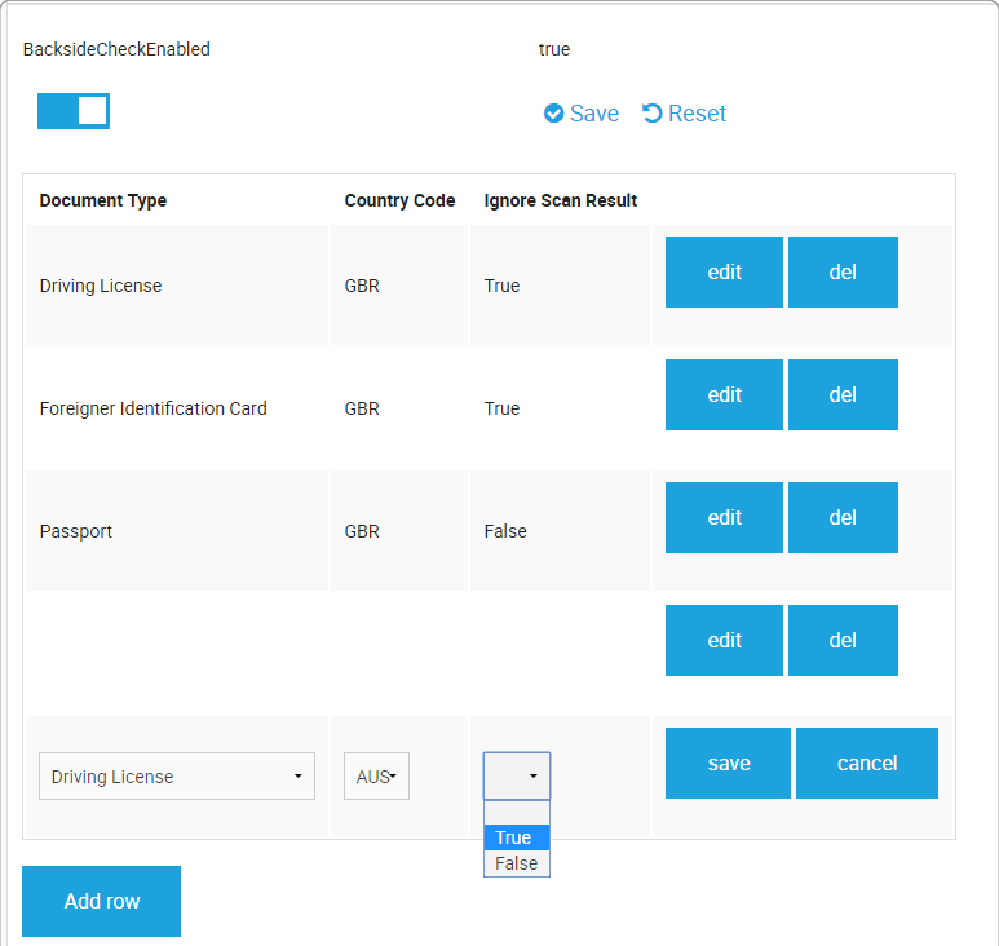
Press the Save button and your journey preferences will be saved.
Expiry Check
Expiry Check is a configuration setting which would not process the document for further testing if the expiry date check has failed on the document.
This check is enabled by default. If required, please change the “ExpiryCheckEnabled” Value from “true” to “false” as shown below.

To disable this feature, simply slide the button and press Save.
Document Proof Policy
Document Proof Policy means the rules/policies of your business are put into place. This features allows to only accept certain type of documents, for example, accept only UK ID’s (white listing).
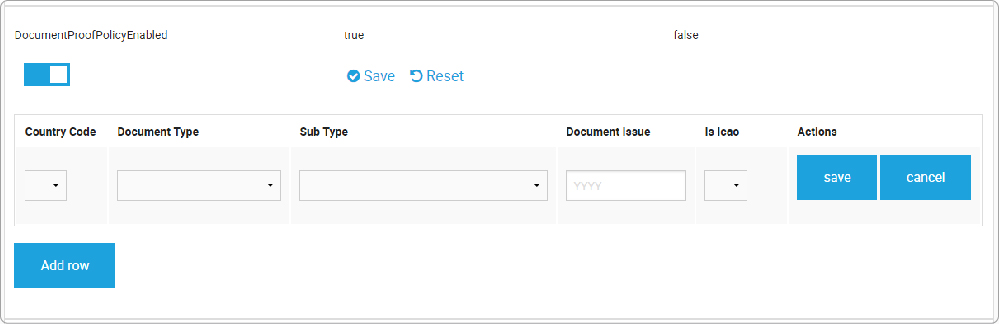
If desired, please edit the “DocumentProofPolicyEnabled” Value “true” from “false” as shown below:

To enable this feature, slide the dial on top across to the right and click on “Add a row” and include from the drop down menu the Country Code, Document Type, Sub Type, Document Issue, ICAO. After this, please press save.
Face Match
Face match is another feature of IDscan which, when enabled, helps to validate the photo on the ID or passport with a selfie of the document holder and gives a result in regards to the comparison.
In order to have this feature working, please install the IDFM component as a pre-requisite. Also you can only use Face Match if you have asked for this feature during your contract stage and are given an IEOS Product Key with the Face Match feature imbedded within. This key would be provided to you within your package release email sent by your technical account manager.
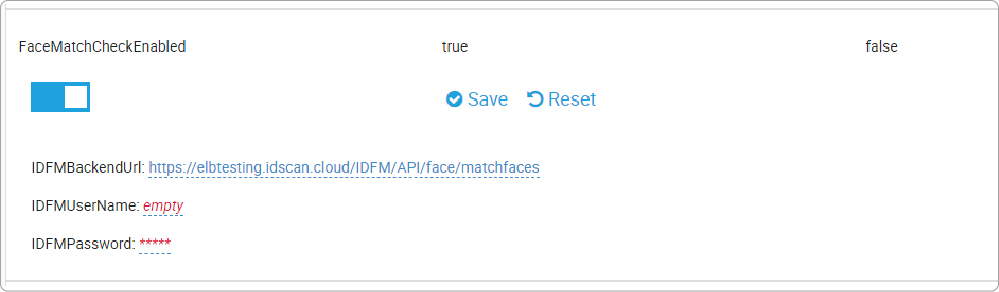
You will then simply have to check the Face Match Check from false to true – if it has not already been enabled – as shown below:

If you wish to enable this, slide on the square as shown below and esnure that you fill in the correct IDFM URL and your IDFM login creditentials on the available fields.
In order to find out more about the Face Match feature and its configuration please see our IDscan Face Match Guide.
Document Tolerance Levels
In addition to our Authentication Tolerance Level, we also give you the option of configuring specific documents at a tolerance level that you prefer. For example you may want to process Austria Passports on a default tolerance level but may want to process Italy Identification Cards through our Medium tolerance level or Belgium Passports through the strict tolerance level.
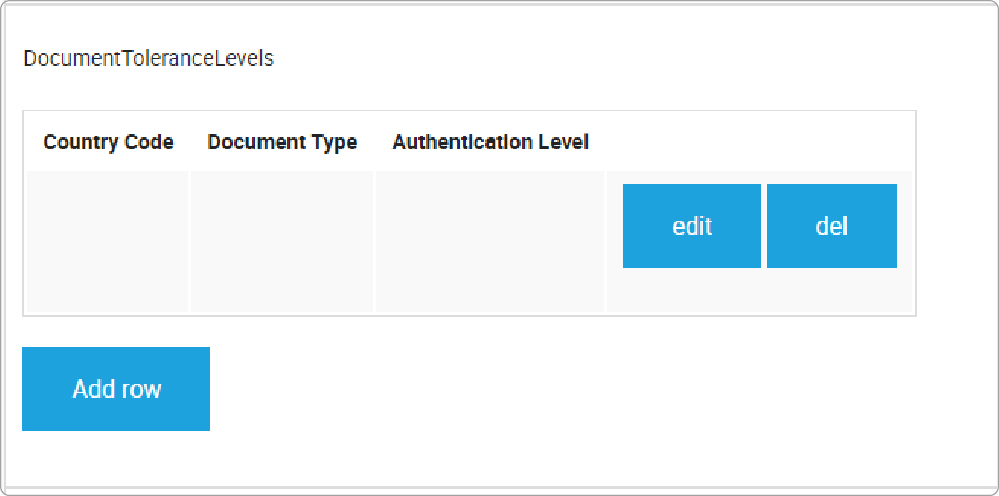
This feature allows you to add your own tolerance level for each Identity Document. If this feature is enabled, it will override the authentication tolerance level. As a default this feature is disabled as shown below:
However if you wish that specific documents be configured with its own tolerance levels, you can configure this by adding your rows one by one.
Start by adding your Country Code as shown below:
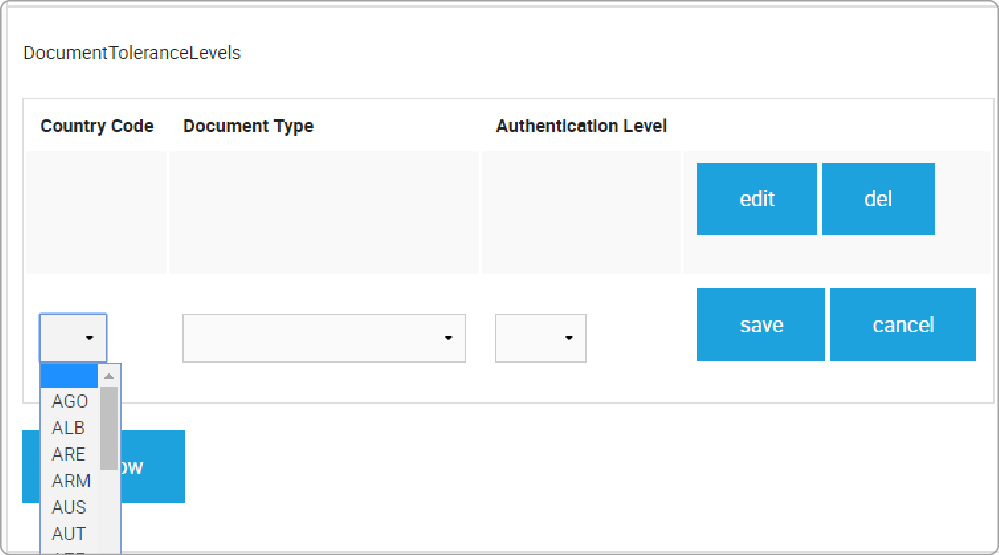
Then move onto the Document Type:
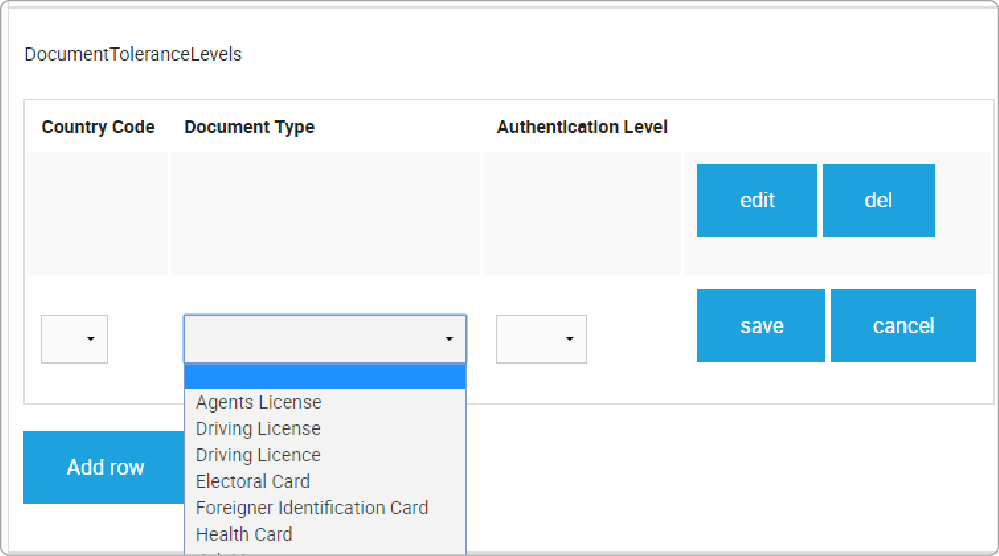
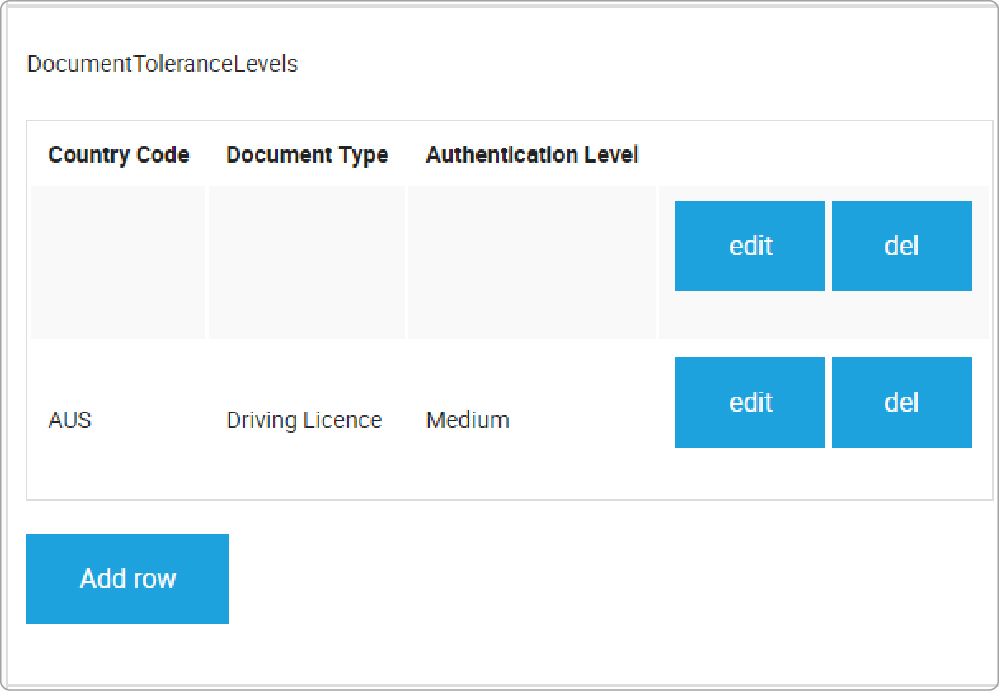
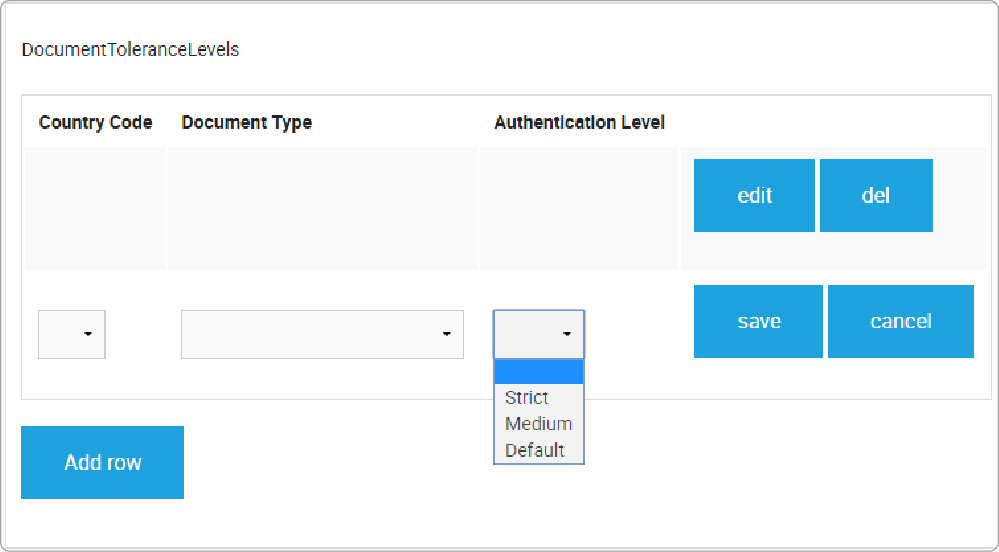
Finally, choose the Authentication Level you wish to process your document by:
Once you have saved your preference the page will look like the below:
Liveness
Liveness is the main feature which we have made possible with our IEOS v8.1 release. In order to be able to use this feature, please install our IDscan Face Match (IDFM) component as a pre-requisite.
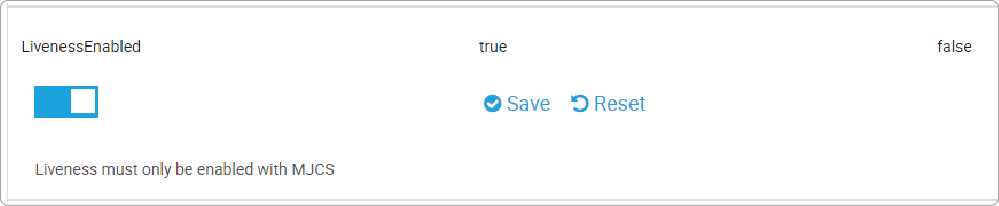
This tool verifies if the person using the device is not using a static image and matches the presented ID document. After you have installed the IDFM, you can then enable the liveness feature – only if you use MJCS as a capture channel – by sliding the default value from ‘False’ to ‘True’.

Change it by sliding the button as shown below:
Liveness Timeout
As that this is a liveness feature, we have also put in place an action time which is set at 7 seconds as default, as shown below.
This simply means that if the person using liveness cannot complete the requests presented in that time, they will run into a timeout and the action will fail.

You can change the seconds in which you would like for your process to timeout, by deleting the default value of 7 and typing a value between 4 and 8 in the area above and saving your preference.
Liveness Actions
As a default, we ask for the person using our liveness feature to complete three actions. For example: look up, look down and smile.
However, you can configure this to select the number of actions you wish your customers to complete, as long as the values are between 2 and 5.
Note: Increasing the number of actions will increase the overall onboarding journey time.

You can change the default value of 3 to a value between 2 and 5 simply by deleting the 3 and typing in your new value and saving your preference.
Liveness Maximum Fails
Liveness Max Fail is a configuration determining how many times you would allow the person to fail in terms of completing the requests prompted by the feature. For example, if the request was to smile and the person completing this process did not smile, at that point, it would fail once but the process would continue until the next failed action.
As a default we give this feature a value of one, however if you wish to increase this amount in order to give the person more chances, you may change the default value to any value between 1 and 5 as shown below:

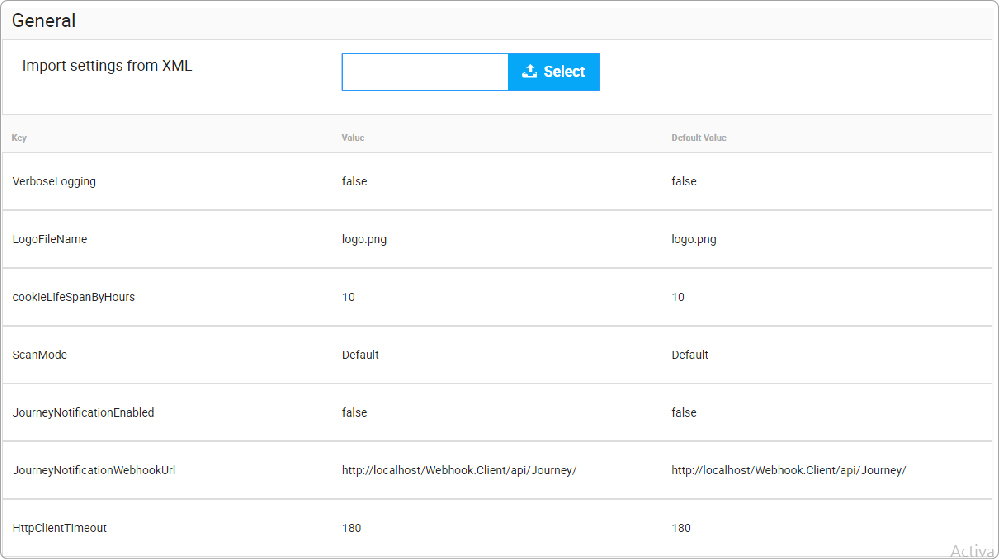
General Configurations
Once you scroll down from the journey settings, you are presented with the general configurations, which include details such as Verbose Logging, Logo File Name, Cookie Life Span by Hours, Scan Mode, Journey Notification, Webhook URL and the Http Client Timeout.
These are the general settings as shown below:
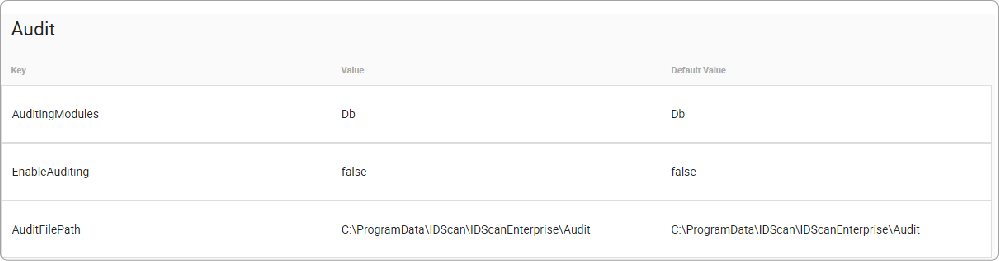
Audit
You can also see and manage the Audit settings in the same area:
Passport Scanner
You can also see the Passport Scanner settings below, which shows the Scanner Mapping Mode:

Email Settings
In this section you can see and manage many details, such as the SMTP Server Address/Port, SSL configuration, SMTP Credentials, Sender Account and Recipient Account: This email account will be used to report samples to a pre-configured IDscan account

Reporting
Auto Reporting is already enabled as default. You can also see the Location Path where this is exported into, the Export Version/Template and the Troubleshooting Recipient Account.
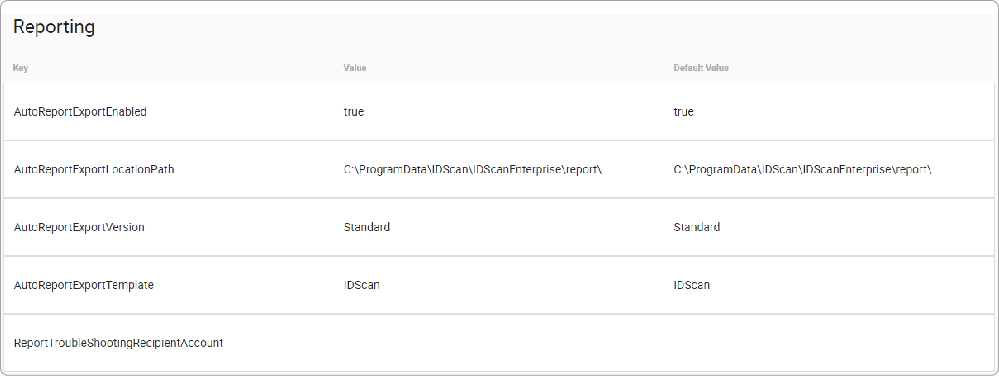
If you do not want to create auto reports, simply change the AutoReportExportEnabled key Value from “true” to “false” and click save for the changes to be applicable.
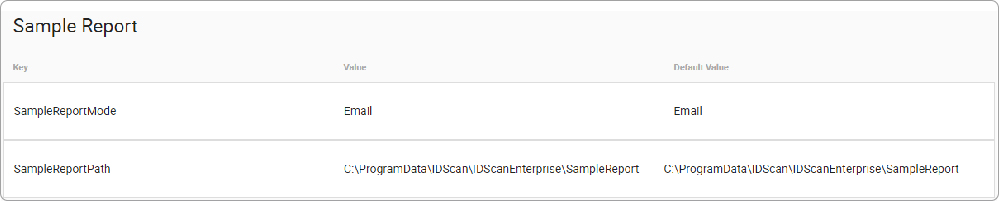
Sample Report
Sample Report is the final section which shows the mode in which your reports would be exported and the sample report path where it would be saved in
You should now be fully set up and configured to start using our product. If you should have any further questions in relation to the backend settings or any configurations, please consult with your technical account manager and they will do their best in assisting you.