Welcome to the GBG IDscan Capture Studio Guide. This will show users how to select a journey and upload an image to process.
Login using an account that is authorised to view the Capture Studio section:

Once you have entered your credentials, if you only have access to Capture Studio you will be taken directly to the Journey Definition selection or the Upload ID screen.
If you have multiple role permissions, you will be taken to the home screen were you can navigate to Capture Studio by clicking on the “OPEN” button.
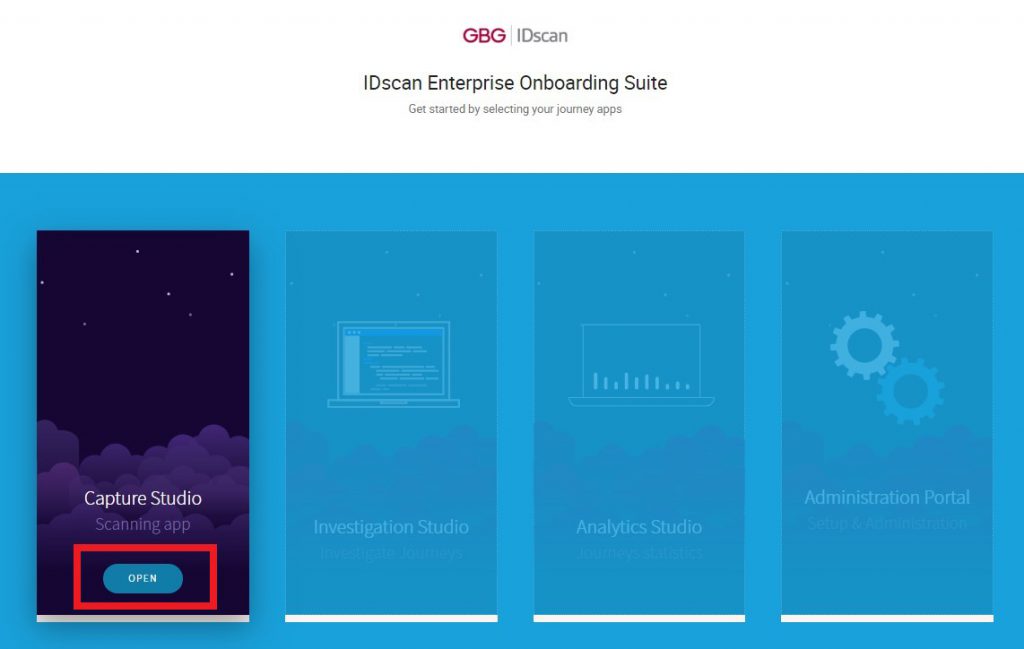
Capture Studio Journey Definition Selection
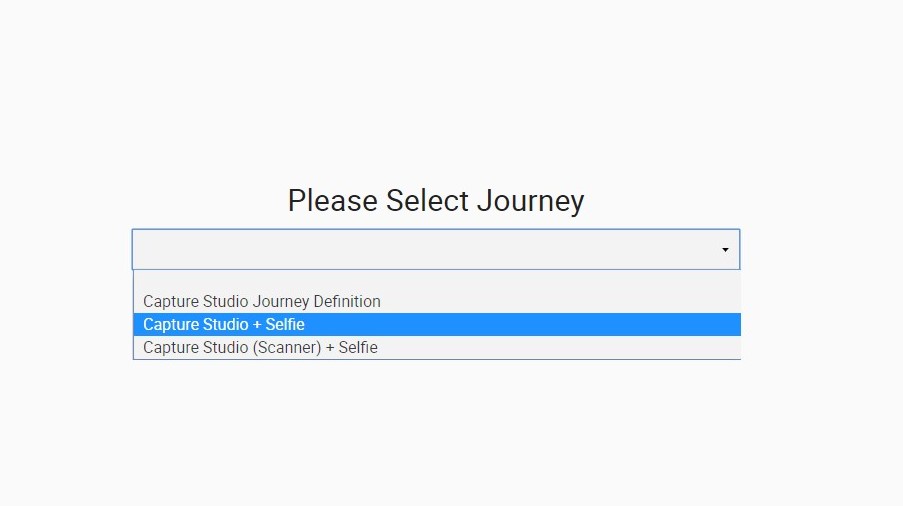
If there are more than one Capture Studio Journey Definitions set up, you will need to select the Journey Definition you wish to proceed with:
Once you have selected the relevant Journey Definition click the “Select” button:
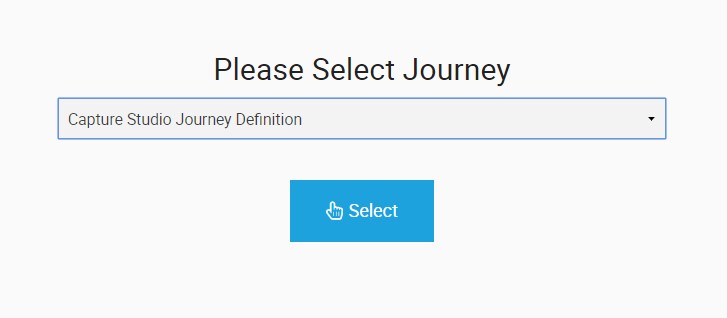
If there is only one Journey Definition setup, you will be taken straight to the Upload ID document screen.
Upload ID document screen
Click on the “Choose a document” button and find the document you wish to be uploaded:
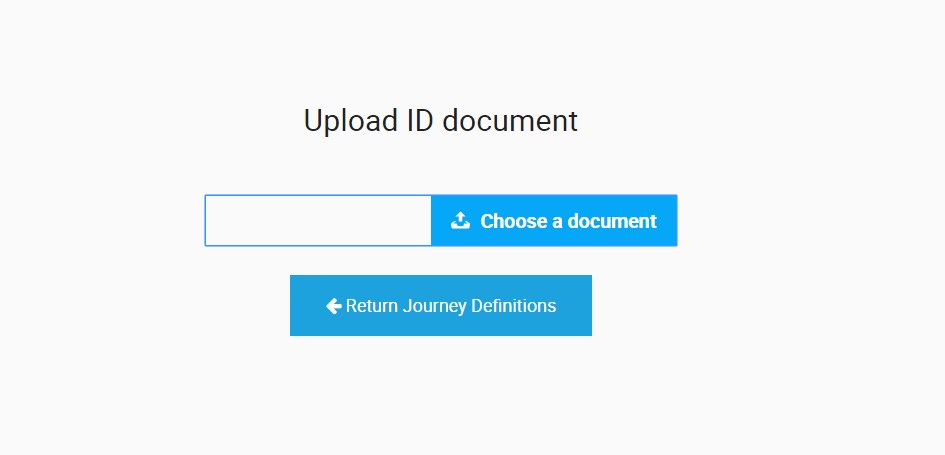
If you have selected the wrong Journey Definition you can use the “Return Journey Definitions” to return to the previous screen and select another.
Once you have selected the document you wish to process click the “Upload” button to process the document:
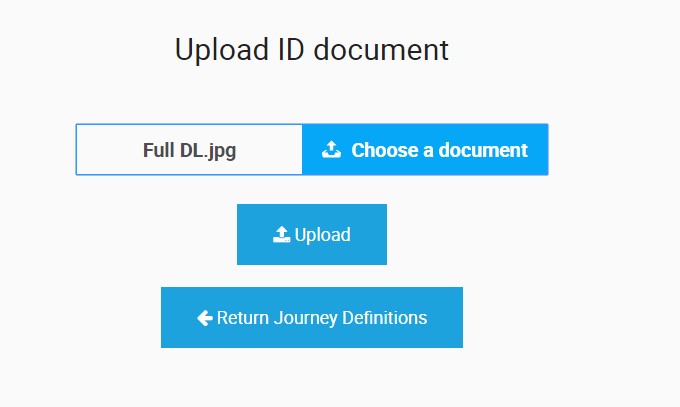
Please note: There is a default maximum size limit of 7.5 Mb on files that can be uploaded. If you try to upload a file bigger than this an error will be returned.
Results
Once the document has been processed you will be shown the results summary.
Users will be able to navigate to full Journey results details directly by clicking the scan reference number, if they have Investigation Studio permissions. You can also copy the Scan Reference number by clicking the “Copy” button.
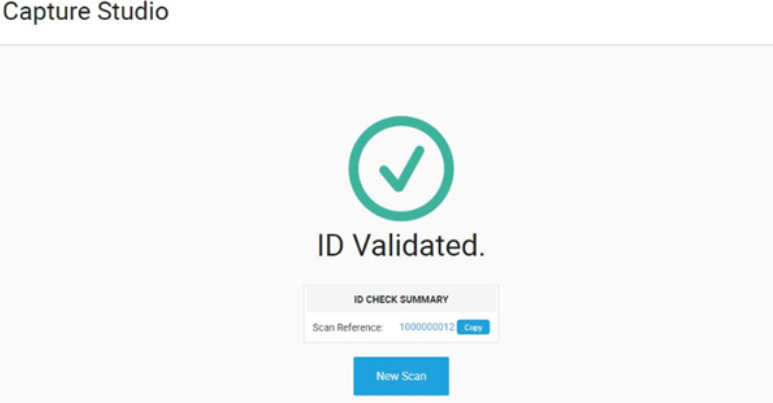
If you wish to check another ID, click on the “New Scan” button.